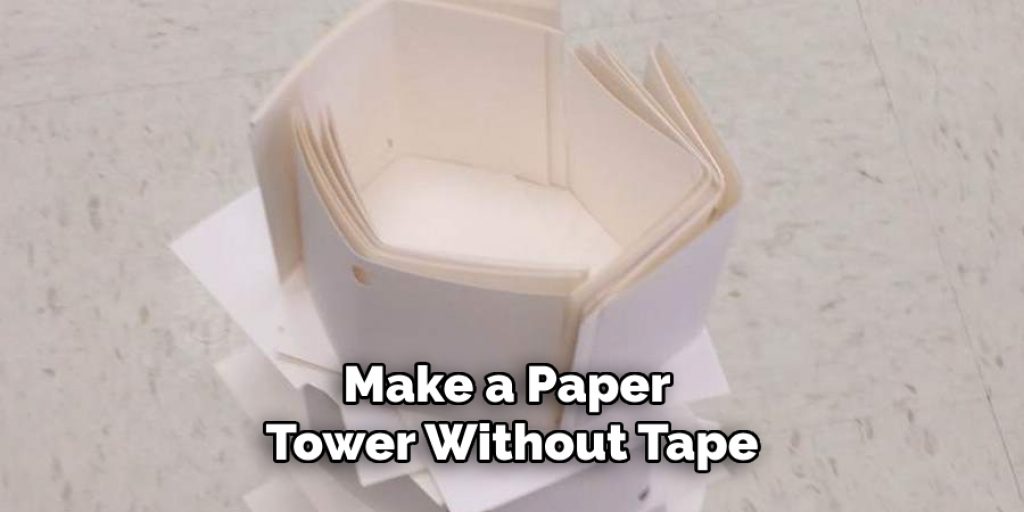
How to Make a Paper Tower Without Tape
Introduction
Introduction:
Paper towels are a classic fairytale and optical illusion. You can’t stand up a paper towel on one sheet of paper, but they do look like they could be built out to an excellent height if you just added the next layer. Paper Towers seem simple enough to most people, but everyone has struggled to make a tall one at some point in their lives because they aren’t designed as well as we’d like them to be. This may have been your experience. In this article, I will discuss how to make a paper tower without tape. So let’s get started.
What is a Paper Tower?
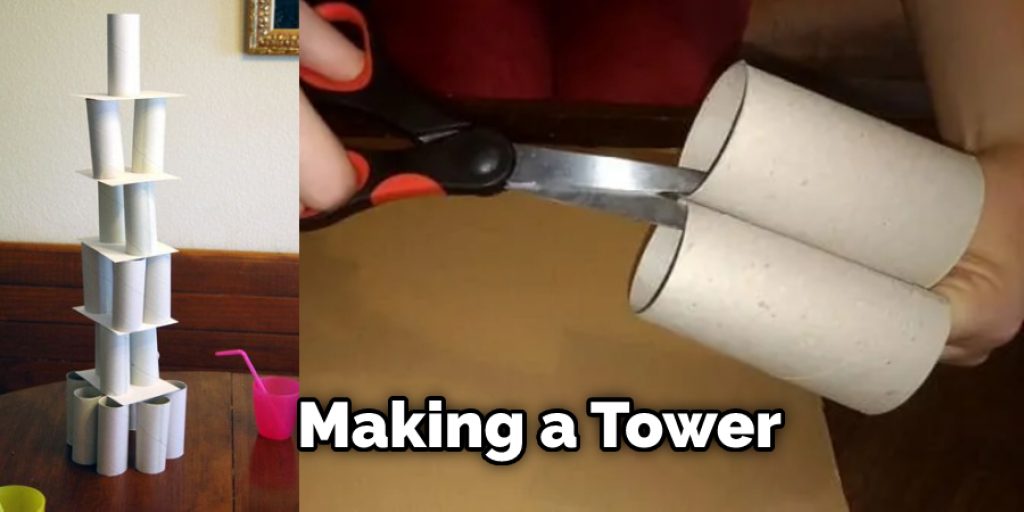
Paper towers are tall structures made entirely out of paper. They commonly resemble miniature versions of skyscrapers or other tall buildings. People often build them for fun, as a challenge or just to see how high they can make it before it inevitably collapses. There are a variety of methods that people use to construct these towers, but most involve some type of adhesive, such as tape or glue. However, in this tutorial, we will be using a different approach.
You may be wondering why we would want to make a paper tower without tape. Well, the answer is simple – it’s more challenging and can lead to some unique and creative designs. Plus, it’s a great activity for kids or anyone looking for a fun and inexpensive craft project.
Why Make a Tower Without Tape?
The challenge of making a paper tower without tape is not only fun, but it also requires creativity and critical thinking skills. It can also be used as an educational activity to teach children about structural stability and engineering concepts. Additionally, it allows for more freedom and experimentation in the design process since you won’t be limited by the use of tape.

But most importantly, making a paper tower without tape is environmentally friendly. Tape is often made from non-biodegradable materials and can contribute to waste and pollution. By using only paper, you can create a tower that is both eco-friendly and impressive.
Materials Needed:
Several Sheets of Paper:
You can use any type of paper for this project, but thicker or construction paper may work best as they are sturdier and less likely to collapse.
Scissors:
Cut and shape the paper to create your tower’s base and sides.
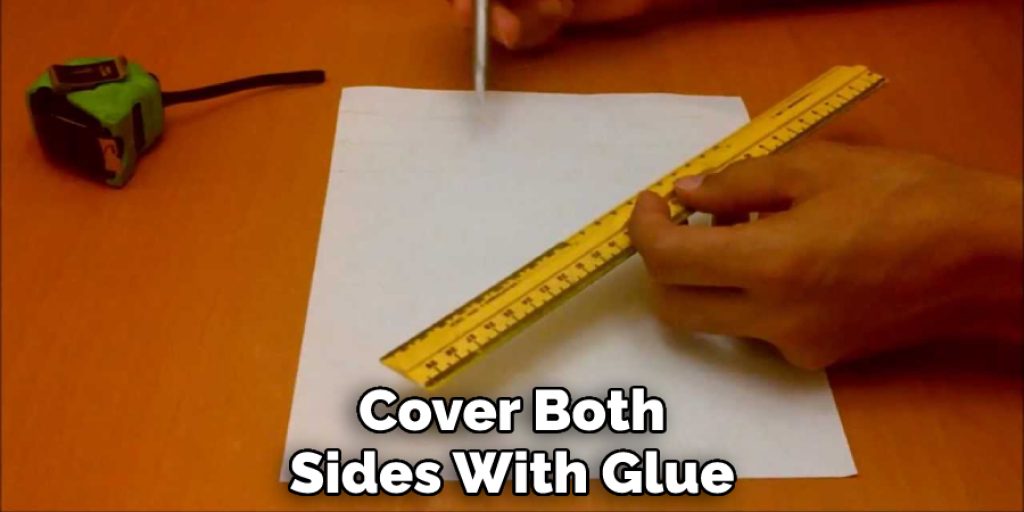
Ruler:
This will be used to measure and ensure that your tower is straight and even.
Pencil:
For marking and outlining your paper pieces.
Decorative Materials:
Optional, but you can use markers, paint, stickers, or any other craft supplies to decorate your tower once it is complete.
Stepwise Guide on How to Make a Paper Tower Without Tape:
Step 1:
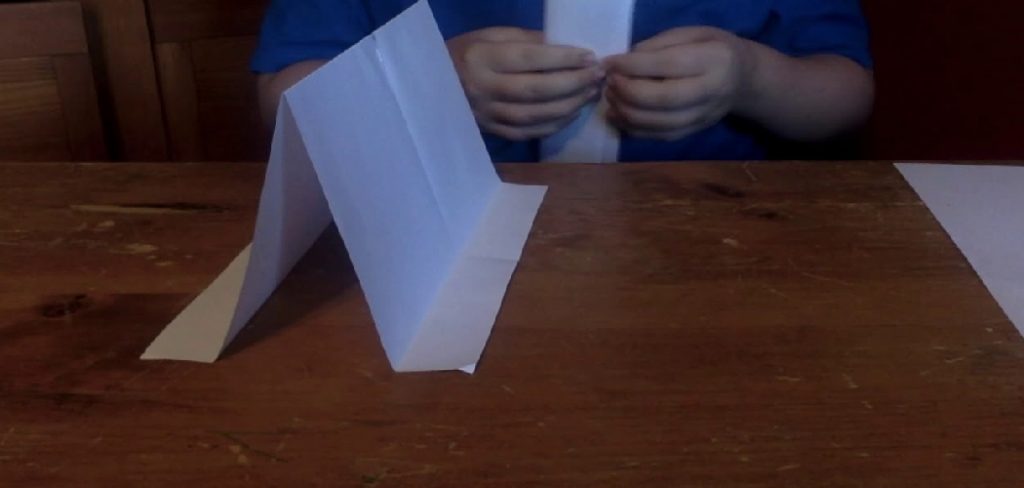
First of all, fold your paper in half vertically.
Step 2:
Now, crease the paper vertically into two halves.
Step 3:
Then, take one folded edge and bring it to the center by making a diagonal cut on both sides. Do not divide your sheet of paper equally; instead, make sure you keep a little distance from each corner to make space for your tower later. That is why we did not divide our sheet of paper equally in step 2. Also, if you divide your sheet of paper equally, there will be too much space between the corners when you bring them together, as mentioned above.
Step 4:
Now, open your sheet back again with the help of your hands or by a simple cut.
Step 5:
Now, fold the bottom edge of your sheet to reach the center upward. This is just an optional step you can skip if you want, but it will help make your tower stronger and keep them together for longer periods of time. Just make sure that all the corners stick out from the inside before continuing because we will be using those corners soon.
Step 6:
Now, take one corner (not necessarily on the top) and bring it to meet another side with a diagonal cut. After bringing both of the edges together, flatten your paper out once again, along with keeping all other four sides standing up from the inside and not flat against each other.
Step 7:
Now repeat step 6 with all the other 3 corners. Your paper tower is now ready, and you have to fold it upward.
Step 8:
Fold your tower up in an upward manner without making any cuts or creases into it.
Step 9:
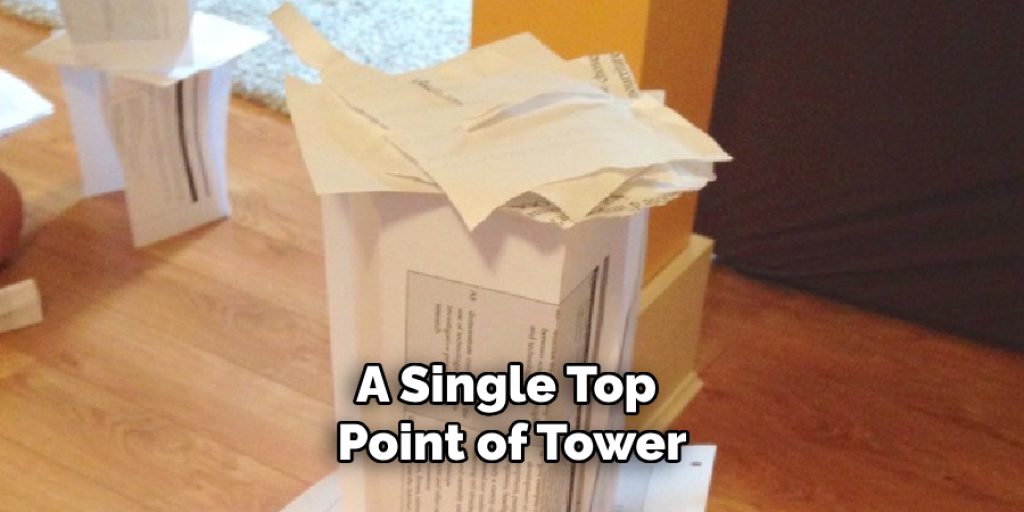
Now, bring your two folded edges together by making a diagonal cut on both sides to bring them together into a single top point of your tower, which we will again be folding towards ourselves later on. Just like when we made our first diagonal cut (in step 3), do not divide your sheet of paper equally. Rather, make sure that you keep a little distance from each corner to make space for your tower later because this is the reason why we did not divide our sheet of paper equally in step 2.
Step 10:
Now, you have to open the two folded edges diagonally back again, keeping a little distance from each corner to make space for your tower later on, just as we did when making our first flat cut into our sheet of paper in step 3 and 7. This is the reason that we did not fold it completely flat into a single point as described above (in step 9) because if we had done this, then there would have been no space available between the corners when opening up to keep enough room for your tower to stand intact.
Step 11:
Now, finally, bring all four corners together and flatten them out towards yourself, forming a triangular shape. All you have to do now is bring the two folded edges together just as we did in steps 8 and 10 by making a diagonal cut on both sides to bring them together into a single top point of your tower. We will again be folding towards ourselves later on.
Step 12:
Now, open your sheet back again with the help of your hands or by a simple cut so that all four corners are sticking out from inside when you finish.
Step 13:
Now, fold the bottom edge of your sheet to reach the center upward. This is just an optional step you can skip if you want, but it will help make your tower stronger and keep them together for longer periods of time. Just make sure that all the corners stick out from the inside before continuing because we will be using those corners soon.
Step 14:
Now, take one corner (not necessarily on the top) and bring it to meet another side with a diagonal cut. After bringing both of the edges together, flatten your paper out once again, along with keeping all other four sides standing up from the inside and not flat against each other.
Step 15:
Now repeat step 14 with all the other 3 corners. Your paper tower is now ready, and you just have to fold it upward. Congratulations, you have successfully completed your paper tower without using any tape!
Following these steps on how to make a paper tower without tape, you can not only create a paper tower without tape, but also use your creativity to decorate it as you wish. This project is not only fun and challenging but also environmentally friendly and cost-effective. So go ahead and give it a try! Remember to have fun and experiment with different designs and techniques for creating unique paper towers without tape. Who knows, you might even discover a new method along the way! Happy creating!
Precautions While Making a Paper Tower Without Tape:
1. Because paper is a sensitive material, it can easily tear and break while making a tower without tape or other support. Therefore, one should exercise extreme care while making such a tower.
2. It is strictly advised not to make the tower in an upward direction as doing so may cause injury to the eyes, as towers made without tape are very high. The students might lose their sight for some time after coming in contact with such high towers of paper.
3. While making such a tower, we should also be vigilant due to the risk of paper cutting through our fingers while handling it because damaged papers have more chances of getting torn apart during folding if compared with good ones, which are smooth and clean enough not to tear through our fingers easily.
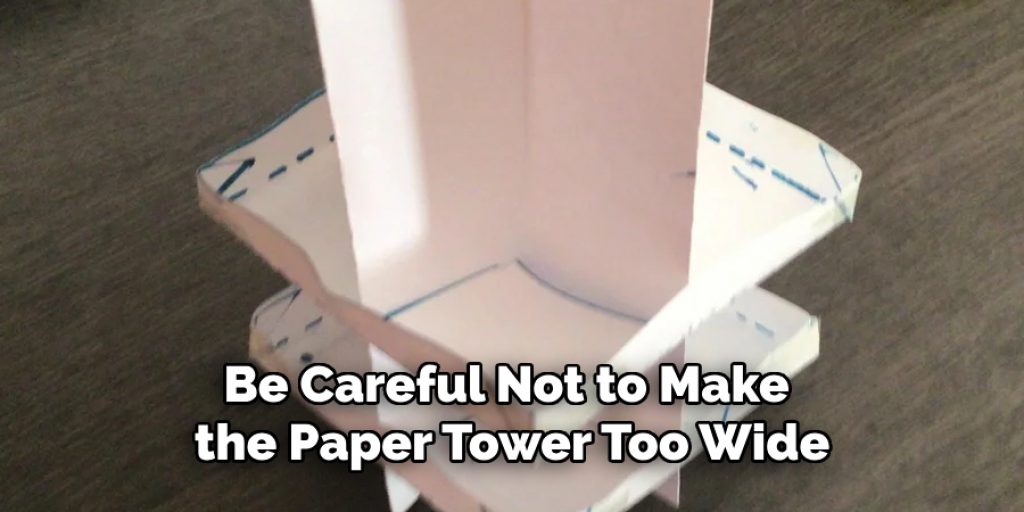
4. We should also be careful not to make the paper tower too wide lest it might fall on us due to its weight, which gets heavier with an increase in the size of the paper tower without tape being made due to layers of paper one atop another in a tower shape.
5. A cautionary note is also necessary for students interested in making such towers safely, as they may try to make them from large-sized pieces of paper instead of accumulating small pieces and joining them together, as it will definitely cause friction against each other and tear them apart.
Do You Need to Use Professionals?
Making a paper tower without tape is a simple and fun activity that anyone can do. However, if you are looking to build a larger or more complex structure using this method, it may be beneficial to consult with experienced professionals who have expertise in paper engineering and design. They can offer valuable tips and techniques for creating stable and impressive structures without the use of tape. Additionally, they can help you troubleshoot any issues that may arise during the construction process. So, while it is not necessary to use professionals for a simple paper tower, their guidance and expertise can definitely enhance your paper tower building experience.
You can also challenge yourself by attempting to create different designs and shapes using this method and expand your skills in paper engineering. With practice and patience, you may even be able to create larger and more elaborate structures without the need for tape or other supports. So go ahead and experiment with making paper towers without tape, and have fun while doing it! But remember, safety should always be the top priority, so make sure to follow all precautions and handle paper with care.
How Much Will It Cost?
Making a paper tower without tape is a low-cost activity that only requires paper and scissors. The cost will depend on the type of paper you choose to use, with construction or cardstock paper being more durable and, therefore, slightly more expensive than regular printer paper. However, even with a higher-quality paper, the overall cost will not be significant. This makes it an affordable option for a fun and creative activity, whether you are doing it alone or with friends. You can also use recycled paper to make your tower, making it an environmentally friendly option as well. So why not give it a try and see what you can create without spending much money?
You can also add your own personal touch to the tower by using colored or patterned paper, which can make it a unique and eye-catching piece of art. This customization option allows you to showcase your creativity and personality through your paper tower creation. So don’t let cost be a barrier; get creative and see what you can come up with!
Frequently Asked Questions:
Q: Can I Make a Paper Tower Without Tape if I Only Have Regular Printer Paper?
A: Yes, you can still make a paper tower using regular printer paper. However, the tower may not be as sturdy or durable as thicker paper, such as construction or cardstock paper. You can also use multiple sheets of printer paper to add more layers and increase the tower’s overall strength. It is worth experimenting with different types of paper to see what works best for you. If you are planning to make a larger or more complex tower, it may be beneficial to use thicker paper for stability purposes.
Q: How High Can I Make a Paper Tower Without Tape?
A: The height of your paper tower will depend on the stability and strength of your structure, which can vary depending on factors such as the type of paper used, folding techniques, and precision in construction. With practice and careful adjustments, you may be able to build a paper tower several feet high without the use of tape. It is important to always be mindful of safety and not make the tower too tall or unstable.
Q: Will My Paper Tower Collapse if I Move It?
A: The stability of your paper tower can be affected by movement or disturbance, especially if it is not constructed as firmly as possible. Therefore, it is best to keep the paper tower in one place and avoid moving it around too much. You can also choose to reinforce certain areas of the tower with extra paper or by using specific folding techniques for added stability. You can also experiment with different types of paper to see which one holds up better when moved.
Q: Can I Make a Paper Tower Without Tape With Children?
A: Yes, this can be a fun and engaging activity for children. However, make sure to supervise them closely and teach them about the precautions and safety measures while making a paper tower without tape. You may also want to use thicker paper or help them with certain steps to ensure their safety. The age and skill level of the children should also be taken into consideration when attempting this activity. We recommend consulting with a professional or experienced paper engineer for additional guidance on involving children in this activity.
Q: Can I Add Decorations to My Paper Tower Without Tape?
A: Yes, you can add decorations to your paper tower without tape as long as they do not compromise the stability of the structure. This can include using markers, stickers, or even painting on the paper before construction. Just be mindful of how the added weight or texture may affect the overall structure and make adjustments accordingly. It is important to keep in mind that the primary goal of making a paper tower without tape is to create a stable and impressive structure, so decorations should not hinder or jeopardize that goal. With that being said, feel free to let your creativity shine and make a unique and visually appealing paper tower!
Conclusion:
I hope this article has been beneficial for learning how to make a paper tower without tape. Thank you and have a nice day! Keep on creating and exploring the endless possibilities of paper engineering! Remember to always prioritize safety, get creative with designs and materials, and don’t hesitate to seek guidance from professionals for larger or more complex structures. Happy paper tower building!
Check out our article How to Make a Paper Mache Helmet
Elizabeth Davis
Elizabeth is a creative writer and digital editor based in the United States. She has a passion for the arts and crafts, which she developed from a young age. Elizabeth has always loved experimenting with new mediums and sharing her work with others. When she started blogging, she knew that DIYquickly would be the perfect platform to share her tutorials and tips. She's been writing for the blog from the beginning, and her readers love her helpful advice and easy-to-follow instructions. When she's not writing or editing, Elizabeth enjoys spending time with her family and friends.