How to Make a Paper Mache Helmet
Are you feeling a bit excited to learn about the actual procedure of how to make a paper mache helmet? If your ultimate reply is positive, we want to assure you that this entire article could be the best possible solution for you. You need to believe us as we are not lying!
If you want to know an effective method of making a paper mache helmet, you must follow some necessary steps. There is a possible chance that if you fail to maintain those steps accordingly, you can not hope to achieve your most desired outcome.
We will provide a comprehensive overview of this topic with a step-by-step method so that you can flawlessly execute the entire work without any additional support. However, there are some safety issues that we require to maintain before getting started. Considering these facts, we hope this guide will be helpful to you.
Not only this point, but you will also find some precautionary measures in this article that you must follow while performing the whole task. We believe after completing this content, you will clearly understand the process. If you are willing to study in more depth, kindly read the rest of the segments!
An Overall Overview of the Topic
Paper mache is a decent demonstrating material for reinforcement. The principal advantages of paper mache for the defensive layer are that the subsequent cap is clear to utilize virtually natural materials, stays protected and secure for children, and costs hardly anything.
Maximum caps are comparative; subsequently, the improvement strategies are sincerely similar as nicely; however, anyhow, in the event, you are creating a Norman Spangenhelm like this.
You Can Check It Out to Make a Paper Talisman
Materials that You Will Require
- In any event, 3-4 papers, sliced down the middle and torn into generally 3cm.
- Medium estimated inflatable ball
- PVA stick
- Paint for anything shading you need to paint the completed assignment
- At least two basins
- Stick wrap/happy wrap
- Defensive attire
- A protected spot to keep the WIP
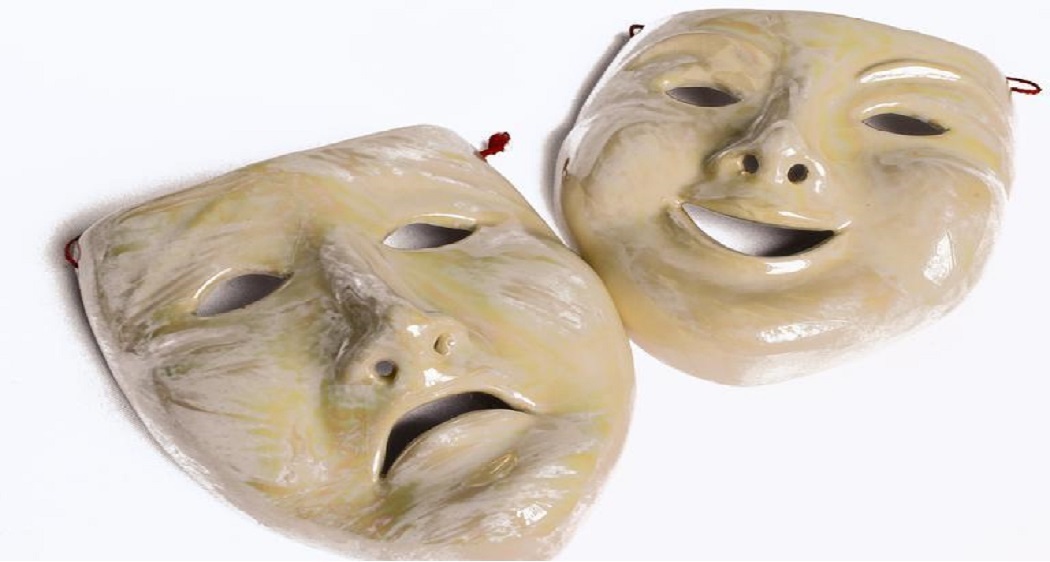
- Contingent upon what you need to make with the cap/cover. For instance, the hitter’s head protector.
- Sharp edge for cutting neck gap and any eye openings
- Estimating tape or certainty and assessment aptitudes
- Indelible marker or anything
- Veiling tape, clingy tape
- Cardboard
The Process of How to Make a Paper Mache Helmet
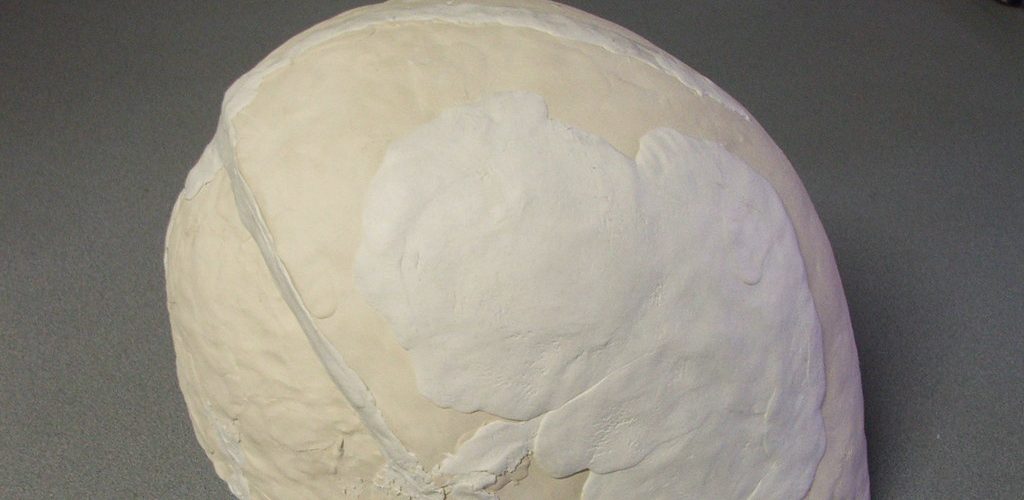
- Swell the inflatable ball and tear up the newspaper – you must place the particulars beneath. Pour PVA stick inside the field with water.
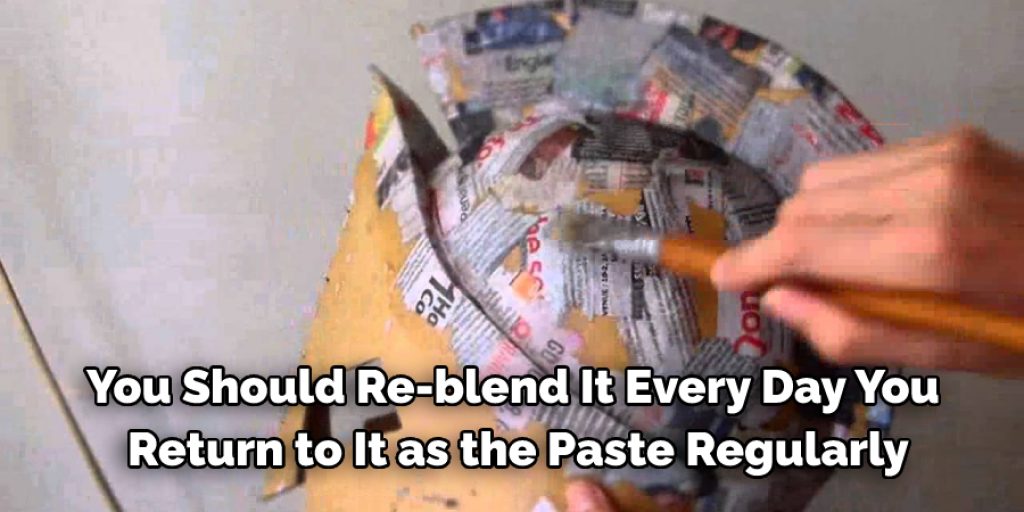
- You should re-blend it every day you return to it as the paste regularly. While you have accomplished the paste each meeting, position a layer of hold wrap.
- Get portions of a newspaper. At that point, locate every strip in a pentagonal instance across the base.
- Put each strip so it is miles, a slight decrease than the only placed earlier, but sufficiently high so it is miles as but covering. In the end, you will have shrouded the entire ball in this layout.
- On the off danger that there are any more significant shapes you want to include onto the pinnacle protector/cowl, position them after the second layer.
The subsequent layer should be of strips set the other way; for instance, the primary layer turned flat, and layer 2 has to be vertical. It is miles better for the high-quality of the ball inside the occasion which you try this.
- Retain layering the ball, making sure each layer has accurately dried before starting the subsequent – this may take quite a while.
- If you have completed the layering, cowl the ball around a couple of instances with the rest of the water mixture for added quality at those packed shows! Make use of, in any event, four coats for the identical range of as required in your picked shading to provide that robust look.
- You may now crumble the volleyball cautiously, rehash till the inflatable ball is completely flattened, and do away with it carefully from the mache starting.
- Degree around your head utilizing the estimating tape and reduce a gap marginally extra across the first hole or gauge and reduce using your fact and talents.
- Spot your head and make use of the marker, stick the threshold through the imprints, and reduce them from an outside perspective.
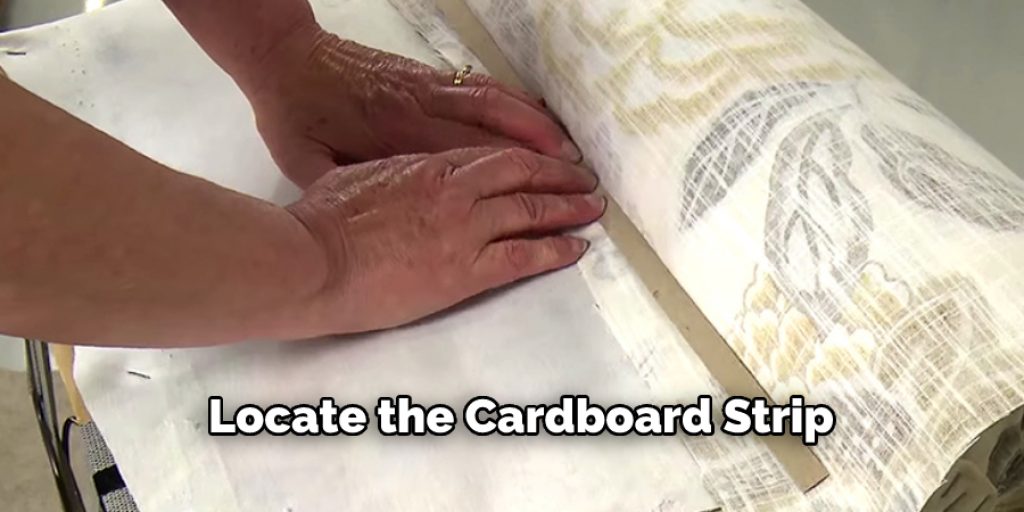
- If your head contacts the head of the paper mache, degree around the top of your head and reduce out a cardboard card that duration. Using the sticky tape and experimentation, adhere to the top of the ball.
- On the off danger that your head would not contact the top of the ball, degree round the top of your head and reduce a chunk of cardboard more than one cm shorter of around 5cms in width or whichever period you feel will cover the separation.
- Utilizing adhesive tape to ensure the cardboard, use experimentation to locate the cardboard strip; at that point, use experimentation again to find the perfect spot to make sure about it.
We have appeared almost at the end. At this stage, we think all your confusion and inquiries regarding how to make a paper mache helmet might have come to an end. And as an outcome, you can now apply your achieved knowledge practically.
Here we would like to mention that you should reread the content with proper concentration and try to focus on the steps. Make sure you follow all the steps we mentioned in this article’s earlier segments accordingly.
Lastly, we suggest you keep practicing the method and try to have faith in yourself. If you manage to do so, then there will be nobody who can create any obstacles in your way.
Remember, one more thing that is you require to maintain the safety hacks if you want to perform the whole task flawlessly without making any messes or causing any sudden disasters. Then you are completely good to go!
you may also read now