How to Make a Guitar Out of Paper
Is your guitar feeling a little low? Or maybe it’s just time to retire the old one and buy a new one. Well, if you don’t have the money or space for a new guitar, why not make a new one out of paper! This blog post will show you how to transform some simple origami into an instant instrument easily.
All you need is some printer paper, scissors, glue, and patience. This blog post discusses how to make a guitar out of paper. You can find many different paper guitars on the internet, but this one is the most straightforward way to craft your own instrument! So let’s jump in.
Tools and Supplies Needed:
- Piece of paper
- Pencil or Pen
- Scissors
- Ruler (to measure the guitar)
- Glue
Directions: How to Make a Guitar Out of Paper
Step 1:
Use a ruler to draw a square on the sheet of paper. Cut along the lines you have drawn to create a square shape. Make sure that both sides are equal. The size does not matter, as long as it is bigger than the width you want your guitar neck to be.
Step 2:
Fold the square in half along the shortest side, using a crease to ensure it stays folded. Then take both sides and bring them down until they meet each other. If you did this right, your paper should now be triangular-shaped. Next, turn it sideways so that what was once on top is now on the bottom.
Step 3:
Next, fold the top left corner down until it meets the edge of your paper. Flip your paper over and do the same to the other side. Then, take what used to be on top and bring it down so that they meet each other at a point slightly higher than you might expect. You should still have four lines intersecting.
Step 4:
Fold the two outside lines back as far as they can without ripping the paper. This should be a bit past where your fingers are on either side of it and near the point that you just made. Once finished with that fold, turn your paper over and do the same thing to the other side.
Step 5:
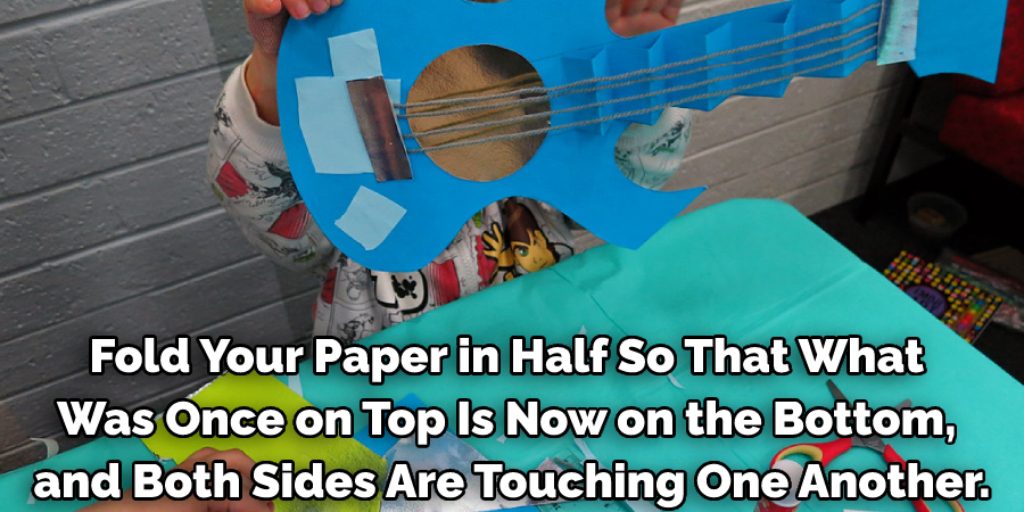
Fold your paper in half so that what was once on top is now on the bottom, and both sides touch one another. Flip it over and do the same thing to the other side. If this doesn’t make sense right now, you will see what we mean when you get to this step. You should now have a strip of paper that has three lines intersecting. Flip it over and do this to the other side as well.
Step 6:
Now you will make your guitar’s soundbox (the part where you will put your fingers). Take what used to be on top and fold it down to meet the edge of your paper, but without tearing it. Repeat this to all four sides. Then pull back on each flap and fold it back as far as you can without tearing the paper. This should now look like a square-like shape from where you started.
Step 7:
Once you have made a complete top layer for the soundbox, fold the two outside flaps down on both sides. These should be thicker than the rest of your paper. Fold them back up when you are done with them, and then flip the entire thing over to do it on the other side. For an extra guideline, try folding upwards along where you originally made your creases in the previous step.
Step 8:
Do the same thing to each side for your sound hole, making sure you leave one line open (where your fingers will go). You can do this by folding the flap you just made down and then folding it back up. Then flip over to do this on the other side as well. When completed, it should now look like an open square.
Step 9:
Take the corners of one flap and fold them towards the center so that they meet each other near where you made your original creases. Bring them down slightly to create a slight dent in the paper, then do this to the other three flaps as well. This will help give your guitar a better structure.
Step 10:
To make the soundhole, bring the top flap down and fold it back up to meet its original state. If you want to add strings, here is where you would do that. But if you have an actual stringed instrument, you may want to leave this part out.
Step 11:
Take your guitar and fold it in half, then take the flaps on either side and fold them up, so expose the point you made earlier. Then, apply glue to these flaps and press them together to stick. Next, flip over and do the same thing to the other side.
Step 12:
Attach your guitar to a stick, dowel rod, or anything you can use as a guitar neck. Then apply glue to the top of it and press it down so that it sticks. You may have to hold it in place for a while until it dries. Once you are done with this step, your guitar is finished, and you can then play a song on it if desired.
Things to Consider When Making a Guitar Out of Paper
1. Standard 8.5″ x 11″ Letter Paper Sized Paper will work just fine, but we recommend choosing a heavier paper like 20 lb paper if you want your guitar to be really sturdy and last longer.
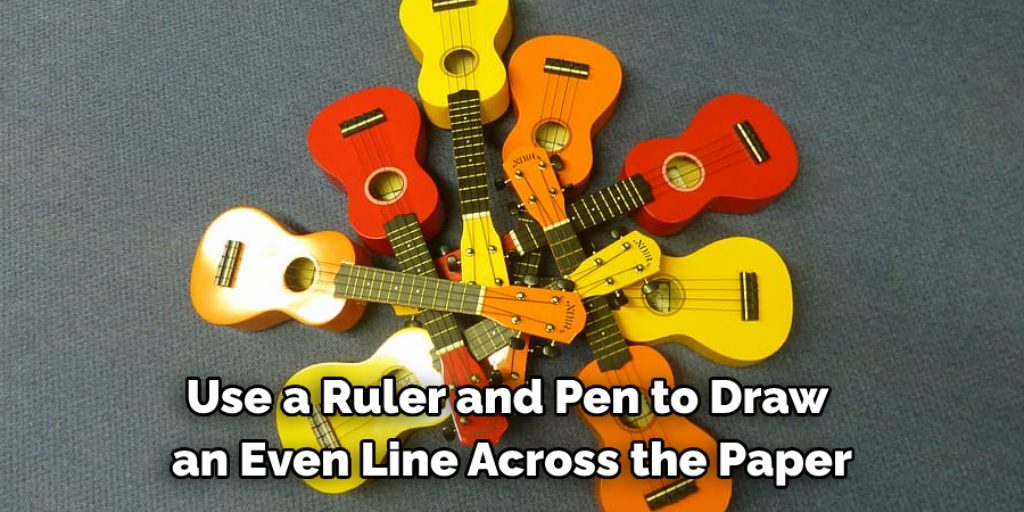
2. To make the Bridge, use a ruler and pen to draw an even line across the paper 10 inches from the bottom, as shown above.
3. To make the Neck, draw a line from the top of the paper (where you made your marker) all the way down to where you drew that bottom line for the Bridge.
4. To make the Headstock, cut off a third of this new piece and fold it around until both sides touch each other and tape together (this will be the Headstock).
5. To make the ‘strings’ of the guitar, take a piece of scotch tape, fold it in half longways, and then cut it into 1/2 inch pieces (you will get about 40 pieces from one strip). Then tape these little strips to your guitar between each ‘fret.’
Conclusion:
Creating a guitar out of paper is possible, and it’s not as easy as you might think. Some steps need to be followed, but the result can produce beautiful music.
If you want to learn how to make a guitar out of paper from scratch, we have all the details for you right here on our blog! So check out this article if you want tips on making a homemade acoustic guitar or electric guitars with just materials found around the house and what they sound like when played!
Elizabeth Davis
Elizabeth is a creative writer and digital editor based in the United States. She has a passion for the arts and crafts, which she developed from a young age. Elizabeth has always loved experimenting with new mediums and sharing her work with others. When she started blogging, she knew that DIYquickly would be the perfect platform to share her tutorials and tips. She's been writing for the blog from the beginning, and her readers love her helpful advice and easy-to-follow instructions. When she's not writing or editing, Elizabeth enjoys spending time with her family and friends.