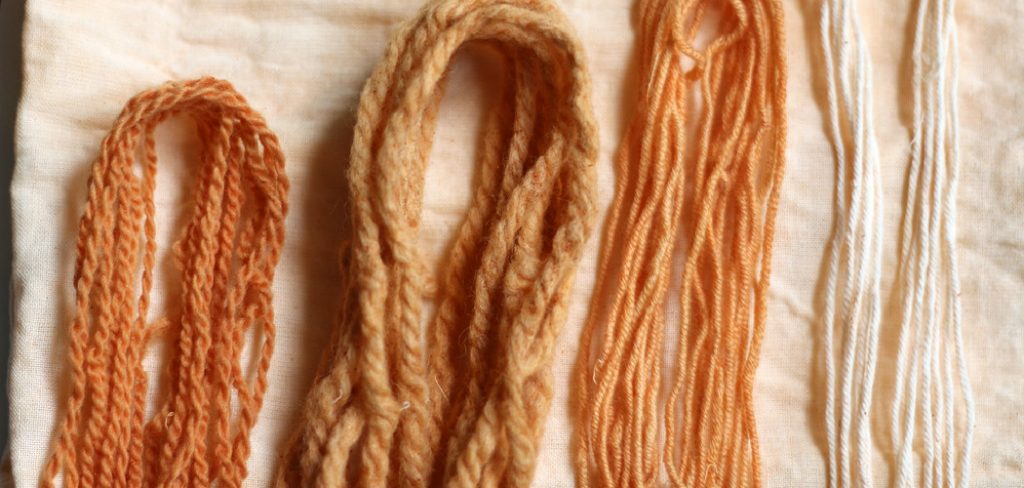
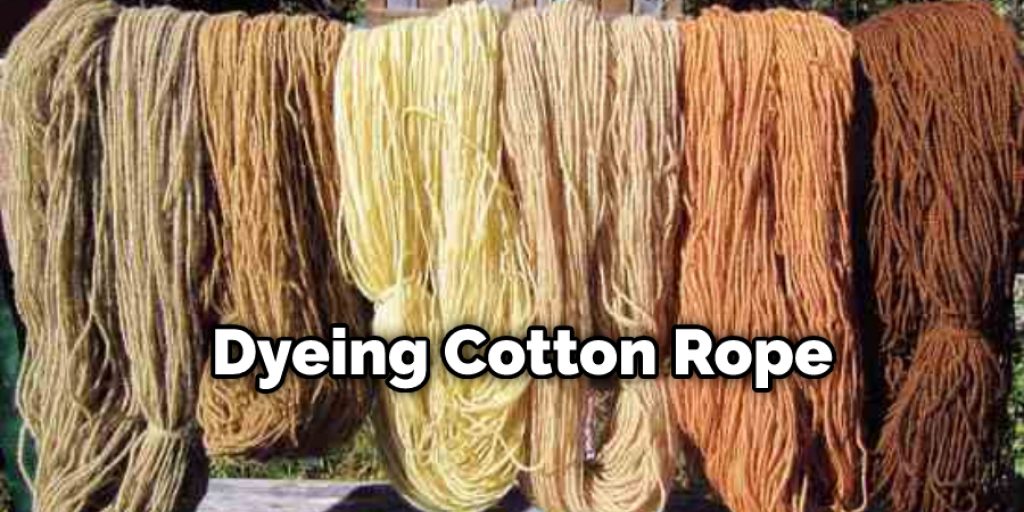
How to Dye Cotton Rope
Have you ever wanted to change the color of your cotton rope? In this blog post, we will show you how to dye cotton rope using a simple dyeing process. We’ll also provide some tips on how to get the best results.
First, gather your supplies. Then, follow these simple steps to create your own dyed cotton rope masterpiece. You can choose any color you like, and the process is simple enough that anyone can do it. So, if you’re ready to give your cotton rope a new look, keep reading!

Supplies You’ll get To Dye Cotton Rope
- Cotton Rope
- Rubber Gloves
- A Bucket or Container
- Washing Soda
- Dye (food coloring will work just fine)
- Towel
- Old Spoon or Fork to stir with
Step by Step Guide: How to Dye Cotton Rope
Step 1: Prepare the Dye and Rope
Cut cotton rope into smaller sections; we recommend 1-2 feet for beginners (but you can experiment with length). Prepare the dye and heat water to a boil. Submerge the entire rope entirely into the dye bath for one color. Do not cut the cord at each end unless you want two colors of rope!
Step 2: Dyeing Process
You’ll need some supplies before you start, like a big pot, some rope, and some fabric dye. Boil some water in the pot, and then add the dye. Stir the rope in the dye bath until it reaches the desired color. Be careful not to splash any of the hot water on yourself! Let the rope sit in the dye bath for at least one hour, stirring it once every 15 minutes or so. After an hour is up, carefully take the rope out of the dye bath and put it over a bucket or large bowl to catch any extra water.
Step 3: Pre-soak Your Rope
Before hanging your rope to dry, completely soak it in cold water for an hour or two (or overnight). The reason behind this step is that dye will seep out of the rope if you do not; let it drip, don’t ring it out!
Step 4: Hanging Your Rope to Dry
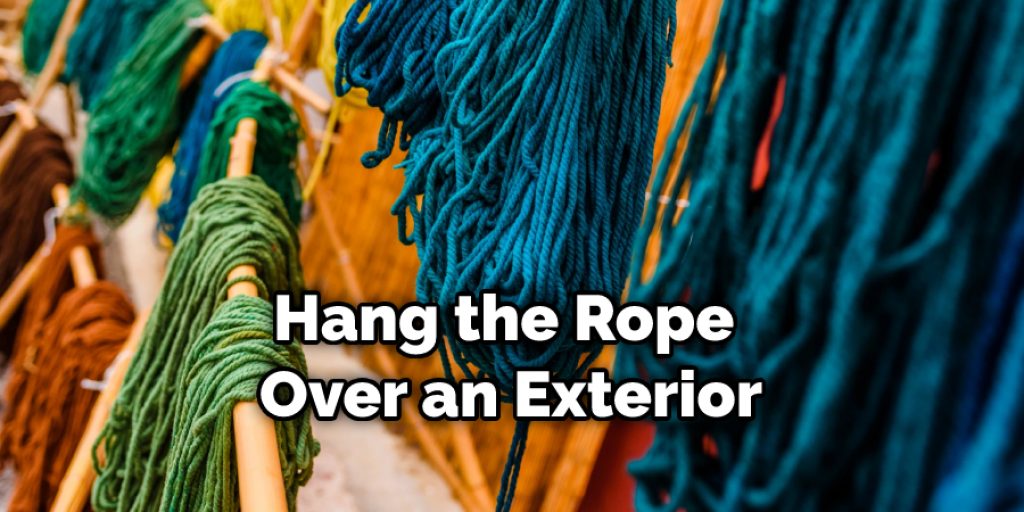
It’s best to hang the rope over an exterior or well-ventilated area, and you can use clothes hangers or shower curtain rods to hang your dyed cotton rope. The dye will gradually fade depending on how much direct sunlight reaches it, so be sure it’s protected! Let this process take place for at least three to five days, but you may notice that some colors fade faster than others.

Step 5: Removing Plastic Cords
Dyed cotton rope comes with two plastic cords at each end; to remove them, grab the cord and slice across (or burn it if you like); make sure to hold your breath, as the melting of the plastic is not pleasant.
Step 6: Finishing Touches
After the rope has completely dried, you can cut it into smaller sections to make different-sized bracelets or ropes. One thing that is very important to note about dying rope is that specific colors are more likely to bleed than others depending on your dye preference; you should consider this information before dyeing!
Some Tips and Suggestions
1. The dye will bleed, so it is best to use a well-ventilated area for this project.
2. If you are using dyed rope for items that will be washed, be sure to check out the rope after its first wash. The color may not be as vivid anymore.
3. When using dye in a pot, be sure to use gloves and protective eyewear, so you don’t get any dye on yourself.
4. Be careful with the mordant when stirring it into your boiling water. It stains things easily.
5. Be sure the rope is thoroughly dry before beginning this project. Wet ropes will dye unevenly and may even dye some of your fingers!
6. When dyeing with multiple colors, start by tying off one end of the rope before dipping it into the first color of dye. That way, you can be sure that the end of your rope will not bleed.
7. Ropes that have been mordanted with alum only dye a light color.
You Can Check It Out To Make a Beer Dye Table
Frequently Asked Questions
Q: Which Are the Best Colors of Dye to Use on Your Cotton Rope?
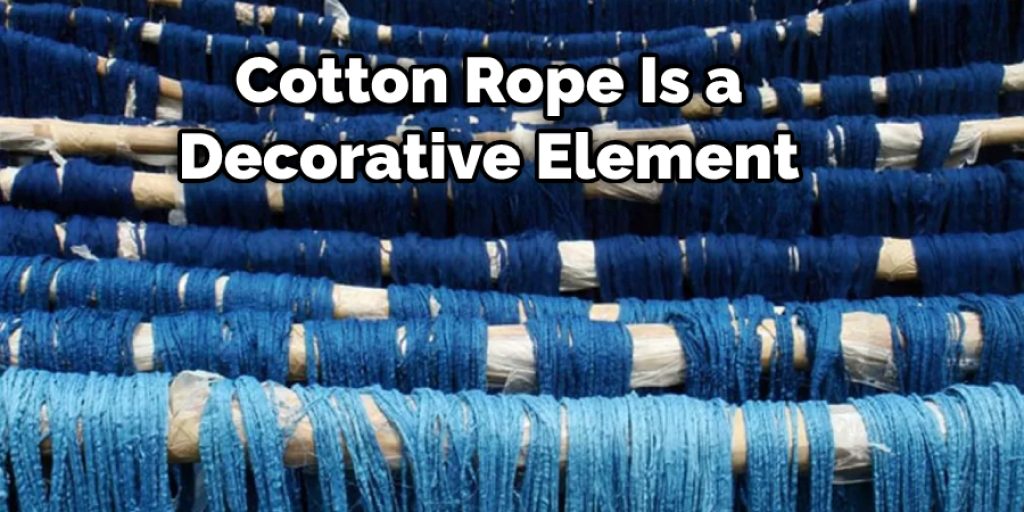
A: Remember that the cotton rope is a decorative element and a functional tool in your home. The cotton rope is best when used for all kinds of activities. It needs to be taken care of to last long and serve you better. You can choose from a lot of colors. In the end, what matters is that you get to enjoy your cotton rope and how it serves you in different areas of life.
If you want your cotton rope to last, you need to take good care of it. Just like you would with a sturdy wallet or durable shoes. These items play a big role in your comfort and convenience, so if you take good care of them, they won’t break or snap easily.

Q: How Do You Wash and Store Your Dyed Cotton Rope?
A: The dyed cotton rope should be kept in a cool and dry place to maintain its vibrant color. It can also be washed in cold water with mild laundry soap. Please do not use bleach or harsh fabric softeners, which may cause the colors to fade.
After washing, you will need to soak the dyed cotton rope in cold water with mild laundry soap for several hours or overnight before it is ready to be hung up to dry.
Q: How Can I Make My Own Natural Dyes for Cotton Rope?
A: There are two basic steps to dyeing cotton rope by using natural dyes. First, note that some sources recommend boiling the fabric or yarn-dyed, while others advise against it. The choice is yours! If you opt not to boil the fabric first, be sure to stir your dyebath often during processing so that all of the fabric soaks up color evenly and simultaneously.
To make a dyebath for dyeing cotton rope, place two tablespoons of alum into a large saucepan filled with one gallon of water, and stir until dissolved. Next, add one tablespoon each of your chosen mordant (alum acts to fix the dye to the fabric), dye material, and cream of tartar to the saucepan, then stir until dissolved.
Add your fabric and simmer until you achieve the desired depth of color, stirring often. Allow the material to soak for 15 minutes before removing it from the dyebath. Rinse in warm water until all of the excess dye has been removed.

Conclusion
Now that you know how to dye cotton rope, it’s time for a bit of a science lesson. The chemical reaction occurs when the acid and alkali combine in water, creating molecules called hydroxide ions that bond with the yarn or string fiber.
This process creates new colors while maintaining the integrity of your fabric or threads because no bleach is added during this process. You can also add food coloring to make even more color options! We hope this blog post has been helpful. Let us know your thoughts in the comments below!


