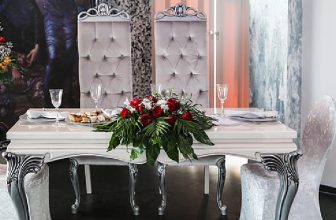
How to Make a Beer Dye Table
If you’re in the market for a new table, why not consider making one yourself using beer dye? It’s a really easy process and the results are fantastic. Plus, it’s a great way to use up any leftover beer from your last party. Don’t worry if you’ve never dyed anything before, we’ll walk you through the entire process step-by-step.
Keep reading for instructions on how to make a beer dye table.
What is Beer Dye Table?
A beer dye table is a table that has been dyed using beer. It’s a really easy process and the results are fantastic. Plus, it’s a great way to use up any leftover beer from your last party.
Necessary Materials to Make a Beer Dye Table
- 1 can of flat beer (any color)
- Paint or stain of your choice ( we used a dark walnut)
- 1 paintbrush
- 1 clean, lint-free cloth
- gloves (optional)
10 Steps on How to Make a Beer Dye Table
1. Pouring Can of Beer:
Start by pouring your can of beer into a bowl. You want to use a flat beer so that there is less foam. this step is important because the foam can ruin your paint job.
2. Applying the Beer Dye:
Next, dip your paintbrush into the bowl of beer and apply it to the surface of your table. Work in small sections and brush the beer dye on in long, even strokes. Be careful when use beer near wood furniture as it can cause the wood to warp. If warp does occur, sand the area down and start again.
3. Letting the Dye Dry:
Once you have applied the beer dye to your entire table, let it dry for at least an hour. If you are using a light-colored paint or stain, you may need to let it dry for longer. Make sure the area is well-ventilated so that the fumes from the beer don’t make you sick.

4. Applying a Second Coat (Optional):
You can apply a second coat of beer dye if you want a darker color. Let the second coat dry for at least an hour before moving on to the next step. This step is optional, but we recommend it if you want a really rich color.
5. Adding Your Paint or Stain:
Now it’s time to add your paint or stain. We used a dark walnut stain for our table, but you can use any color you like. Apply the paint or stain in the same way you applied the beer dye.
6. Letting the Paint or Stain Dry:
Once you have applied your paint or stain, let it dry for at least an hour. If you are using a light-colored paint or stain, you may need to let it dry for longer.
7. Applying the Second Coat of Paint or Stain (optional):
You can apply a second coat of paint or stain if you want a darker color. Let the second coat dry for at least an hour before moving on to the next step.
8. Adding a Protective Finish:
Once your paint or stain is completely dry, you can add a protective finish. We recommend using a clear polyurethane sealer. Apply the sealer in the same way you applied the beer dye and let it dry for at least an hour.
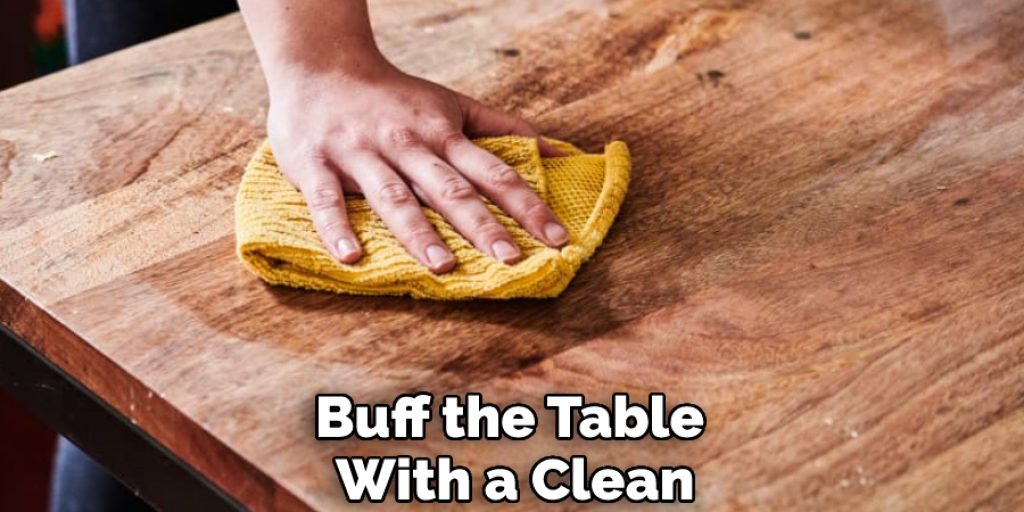
9. Buffing the Table:
After the sealer has dried, you can buff the table with a clean, lint-free cloth. This will help to remove any excess sealer and give the table a nice shine.
10. Enjoying Your Table:
Now your beer dye table is complete! Enjoy it in your home for years to come. It’s a fun project that anyone can do and the results are beautiful. Give it a try.
Tips and Tricks You Can Use
1 . Use Light Color:
If you want a lighter color, use a light-colored beer. For a darker color, use a dark-colored beer.
2. Different Painting:
You can experiment with different types of paint and stains to get the exact look you want.
3. Dry The Coat:
Be sure to let each coat of dye, paint, or stain dry completely before moving on to the next step. Otherwise, you may end up with a streaky finish.
4. Apply in Small Sections:
Work in small sections when applying the beer dye, paint, or stain. This will help ensure an even coat and prevent any drips or runs.
5. Use a Bowl:
When applying the beer dye, it’s best to use a bowl rather than pouring it directly onto the table. This will help prevent any spills or messes.
6. Use a Brush:
Apply the beer dye with a brush rather than a sponge or cloth for best results. This will help ensure an even coat.
7. Let it Dry:
Once you’ve applied the beer dye, paint, or stain, let it dry completely before moving on to the next step. Otherwise, you may end up with a streaky finish.
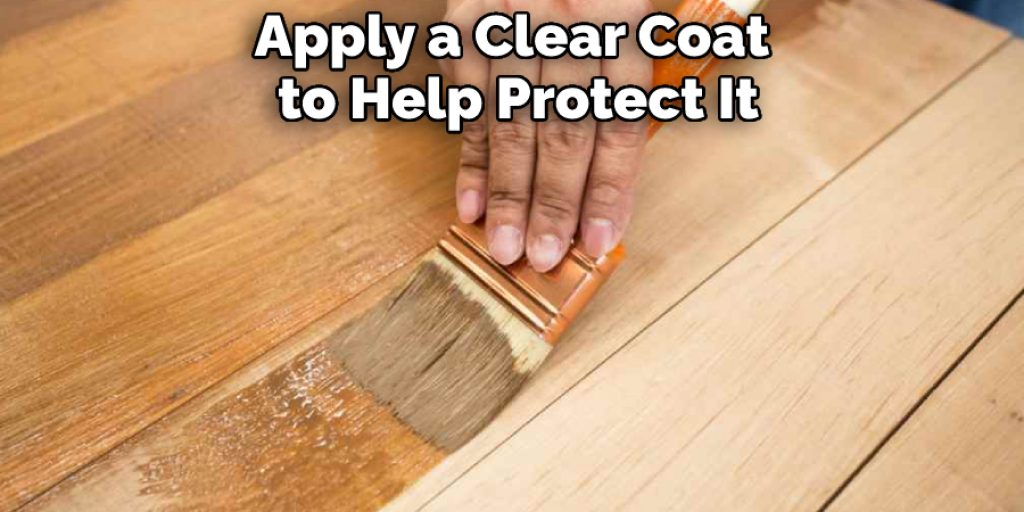
8. Apply a Clear Coat:
After the beer dye, paint, or stain has dried, you can apply a clear coat to help protect it. This is optional, but it will help extend the life of your table.
9. Enjoy Your Table:
Once you’ve finished all the steps, you can sit back and enjoy your beautiful new beer-dye table!
Precautions You Need To keep When Making a Beer Dye Table
1. When dealing with beer or any other type of alcohol, always use caution. Alcohol is flammable and can be dangerous if not handled properly.
2. If you’re using beer to dye fabric, wood, or Easter eggs, be sure to let the soaked items dry completely before using them. Otherwise, the color may bleed.
3. When using any type of dye, paint, or stain, always follow the manufacturer’s instructions. This will help ensure the best results and minimize the risk of any accidents.
4. Make sure to ventilate the area well when using any type of dye, paint, or stain. The fumes can be harmful if inhaled.
5. After the wort has cooled, add it to the fermentation vessel along with the yeast. Seal the vessel and let it ferment for two weeks.
6. After fermentation is complete, bottle or keg the beer and enjoy!
7. When using any type of dye, paint, or stain, always clean up any spills immediately. Otherwise, they may be difficult to remove later.
8. Make sure to read all the instructions carefully before beginning any project. This will help ensure the best results and minimize the risk of any accidents.
9. When using any type of dye, paint, or stain, always wear gloves and old clothing. This will help protect your skin and clothes from any accidents.
10. Always follow the manufacturer’s instructions when using any type of dye, paint, or stain. This will help ensure the best results and minimize the risk of any accidents.
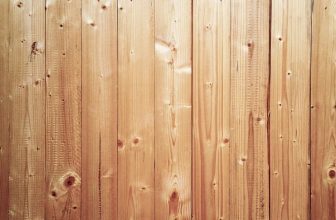
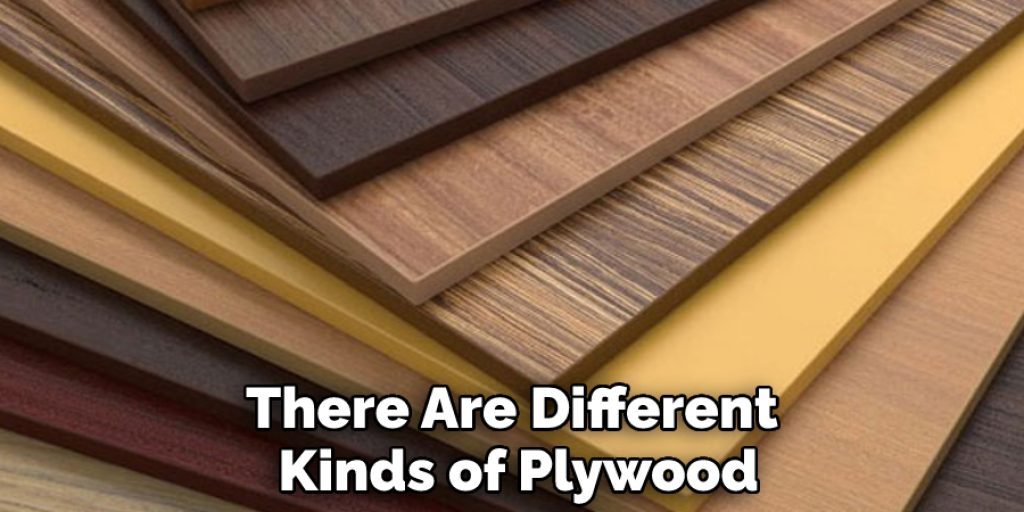
Different Kinds of Plywood for Dying a Table
There are different kinds of plywood, so you’ll want to make sure you get the right one for your project. The best kind of plywood for dying is hardwood plywood. This type of plywood is made from multiple layers of hardwood veneers glued together. It’s strong and durable, making it ideal for furniture projects.
You can find hardwood plywood at most hardware stores or lumberyards. It’s sold in 4′ x 8′ sheets, so you may need to have it cut to size for your project.
How to Prepare the Plywood for Dyeing?
Before you can dye the plywood, you’ll need to prepare it. Start by sanding the surface with 120-grit sandpaper until it’s smooth. Then, wipe away any dust with a damp cloth.
Once the plywood is sanded and clean, you’re ready to start dyeing.
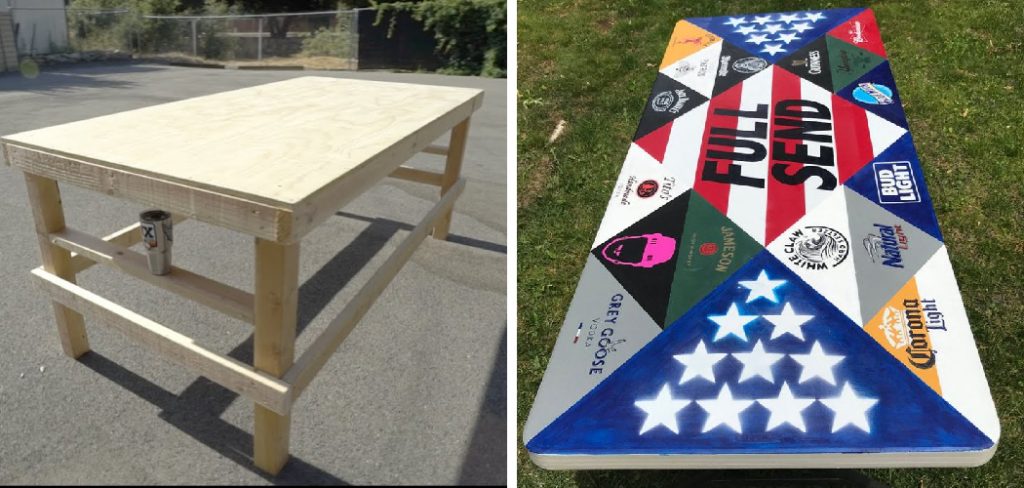
Is It Possible to Make a Portable Beer Dye Table?
Yes, it is possible to make a portable beer-dye table. All you need is a piece of cardboard or plywood that is big enough to fit your project, some clamps, and a few supplies. You can find everything you need at your local hardware store. Follow the instructions above to create your portable beer dye table. Once you’re finished, you can take it with you wherever you go!
Is Making a Beer Dye Table Costly?
Making a beer-dye table is not very costly. You’ll need to purchase some supplies, but you can find everything you need at your local hardware store. The total cost will depend on the size of your project and the number of colors you use.
Conclusion
The beer dye table is a great way to have some fun and be creative with your home brewing. If you are looking for a new way to add color and variety to your beers, then the beer dye table is a project worth trying.
Hopefully, this guide has given you some helpful tips on how to make a beer dye table. Remember to use caution when dealing with any type of alcohol and always follow the manufacturer’s instructions when using any type of dye, paint, or stain. Thanks for reading!