How to Make a Magnetic Makeup Palette
Do you have a ton of makeup and no place to store it? Do you hate having to search through all your products to find the one you want? Then, a magnetic makeup palette is a perfect solution!
We’ll show you how to make a magnetic makeup palette in this post. Not only is it a great way to organize your cosmetics, but it’s also a straightforward project that anyone can do. So grab some magnets, and let’s get started!

Materials You Will Need
1. Palette
2. Superglue
3. Magnet
4. Tweezers
5. Toothpick
6. Brush handle or eyeshadow stick (optional)
7. Scissors
Complete Guide: How to Make a Magnetic Makeup Palette
Step 1: Depot Watercolor Palette
Begin by removing the watercolors from a palette. If you don’t have any in your collection, they can be bought cheaply at most art stores. Once the watercolors are out of the plastic wells, you will need to use some tweezers and toothpicks to scrape off all of the leftover paint and watercolor paper.
Step 2: Attach Magnet to Back of Palette
Take your magnet and place a small amount of super glue on both sides of the magnet. Then, carefully place the magnet in the center of the back of your palette, being certain that it adheres well.
Step 3: Attach the Magnetic Sheet
Once the superglue has completely dried on your magnet, take a piece of magnetic sheet and carefully place it over the magnet. The sheet should be flush with the back of your palette. You may need to use a small amount of tape to keep this in place while the glue dries.
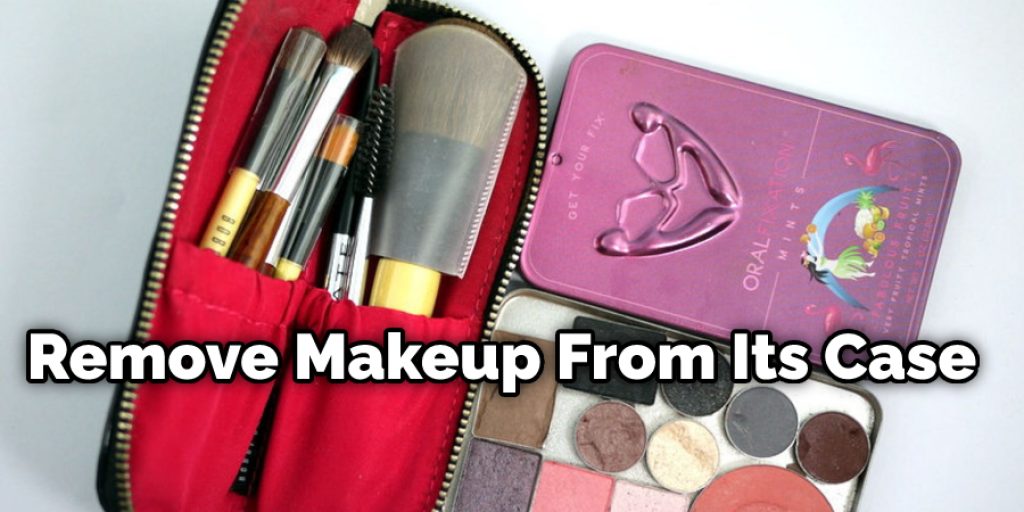
Step 4: Depot Your Makeup From Its Case
Begin by removing any makeup from its case and soaking it in nail polish remover if the product is sticky, such as lip gloss or adhesive. This will help you to easily scrape out all of the leftover residues that may be left behind.
It is best to use a brush handle/eyeshadow stick for this part because there won’t be a magnet in the handle or stick. If you do not have a brush/eyeshadow stick, you can carefully scrape out the makeup with a toothpick and tweezers.

Step 5: Fill Your Palette
Once all of your product is removed from its case, use a small spoon to transfer it into your magnetic palette. You can mix and match colors as you wish; just be sure that they are completely dry before attempting to use them.
Step 6: Cleaning and Placing the Magnets Onto the Pots
Please make certain that your makeup is completely dry before attempting to place the magnet onto its pot. Take a small amount of super glue and apply it to one side of the magnet. As soon as it begins to get tacky, quickly place the magnet over your product, ensuring that you are pressing down firmly. Let this dry for at least an hour before attempting to use your product.
Step 7: Labelling Your Makeup
To make your product more convenient, you can print out several labels and stick them to the top of your pots before applying the magnets. This will help make it easier for you to find what color you are looking for.
Some Tips and Suggestions
1. Cover the magnets with a piece of paper and then hot glue it down to seal any loose items.
2. Make sure your trimmed magnet is no longer the acrylic sheet you are using, so it doesn’t show when covered by makeup or confetti!
3. Don’t use too much hot glue; keep gluing until just one ‘layer’ covers the top of your magnet so you can use it over and over again.
4. If gluing confetti, hot glue slowly to keep the shapes intact. You can also drop some hot glue on a piece of paper, dip the confetti in it, and put them where you want!
5. Make sure you have a perfect seal around the magnet before using it; make it as airtight as possible.
6. If using a mirror, make sure there is enough room to fit both eyeshadow pans and your finger comfortably!
7. If you want to make a dry sponge applicator, cut a shape you like and cover it in Mod Podge. It dries clear and looks like glass!
How Do You Make a Makeup Palette Holder?
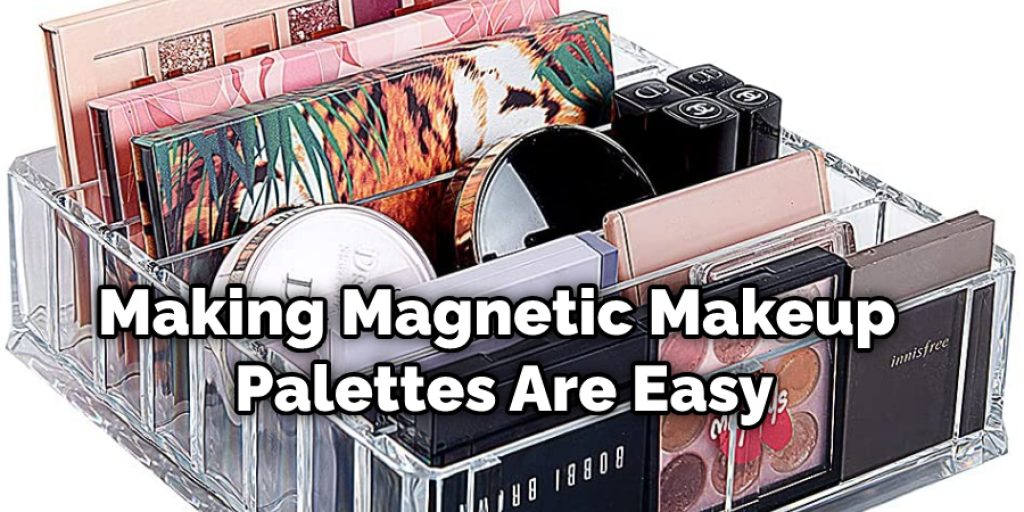
Many women who wear makeup know the struggle of where to put their palettes after they’re done with them. Whether it’s taking up too much room on your dresser, spilling everywhere in your makeup bag, or not being convenient enough to pull out at a moment’s notice, having an organized way of storing all of your makeup can be quite the challenge. It doesn’t help that the makeup market is filled with different palettes and compacts in all different shapes and sizes. Magnetic Makeup Palettes are an easy way to solve all of these problems.

How Does It Work?
All you need for this project is a small piece of metal (usually aluminum or nickel) and sheet magnets, which can be found online or at well-stocked craft stores. Sheet magnets come in different strengths; strong enough to hold a sheet of paper, strong enough to hold a can of soup, or somewhere in between.
You can create your palette by cutting the metal into the shape that works best for you and attaching magnets on the back. You could decorate it with paint or decals if desired as well.
How Much Does It Cost to Make One of These?
For this project, the only cost is the sheet magnets and the metal you use to create your palette. You can choose a material that works best for you: aluminum or nickel are usually available at hardware stores, while craft magnets are available in most craft stores.
It really depends on how much makeup you want to store! For example, a palette with two rows can easily be made with a single sheet of magnets, while a 20-row palette would require around 120.
Frequently Asked Questions
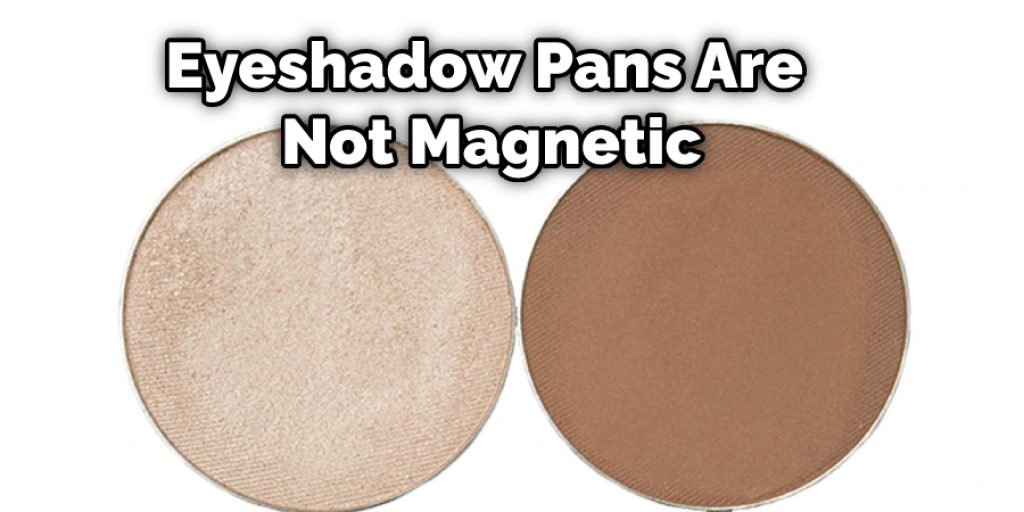
Q: Are Eyeshadow Pans Magnetic?
Eyeshadow pans, like foundation or powder blushes, are not magnetic. However, suppose you want to make your magnetic eyeshadow palette using pan-style makeup. In that case, you can purchase eyelash adhesives from the beauty supply store and adhere your eyeshadows to them using double-sided tape. If you do not want to purchase an adhesive, you can use a magnet taped to the back of your eyeshadow pan to stick it to a metal surface.

Q: Is It Possible to Use Other Materials Besides Magnets for the Case?
Yes, it is. It’s just the magnet that makes the magic happen in this case. If you’re looking to make a specifically shaped palette, you could use a non-magnetic material and glue magnets onto it instead.
You can also purchase magnetic sheeting made specifically for crafts and then cut it into your desired shape. You can use flat-backed magnets or ones with adhesive on the back. Both are fairly inexpensive. If you’re looking for something with a unique shape, consider using polymer clay to mold your case.
Conclusion
Use natural, organic materials to create a magnetic makeup palette. When you use this technique, the product will be more gentle on your skin and keep it feeling hydrated throughout the application. If you’re looking for an easy way to organize all of your cosmetics in one place without them becoming mixed up or messy, then try using this simple DIY project!
All you’ll need is some cardboard, scissors or a knife, a glue stick and magnets. You can also customize by painting designs onto the board before adding the attractions to show through when closed. This helps make things look prettier and makes it easier to find what you want with less searching required each time! We hope this blog post on how to make a magnetic makeup palette has been helpful. Let us know your thoughts in the comments below!


