How to Connect Green Mountain Grill to Wifi
Are you wondering how to connect green mountain grill to wifi? Don’t worry – it’s easier than you might think. With advancements in technology, grills are now smarter than ever, allowing you to control the temperature and other settings remotely via Wi-Fi.
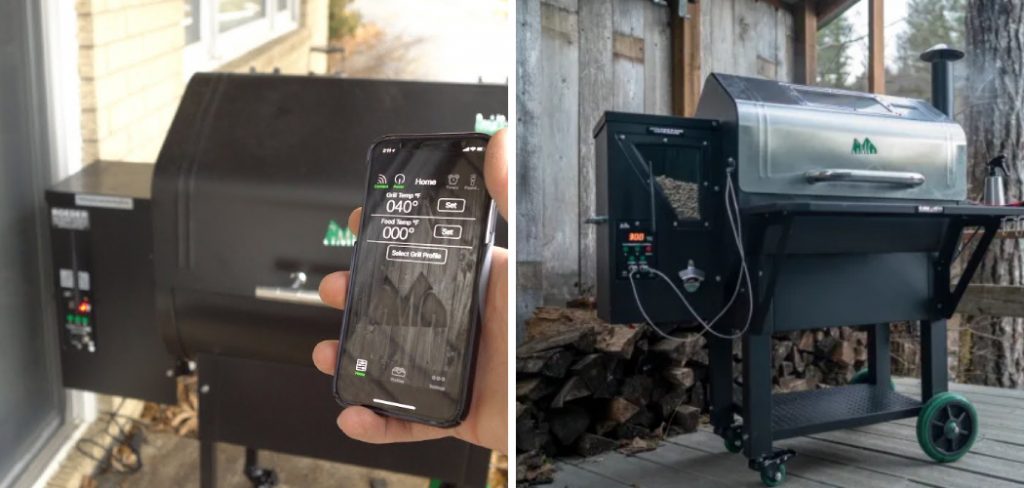
Furthermore, connecting a Green Mountain Grill is straightforward and hassle-free. In this blog post, we’ll walk through the simple steps it takes to get your grill connected quickly and with minimal effort so that you can start enjoying all of its great features right away!
For a lot of outdoor barbecue aficionados, the ability to control their grill through an app is a dream come true. By connecting your Green Mountain Grill to wifi, you can greatly enhance its capabilities and make it much easier for you to cook up tasty meals outdoors.
Here, we will explain the step-by-step process for connecting your Green Mountain Grill to wifi so that you can unlock its full potential from wherever you are!
Why May You Want to Connect Green Mountain Grill to Wifi?
There are many reasons why you may want to connect your Green Mountain Grill to a wifi network. Such as:
1. To Make Adjustments
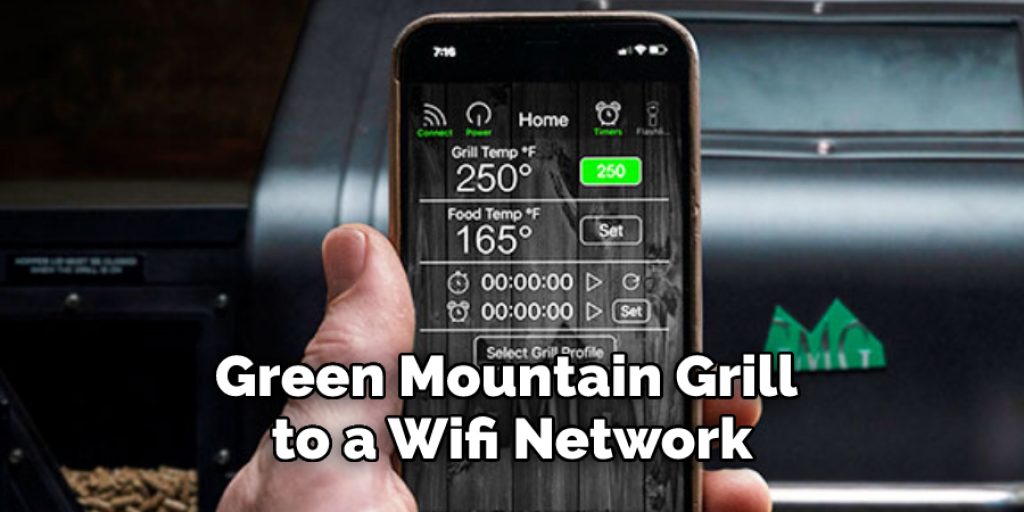
One of the biggest advantages of connecting your grill to a wifi network is the ability to make adjustments and control the temperature of your grill. With wifi access, you can easily adjust settings such as temperature, smoke intensity, and timer durations. This gives you more flexibility in how you cook, allowing for precise cooking results each and every time.
2. For Remote Monitoring
Connecting your Green Mountain Grill to a wifi network also gives you the ability to monitor your grill remotely. For instance, you can keep an eye on temperature levels and check in on how your food is cooking while away from the kitchen. This way, you don’t need to worry about running back and forth between inside and outside to adjust settings or check in on how things are going.
3. To Receive Updates
Another great advantage of a wifi connection is the ability to stay up-to-date with updates from Green Mountain Grills. The company releases firmware and software updates regularly, ensuring that your grill has the latest features and bug fixes available.
Overall, connecting your Green Mountain Grill to a wifi network can provide several benefits in terms of convenience and accuracy while cooking. With remote monitoring and the ability to make adjustments on the fly, you can ensure that all of your dishes are cooked exactly as you like them – regardless of where you are!
How to Connect Green Mountain Grill to Wifi in 6 Easy Steps
Step 1: Install Wifi Module in Green Mountain Grill
The very first step is to purchase and install the Wifi module in the Green Mountain Grill. This is a plug-and-play device, so it’s very simple to set up.But you have to make sure that the Wifi module is compatible with your grill.
Step 2: Turn on Grill and Wifi Module
Once you have installed the Wifi module, turn on both the Green Mountain Grill and the Wifi module. The light indicator should be solid green when both devices are turned on. But if the light turns red, then it means that the connection is not made.

Step 3: Download Green Mountain Grill App
The next step is to download and install the Green Mountain Grill app from your smartphone or tablet. This will let you control your grill through your device. The app is free on both Android and iOS operating systems, so make sure to download the right one.
Step 4: Connect Device and Grill to Wifi Network
Once you have downloaded the app, connect your device and Green Mountain Grill to a local wifi network. Make sure that both devices are connected to the same wifi network. Also, make sure that your wifi network is strong enough to support both devices.
Step 5: Login and Connect
Once both the grill and device are connected to the same wifi network, open the Green Mountain Grill app on your device. Then log in with your account information. Next, select “Connect” from the setup menu. The grill should now be connected to your device.
Step 6: Double Check
The last step is to double-check that the grill and device are properly connected. Open up the Green Mountain Grill app again and you should see a connection status with your grill’s name in green. If everything looks good, then you can start controlling your grill from your device!
And that’s it! You have now successfully connected your Green Mountain Grill to Wifi in six easy steps. Now you can start grilling like a pro with the help of your device and the Green Mountain Grill app.
Some Additional Tips to Connect Green Mountain Grill to Wifi
1. Do Not Put the Grill and Router Too Far Apart
The distance between your router and grill can significantly affect the quality of the connection. To ensure a strong connection, make sure that the router is no more than 15-20 feet away from your Green Mountain Grill.
2. Use an Ethernet Connection When Possible
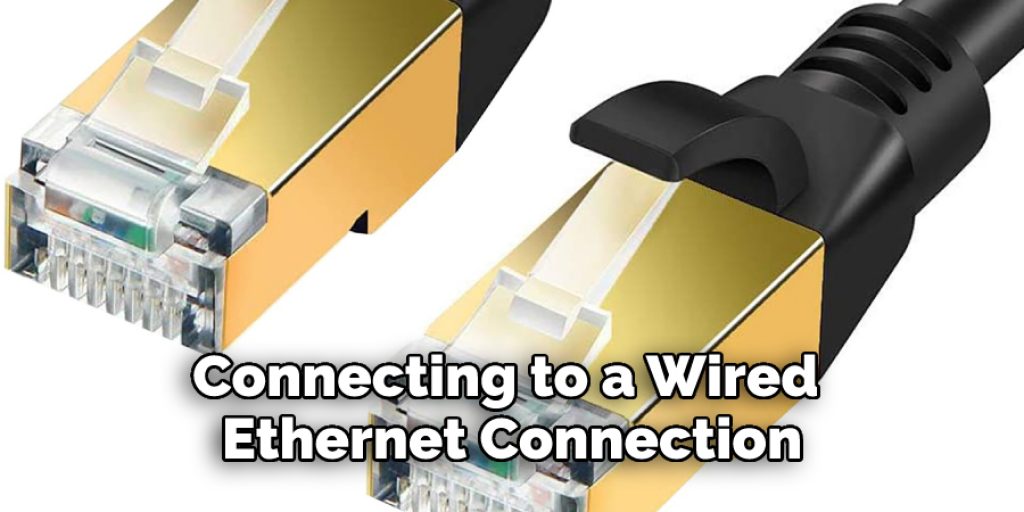
Connecting to a wired ethernet connection is the most reliable way to connect the Green Mountain Grill to wifi. This will provide a more stable connection than connecting wirelessly. Make sure to use an ethernet cable for the connection and check that the router is properly configured to enable the connection.
3. Check Your Network Settings
Before you start the connection process, make sure that your router is configured properly and that it is broadcasting its signal in an area close enough to your grill. You may need to adjust some of the router’s settings in order to enable a successful connection.
4. Use the Latest Firmware Version
Green Mountain Grill offers firmware updates for its products regularly. Make sure that you have the latest version installed on your device before attempting to connect it to wifi. Doing so will ensure optimal performance and compatibility with your router’s settings.
5. Perform Regular Maintenance
Regularly check and maintain the connection between your router and grill. This will help ensure that your network is running optimally, which will make connecting to wifi easier in the future. Make sure to check for any performance issues or software updates as well.
By following these tips, you should be able to successfully connect your Green Mountain Grill to wifi. With a strong connection, you’ll be able to control and monitor your grill from anywhere in the world!
Frequently Asked Questions
How Much Does It Cost to Connect Green Mountain Grill to Wifi?
The cost of connecting your Green Mountain Grill to wifi varies based on which model you have and the type of connection you are using. Most grills use either a direct connection or a wireless router. Direct connections typically require an adapter, which will likely add additional cost to the installation process. However, if you already have a wireless router with adequate coverage, you can use that to connect your Green Mountain Grill without having to purchase an additional adapter.
How Long Does It Take To Connect Green Mountain Grill to Wifi?
The amount of time it takes to connect your Green Mountain Grill to wifi will depend on the type of connection you are using and the complexity of the setup. Direct connections will generally take longer to set up than wireless routers, as they require additional adapters and specialized wiring. Generally speaking, connecting your Green Mountain Grill to wifi should take between 20-60 minutes.
Are There Any Benefits To Connecting My Green Mountain Grill To Wifi?
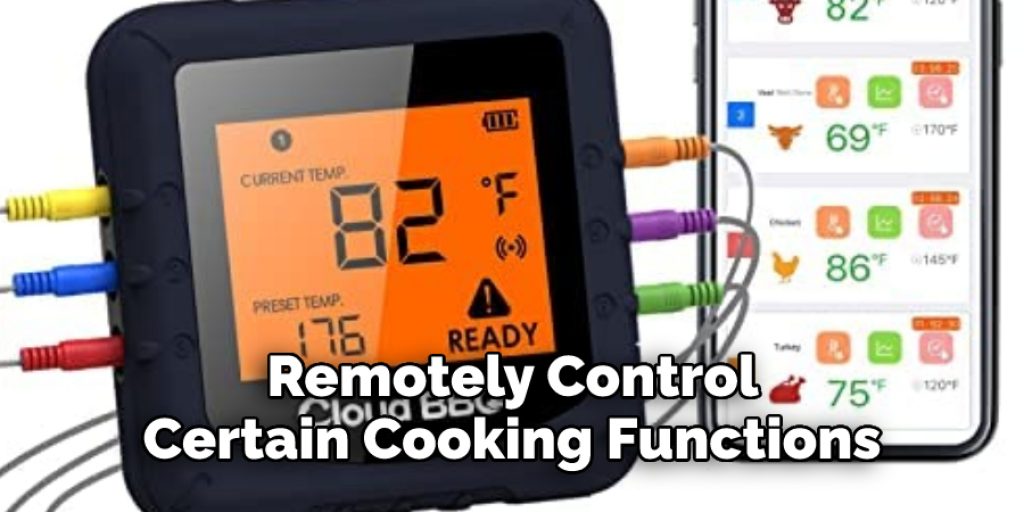
Yes! There are many benefits to connecting your Green Mountain Grill to wifi. For instance, once connected you will be able to monitor the temperature of your grill from anywhere with a web or mobile device. Additionally, some models even allow you to remotely control certain cooking functions such as preheating and adjusting the flame height. Finally, connecting your grill to wifi allows you to take advantage of the many features and recipes available through the Green Mountain Grill app.
Conclusion
Connecting your Green Mountain Grill to WiFi is an incredibly useful tool that will not only help you monitor the temperature of your grill, but also help with maintenance and general updates. Perhaps of utmost importance is the peace of mind one can find knowing that the internal systems of their valuable GMG are absolutely in check, allowing them to enjoy their grilling experience without any worries.
With this guide now behind you, there should be no more second guessing involved in connecting a GMG to WiFi; it really is as easy as following a few simple steps. Now you know how to connect green mountain grill to wifi, you can enjoy the benefits of having a connected cooking experience.
With the ability to monitor and control your grill remotely, you’ll never miss a meal again! Just remember to always use the latest firmware version, perform regular maintenance checks, and double-check your network settings before attempting to connect.
You Can Check It Out to Connect Propane Tank to Grill


