How to Install a UV Light in HVAC
Indoor air quality is essential for a healthy home. Your HVAC system plays an integral role in maintaining air quality. Installing a UV light in your HVAC system is one of the easiest and most effective ways to improve the air in your home. These lights use ultraviolet radiation to kill mold, bacteria, and viruses that contaminate your air ducts. It also reduces the unwanted odor coming from your HVAC system.
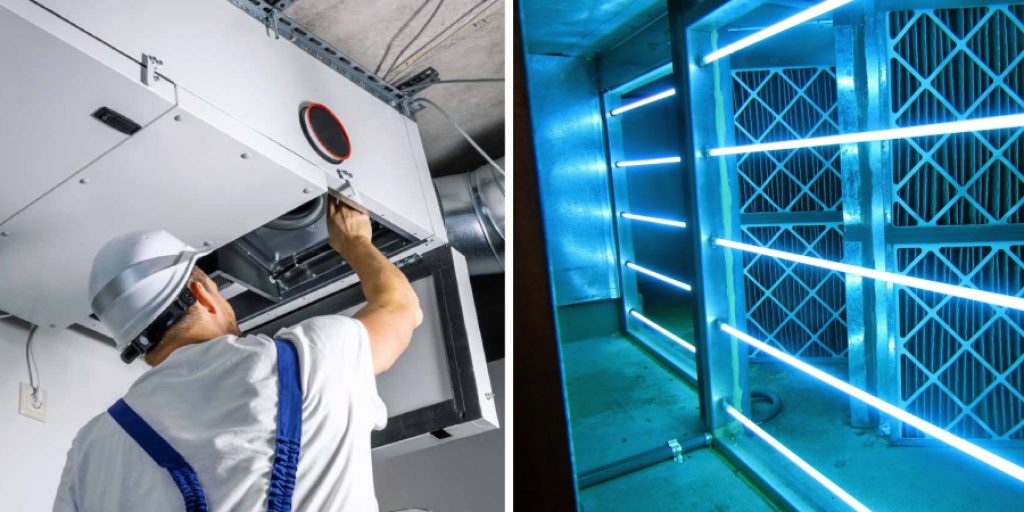
The good news is that it’s easy to install a UV light, and you don’t need to be a DIY expert to do it. In this blog post, we’ll guide you through the process of how to install a uv light in HVAC.
Can You Install a UV Light in the HVAC?
If you’re looking for a way to improve the quality of air in your home, installing a UV light in your HVAC system could be the answer. UV lights have been used for years to sterilize and disinfect surfaces, and they can be just as effective for killing bacteria, viruses, and other harmful organisms in your indoor air.
By installing a UV light in your HVAC system, you can significantly reduce the risk of airborne illnesses and allergies, and enjoy cleaner, fresher air throughout your home. So why not take the step to increase your indoor air quality? Consult with an HVAC professional today to find out if UV light installation is right for your home.
Why Should You Install a UV Light in HVAC?
As we continue to take steps towards creating a safer and cleaner environment, it’s important to consider all areas of our living spaces. That includes the air we breathe. HVAC systems are responsible for circulating and distributing the air within our homes or workplaces. But how do we ensure that the air is free from harmful particles and bacteria? That’s where UV lights come in.
Installing a UV light in your HVAC system can help eliminate bacteria, viruses, and allergens that may be present in the air. It’s a simple and effective way to improve the air quality and add an extra layer of protection. It will improve the health and safety of those around you and save you money in the long run by reducing the need for costly repairs or replacements in your HVAC system.
7 Steps to Follow on How to Install a UV Light in HVAC
Step 1: Choose the Right Type of UV Light
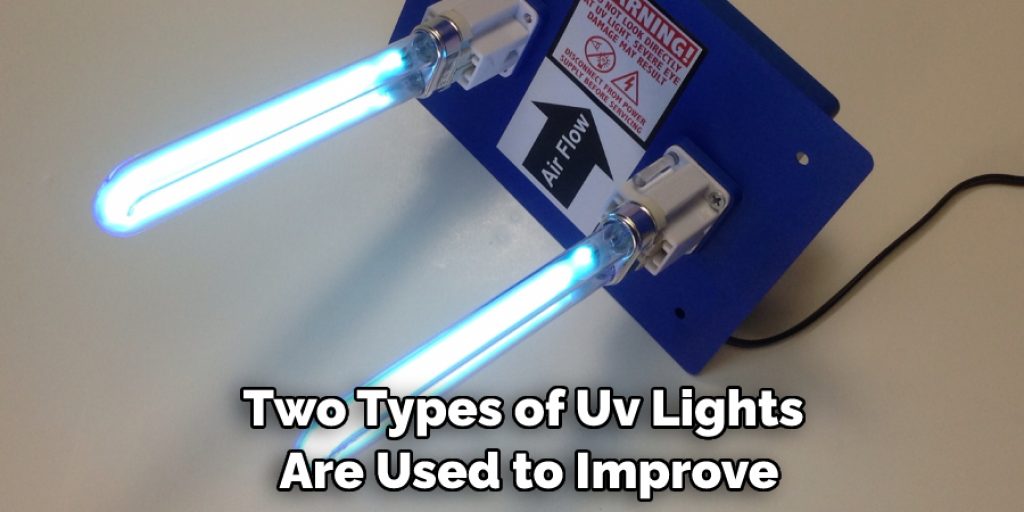
Two types of UV lights are used to improve indoor air quality: coil sterilization lights and air sterilization lights. Coil sterilization lights install near the HVAC evaporator coils and work to keep them clean. Additionally, air sterilization lights are installed inside your air ducts and improve the air quality in the entire house. Consider your indoor air quality needs when deciding which type of UV light you should install.
Step 2: Turn Off the Power and Open Up Your HVAC System
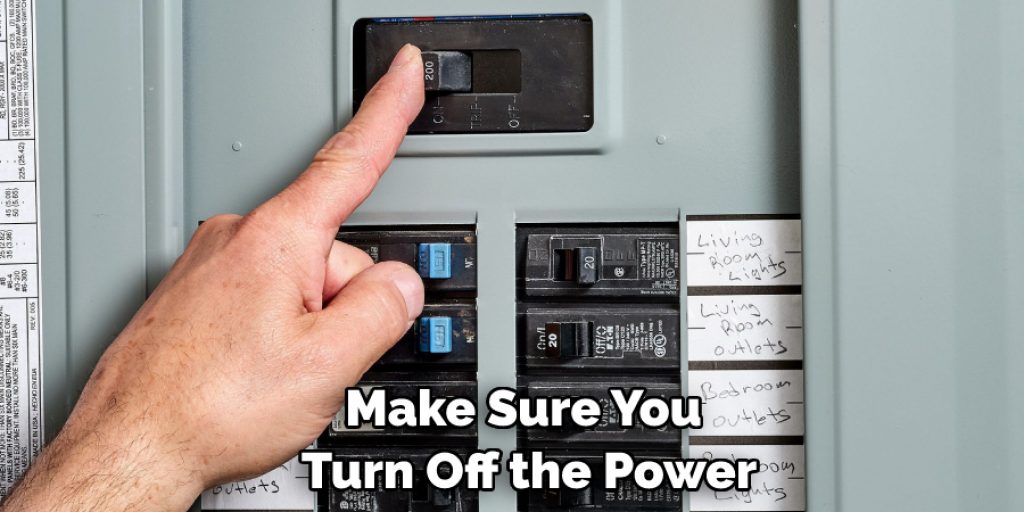
Before you start, make sure you turn off the power to your indoor and outdoor HVAC units. After that, open the panel of the blower and evaporator coil box. You should now have access to the HVAC equipment and ductwork.
Step 3: Mount the UV Light
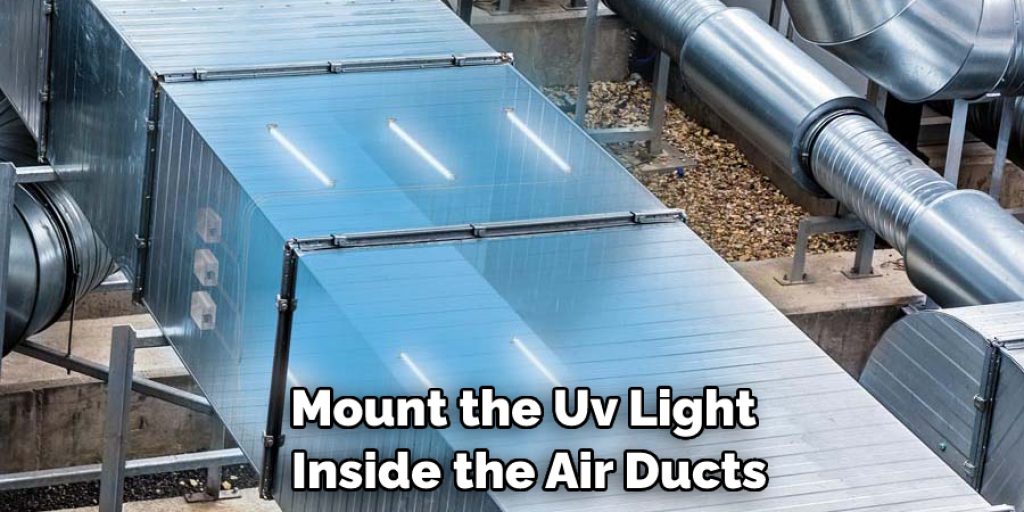
In this step, you will need to mount the UV light inside the air ducts. Most UV light manufacturers provide installation instructions, so make sure you follow them closely. Mount the UV light downstream from the air conditioner or furnace. It’s important to position the ultraviolet light as close to the coil as possible for optimal performance.
Step 4: Wire the UV Light
Two ways to wire a UV light are through the air handler and a separate power source. The simplest way is to wire it through the air handler, but not every HVAC system has a dedicated circuit for this. In that case, it’s best to use a separate power source, such as a plug and outlet. If you aren’t sure which method to use, consult a professional HVAC technician.
Step 5: Test the UV Light
After the installation, it’s important to test the UV light and ensure it works correctly. Turn the power to your indoor and outdoor units back on and let your HVAC system start running. Watch the system closely and make sure it’s working correctly while noting the performance of your UV light. If you notice any issues, turn off the power and consult an HVAC technician.
Step 6: Maintain the UV Light
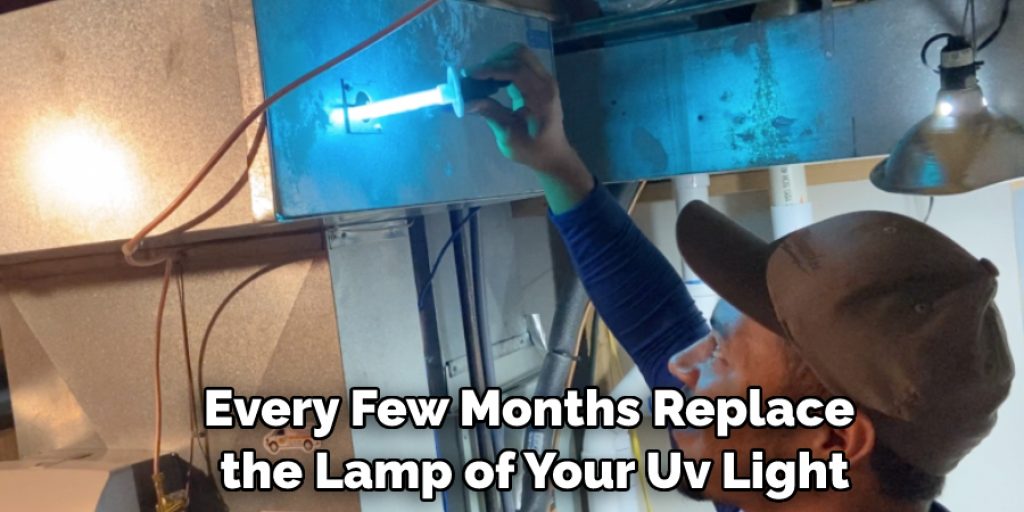
Once the light is installed, it’s important to maintain it. This includes cleaning and checking for any potential issues. Every few months, replace the lamp of your UV light and inspect the system to make sure everything is working correctly. Additionally, you should check that all wiring connections are secure and the unit has no loose wires.
Step 7: Seal Up the Panel
Once you finish installing the UV light, make sure to seal up the panel. This will help ensure that your HVAC system is running properly and efficiently by keeping dust and debris out of your system. Additionally, it can help reduce energy costs as well as help keep the air quality in your home healthy.
By following these steps, you should now know how to install a UV light in HVAC systems. Remember, if you’re ever unsure about any step of the installation process, it’s best to consult with a professional HVAC technician for an optimal result.
5 Considerations Things When You Need to Install a UV Light in HVAC
1. The Size of Your Unit
One of the most important considerations when installing a UV light in your HVAC unit is the size of your unit. The size of your unit will determine the number of bulbs you will need to purchase and the type of bulbs that will be most effective.
2. The Type of Bulbs
There are two main types of UV bulbs: germicidal and photocatalytic. Germicidal bulbs are more effective at killing bacteria and viruses, while photocatalytic bulbs reduce mold and mildew.
3. The Location of Your Unit
Another consideration is the location of your unit. If your unit is located in an area with high humidity, you may want to consider a different type of bulb or a different location for your unit.
4. The Cost
The cost of UV bulbs can vary depending on the type, brand, and size. You should compare prices from multiple retailers before making a purchase to ensure you are getting the best deal.
5. Installation
Installing a UV light in your HVAC unit is not difficult, but it is important to follow the instructions that come with your particular model. Failure to do so could result in damage to your unit or injury to yourself. If you are uncomfortable with the installation process, it is best to hire a professional.
By taking the time to consider these important factors, you can ensure that your UV light will be installed correctly and safely in your HVAC unit. Doing so will help keep your home healthy and comfortable for years to come.
Benefits of Install a UV Light in HVAC
Installing a UV light in your HVAC system may sound like a daunting task, but the benefits are well worth the effort. One significant advantage is improved air quality. HVAC systems can often harbor harmful microbes, such as bacteria, viruses, and mold. However, UV lights can eliminate these unwanted intruders, ensuring that the air you breathe in your home is cleaner and healthier. Another benefit is energy efficiency.
Eliminating mold and other buildup will increase your HVAC system’s efficiency, resulting in lower energy bills. Finally, UV lights can extend your HVAC system’s lifespan, reducing the need for frequent repairs or replacements. When considering the benefits, installing a UV light in your HVAC system is a no-brainer.
Some Common Mistakes People Make When Trying to Install a UV Light in HVAC
Installing a UV light in your HVAC system may seem simple, but there are some pitfalls to avoid. One common mistake people make is selecting the wrong size UV lamp for their unit. This can result in insufficient coverage and, ultimately, ineffective air sterilization. Another mistake is not properly installing the lamp. It’s important to place it in the right location and with enough clearance to ensure maximum exposure to the air passing through the system.
Finally, neglecting to clean and replace the UV lamp regularly can lead to it burning out prematurely and render it useless in purifying your indoor air. Researching and properly installing a UV light can be a worthwhile investment in your home’s indoor air quality.
Conclusion
Installing a UV light in your HVAC system is an easy way to increase air quality in your home. Installing the UV light properly is crucial to avoid issues with your HVAC system. HVAC professionals can also advise you on which UV light is best for your specific needs, and they can assist with the installation process. Ultimately, the health benefits that come with clean, fresh air make the process well worth it. Following the steps outlined here, you can install a UV light and enjoy improved indoor air quality in no time. Thanks for reading our post about how to install a uv light in HVAC.

