How to Wire Lights on a 48 Volt Golf Cart
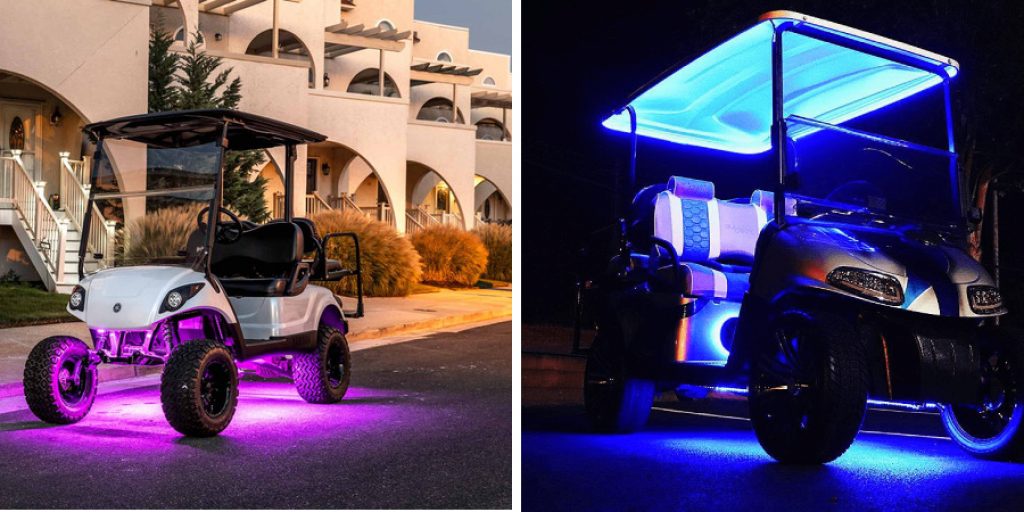
Are you a proud owner of a 48-volt golf cart? If so, you know that it’s great for having some fun riding around with friends and family or getting from point A to B at an efficient slow speed. To get the most out of your cart, though, you may be considering customizing its lighting system.
Wiring lights on a 48-volt golf cart can seem intimidating at first glance but don’t worry — this guide will take away all the hassle. We’ll walk through each step involved in how to wire lights on a 48 volt golf cart, as well as provide tips for safely and successfully installing your new lights. Get ready to create the perfect light configuration that suits all of your needs!
Are Golf Cart Lights 48 Volt?
Yes, most golf cart lights are 48 volts. Since golf carts typically have a 48 volt system, the lights must be designed to run on that to work properly. The bulbs in these lights are usually marked with their rated voltage, so it is easy to determine if they are the correct type for your application. It is important to make sure the wattage of the bulbs is appropriate for the size and type of golf cart they will be used on.
Bulbs that are too powerful can cause damage to a golf cart system, while bulbs that are not powerful enough may not provide adequate illumination. It is also important to choose lights specifically designed for use with 48 volt systems, as other types of lights may not work properly and safely.
When wiring a volt golf cart light system, it is important to use the appropriate type and size of wire for the application. The gauge (thickness) of the wire used is based on the current draw of the load and should be sized accordingly. It is important to use wiring that is rated for 48 volts and can handle the power needs of the lights.
In addition to the proper size and type of wire, it is important to use connectors that are designed for the application. This will ensure a safe connection that will not fail over time due to vibration or other environmental factors. When all connections have been made, it is important to properly seal the connections with electrical tape or heat shrink tubing for protection against moisture and dirt.
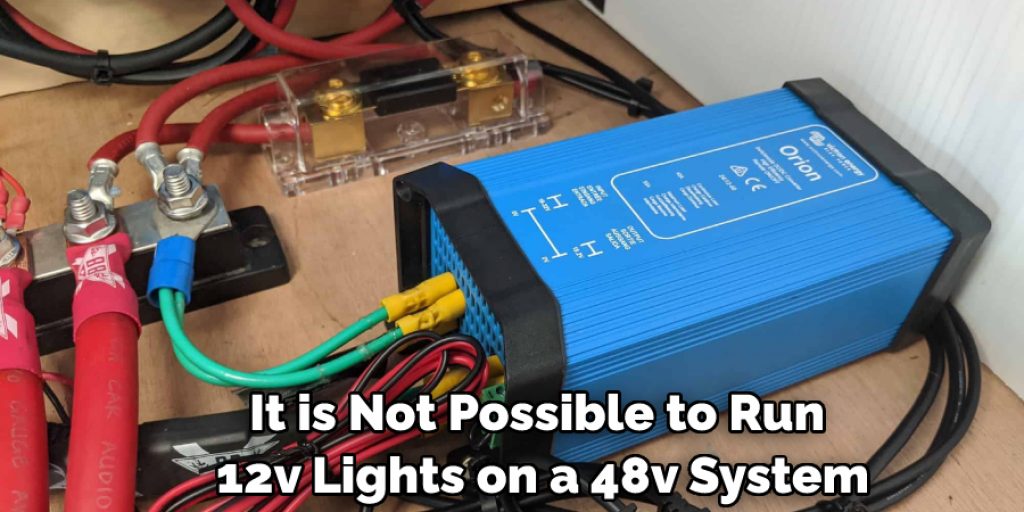
Can I Run 12v Lights on a 48v System?
No, it is not possible to run 12v lights on a 48v system. The reason is that the voltage of the lights must be equal to the voltage of the power supply. Using a 12v light with a 48v power supply could damage both the light and the system; therefore, it is important to ensure that you only use lights that are the same voltage as your power supply.
In a 48v golf cart, it is best to use LED lights that are designed for low-voltage applications such as RV or marine lighting. These types of lights can be found at most home improvement stores and are typically rated for 12-48 volts, making them perfect for use in a 48 volt golf cart. LED lights are energy-efficient and much more durable than traditional incandescent bulbs, so they will last longer and require less maintenance over time.
It is important to ensure that the wattage of the lights you choose does not exceed your system’s total wattage capacity, as this can cause damage to the electrical components of your golf cart. Additionally, it is important to use a relay or switch system when wiring multiple lights on a 48v golf cart. This will ensure that all lights are connected properly, and all power requirements are met.
9 Methods How to Wire Lights on a 48 Volt Golf Cart
1. Read the Manufacturer’s
Most golf cart manufacturers will have specific instructions on how to wire lights on their carts. These instructions can be found in the owner’s manual or on the company’s website. It is important to read these instructions carefully before beginning any work, as they will provide valuable information on the safest and most effective way to wire your lights.
However, if you do not have access to these instructions, the following steps can help you wire your lights on a 48 volt golf cart. Make sure to always take safety precautions, such as turning off the electrical power supply before beginning any wiring work.
2. Gather the Necessary Tools and Materials.
Before beginning any work, it is important to gather all of the necessary tools and materials. For this project, you will need a screwdriver, a drill, a wire stripper, electrical tape, and a48-volt light kit. Once you have all of the necessary tools and materials, you can begin working on wiring your lights.
Though it is possible to do this project without a drill, having one will make the process much easier. While you should always wear safety glasses throughout the duration of your project, it is especially important to do so when using a drill.
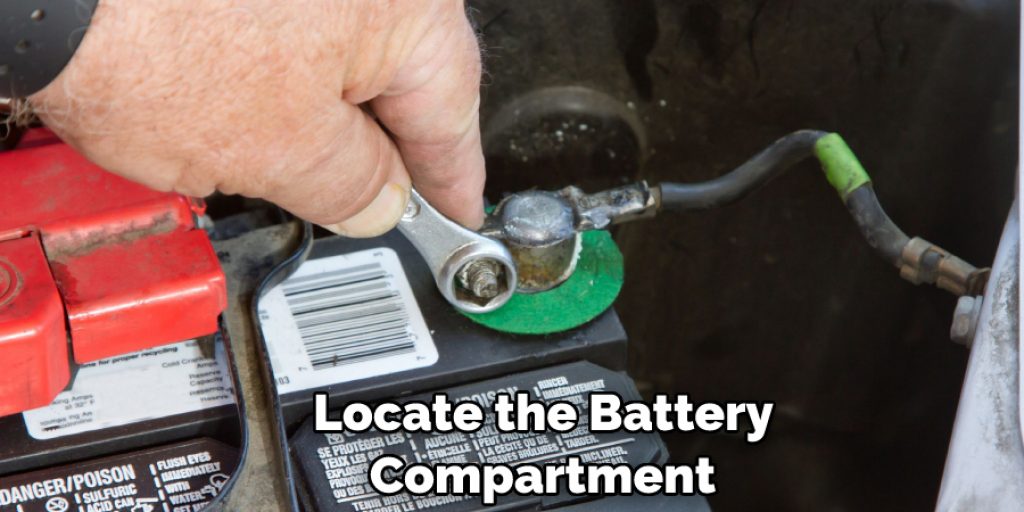
3. Locate the Battery Compartment.
The first step in wiring your lights is to locate the battery compartment. This is typically located under the seat or in the rear of the golf cart. Once you have located the battery compartment, you will need to remove the cover in order to access the batteries. If your golf cart is a 48 volt model, there should be six individual batteries.

While more than six individual batteries could possibly be used, a 48 volt golf cart will typically have six. However, it is important to make sure that you have the correct number of batteries for your model. Additionally, you will need to make sure that all of the batteries are connected together.
4. Connect the Positive Wire to the Positive Terminal of the Battery.
The next step is to connect the positive wire from the light kit to the positive terminal of the battery. Once you have connected the positive wire, you can then move on to connecting the negative wire. To ensure proper connection and avoid any electrical problems, make sure that the polarity is correct.
Although the positive wire is typically red, it may be a different color depending on the model of the golf cart. You’ll need to consult the manual of your golf cart model to make sure you have the right connection. Try to use a wire connector to secure the connection.
5. Connect the Negative Wire to the Negative Terminal of the Battery.
The next step is to connect the negative wire from your light kit to one of the negative terminals of the battery pack. It is important that you do not connect both wires to the same terminal, as this could cause a short circuit.
Once you have connected both wires, you can then replace the cover on the battery compartment. If you find that the cover does not fit snugly, use a zip tie to secure it in place. While it is not strictly necessary, this will help keep out dust and moisture, which can affect the performance of your lights.
6. Locate an Appropriate Spot for Mounting Your Lights.
The next step is to find an appropriate location for mounting your lights. When choosing a location, you will want to consider factors such as visibility, wiring accessibility, and aesthetics. Once you have chosen a location, you can then proceed to drill holes for mounting.
If you are mounting your lights onto a steel frame, you will need to use self-tapping screws. Be sure to place the mounting holes too close to any other electrical components or wiring. While mounting the lights, make sure to apply a sealant around the holes to protect them from moisture.
7. Drill Holes for Mounting.
Once you have chosen a location for mounting your lights, you will need to drill holes for attaching the brackets. When drilling holes, you will want to take care not to damage any surrounding wires or components. Once you have drilled the holes, you can then proceed to attach the brackets.
Additionally, you will want to attach the brackets securely enough that they won’t come loose due to vibrations while traveling. If your lights come with their own mounting bracket, you may find it helpful to use the included instructions. However, if you are using your own mounting hardware, make sure each bracket is securely attached to the cart.
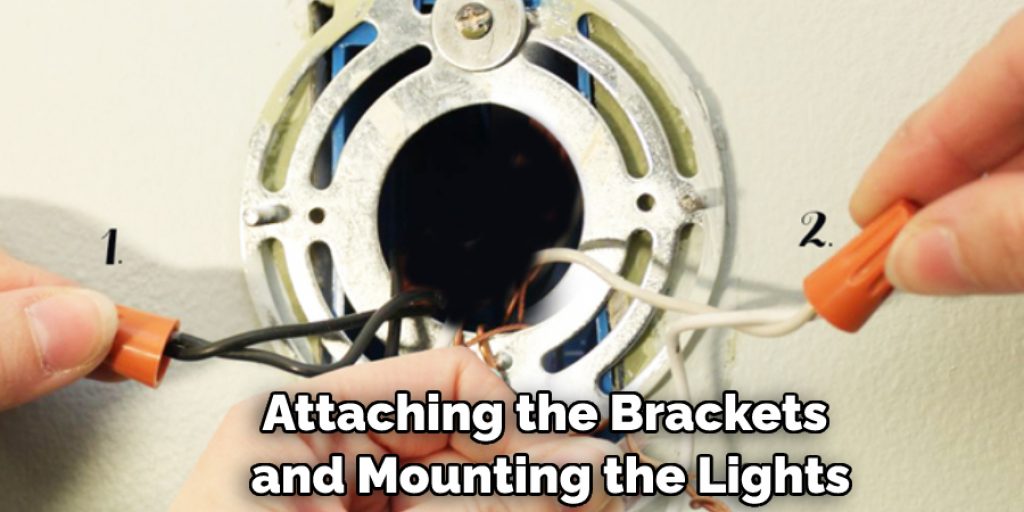
8. Attach Brackets and Mount Lights.
The next step is attaching the brackets and mounting the lights. First, insert the bolts through the bracket and light fixture, and then thread on washers and nuts finger-tight only at this point. Next, use the drill to make sure that all of the mounting hardware is secure before tightening completely with a wrench or socket set.
Finally, connect the wiring according to the manufacturer’s instructions before testing your new lights. With the lights wired and mounted, your golf cart is now ready to hit the course. However, make sure to check the lights periodically to ensure that they are functioning properly and are still securely mounted. That’s all there is to wiring lights on a 48-volt golf cart.
9. Troubleshoot Any Problems with Your New Lights.
If your new lights do not work properly or you have any other problems, it is important to troubleshoot the issue before continuing with any further work. Start by checking the wiring to make sure that everything is connected properly and that no wires are loose or disconnected.
If there are any visible signs of damage corrosion, these should be addressed as well. Additionally, check the fuses for any signs of burning or other damage, and if necessary replace them with new ones. If the problem persists, then it may be necessary to consult a professional or purchase a new wiring harness.

Conclusion
Now that you have an understanding of how to wire lights on a 48 Volt golf cart, you should be able to complete the job with confidence. Keep in mind that it is essential to turn off the power and disconnect the battery before starting any wiring procedure. Plus, always double check for a good connection once you’ve wired everything up. With these helpful tips and information, it should be easy to have your golf cart outfitted with vibrant LED lights in no time!