How to Sew Jersey Fabric
Are you looking for a new creative outlet? Have you ever wanted to try your hand at sewing, but weren’t sure where to start? Sewing jersey fabric is an excellent starting point! With its stretchy and forgiving material, jersey fabric is perfect for learning how to sew garments without the intimidation factor.
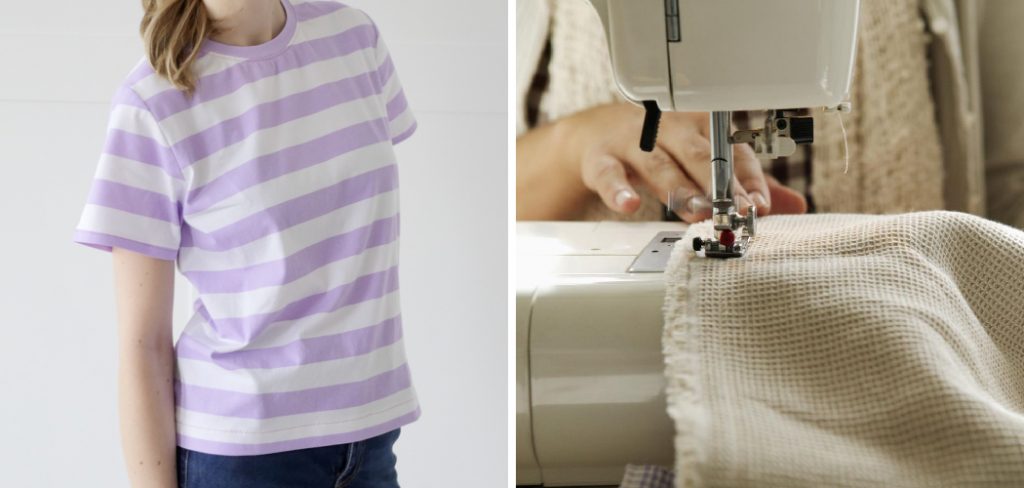
From pants and skirts to t-shirts and dresses, mastering the art of sewing with jersey fabric can be both rewarding and enjoyable. In this blog post, we’ll take you through all of the steps necessary how to sew jersey fabric – from choosing the right type of thread and needles to knowing which stitches will make your finished product look great!
Step-by-step Guidelines on How to Sew Jersey Fabric
Step 1: Choose the Right Fabric
When selecting jersey fabric for your sewing project, it’s important to select a quality material. Look for fabrics that are tightly knit and feature no visible flaws. Also, make sure you check the care instructions to ensure that the material can be washed and dried without damaging its shape or color.
It’s best to choose pre-shrunk fabrics so you don’t have to worry about shrinkage. But, if you are using a fabric that is prone to shrinking after laundering, make sure to pre-treat it with the right detergent.
Step 2: Consider Thread
When choosing thread, it’s important to select a type of thread that is strong enough to hold the fabric together. Cotton or polyester threads are recommended for jersey fabrics as they can provide strength without stretching.
Choose a thread color that either matches the fabric or stands out against it depending on your desired look. If you’re using a fabric with two different colors, consider choosing a thread color that matches both colors.
Step 3: Select Needles
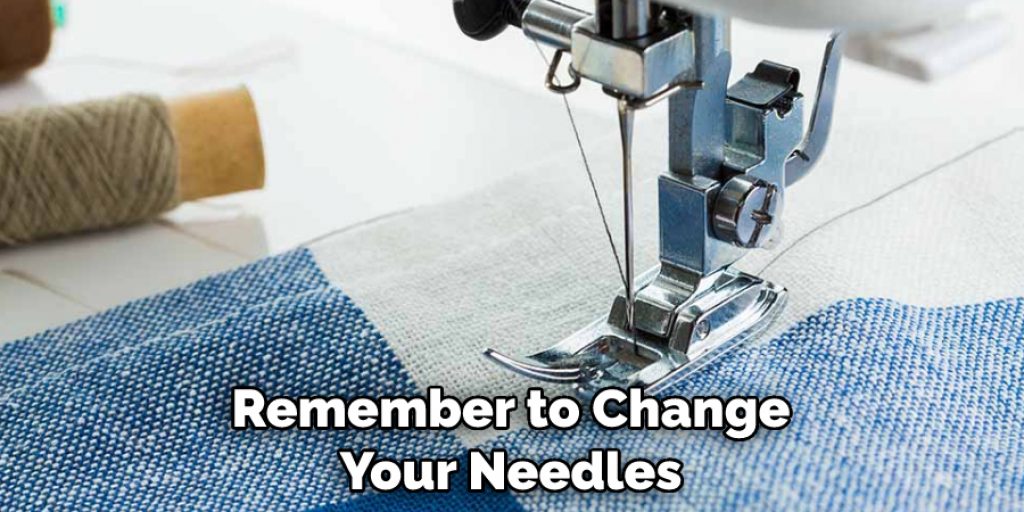
Selecting needles for jersey fabrics can also be tricky. Look for needles with slightly rounded points and broad tips, which will help prevent them from snagging while you sew. The best needle size for jersey fabric depends on the weight of the material – use a smaller needle for lightweight materials and larger needles for heavier ones.
If you’re not sure which size to use, it’s always best to test a few different sizes until you find one that works. It’s important to remember to change your needles every four or five hours of sewing.
Step 4: Preparing Your Material
Before beginning any sewing work on jersey fabric, lay your material flat and press it to remove wrinkles. This will help ensure that the shape of your finished product is even and that there are no creases or folds in the fabric. If you are sewing a garment, it is also important to measure and mark the fabric before cutting.
It’s best to use a fabric marker or chalk for this step to avoid damaging the material. But, make sure to follow the manufacturer’s instructions on how to mark fabric for best results.
Step 5: Setting Up Your Sewing Machine
Once you’ve prepared your material and selected the right needles and thread, it’s time to set up your sewing machine. You’ll want to use a straight stitch setting when sewing with jersey fabric as this will provide more stability and strength for seams.
Also, adjust the tension correctly so that the thread isn’t too loose or too tight. It’s important to practice on a scrap piece of fabric before sewing your project. This will give you a better understanding of the fabric and help ensure that your seams come out even.
Step 6: Sew Your Seams
When stitching seams together, it’s important to start by pinning each seam in place. This will make it easier to keep the fabric from shifting while you sew. It’s also a good idea to test out your stitch on a scrap piece of fabric before attempting your project.
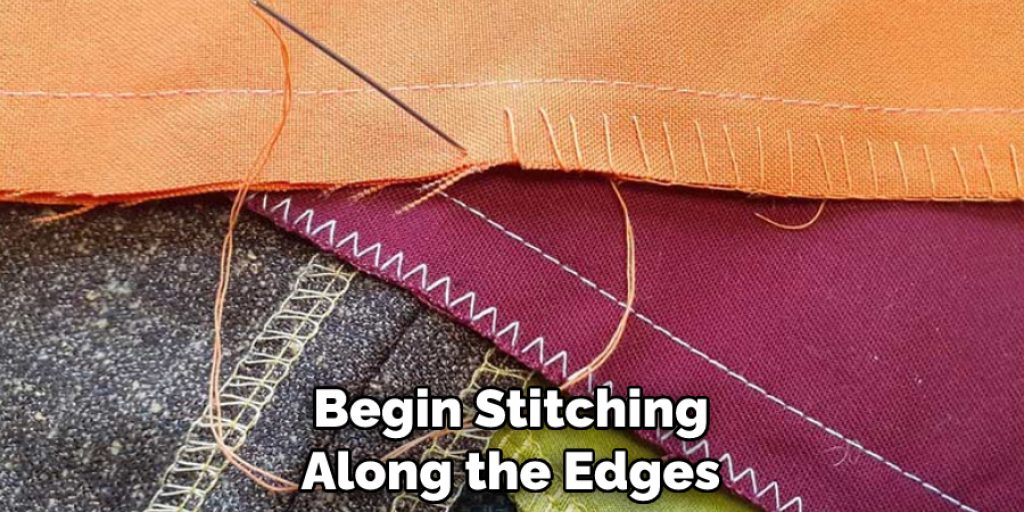
Once you’re happy with the look of the seam, attach each side of the garment and begin stitching along the edges. This will help keep the fabric in place and provide strength to your seams. But be sure to keep the stitches even and uniform. Otherwise, it could affect the look of your finished product.
Step 7: Reinforce Seams
To ensure that your seams are strong enough for wear and tear, it is important to reinforce them with an extra layer of stitching. You can do this by running a zigzag or overlock stitch along the seam after it has been sewn together.
This will add strength and stability, making sure that your garment holds its shape over time. If you don’t have a zigzag or overlock stitch on your machine, you can use a stretch stitch instead. It won’t be as strong, but it will still provide some reinforcement.
Step 8: Use the Right Presser Foot
When sewing jersey fabric, it’s important to use the right presser foot for your machine. A walking foot or even-feed presser foot are both good options as they will help keep layers of fabric from slipping while you sew. If you’re using a traditional machine, an adjustable zipper foot can also be used to provide more control when stitching seams together. This will help you sew neat and even stitches without any puckering.
Step 9: Choose Your Hem Type
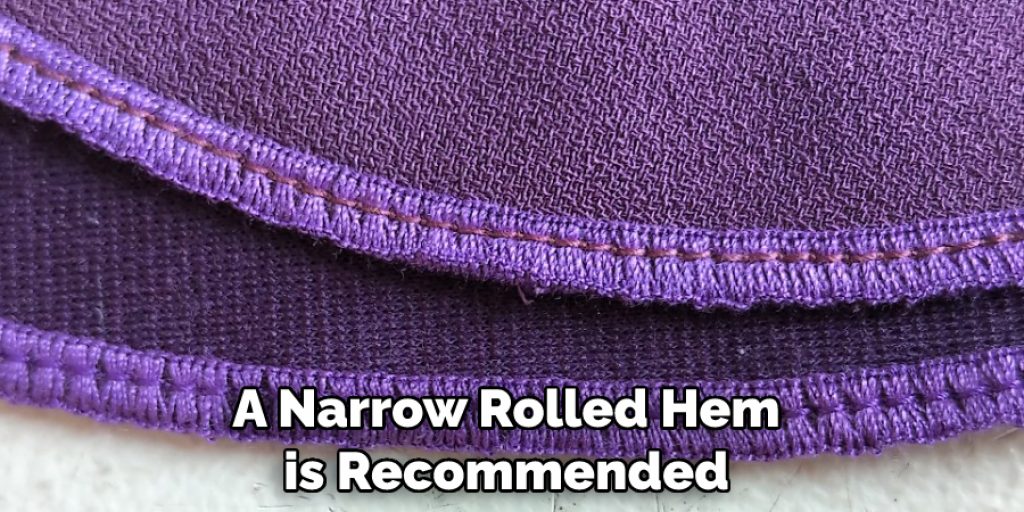
Hems are essential when it comes to finishing garments made with jersey fabric. The hem type you choose will depend on the look and fit desired for your project. For most projects, a narrow rolled hem is recommended as this provides a clean, finished edge without requiring too much hand stitching or time. If you want to add a decorative touch, a lettuce hem or picot edge can also be used. Otherwise, a regular hem is also a good option.
Step 10: Finishing Touches
Once you’ve finished sewing your garment, it’s important to make sure that all of the edges are properly secured and that any threads have been trimmed away. Take the time to press your seams and hems for a professional finish. Always make sure to read the care instructions for your fabric before laundering. With proper care and maintenance, you can be sure that your jersey garments will last for years to come!
Step 11: Enjoy Your Finished Garment!
Once you’ve followed all of the steps, it’s time for the best part – enjoying your finished garment! You can be proud of your work and feel confident in knowing that all of the seams have been reinforced and everything has been securely stitched together. All that’s left now is to find an occasion to show off your masterpiece. Happy sewing!

Use the right needles, thread, and presser foot while keeping an eye on tension and seam placement. And don’t forget to take the time to reinforce seams with a zigzag or overlock stitch for extra strength. With patience and practice, you can create beautiful garments that will last for years!
Now that you know how to sew jersey fabric, it’s time to get started! Choose the perfect pattern, select some fabrics in fun colors or prints, and start stitching away. You’ll be wearing something handmade in no time! Good luck!
Frequently Asked Questions: (4 Questions)
Q: What Type of Stitch Should I Use When Sewing Jersey Fabric?
A: You should use a stretch or zigzag stitch as they are designed to give a bit of extra movement, which is essential when working with jersey fabric. If you don’t have a zigzag stitch on your machine, you can use a regular or stretch stitch instead.
Q: What Presser Foot Should I Use When Sewing Jersey Fabric?
A: It’s best to use a walking foot or even-feed presser foot when sewing jersey fabric as this will help keep the layers from slipping around while stitching. If you don’t have either of those types of feet, an adjustable zipper foot will also work.
Q: How Do I Reinforce Seams When Sewing With Jersey Fabric?
A: The best way to reinforce seams when sewing with jersey fabric is to use a stretch or zigzag stitch. This will provide extra strength and help keep the seams from coming apart over time.
Q: What Type of Hem Should I Use When Sewing Jersey Fabric?
A: A narrow rolled hem is recommended as it provides a clean, finished edge without requiring too much hand stitching or time. If you want to add a decorative touch, a lettuce hem or picot edge can also be used. Otherwise, a regular hem is also an option.
Conclusion
Sewing with jersey fabric does require a few extra steps, but the results are well worth it! Take your time with the initial cutting and tidy up any loose ends afterward to ensure your project looks perfect.
Resist the urge to yank out any divots or puckers, you might just have to start all over again. Also remember that when you’re sewing jersey fabric, the knit side should be facing up. Keep this in mind and you’ll have an amazing, streamlined final product that you’ll be proud to show off.
With these helpful hints and tips on how to sew jersey fabric, you can create something truly unique and stunning with a jersey fabric that stands out from the crowd. So get creative and try your hand at creating beautiful clothing items or home decor with stretchy jersey yarn!

