
How to Change Needle in Singer Sewing Machine
Are you having trouble changing the needle on your Singer sewing machine? You’re not alone. Many people find this task daunting, but it’s quite simple. Just like any other machine, a Singer sewing machine needs a needle change every so often.
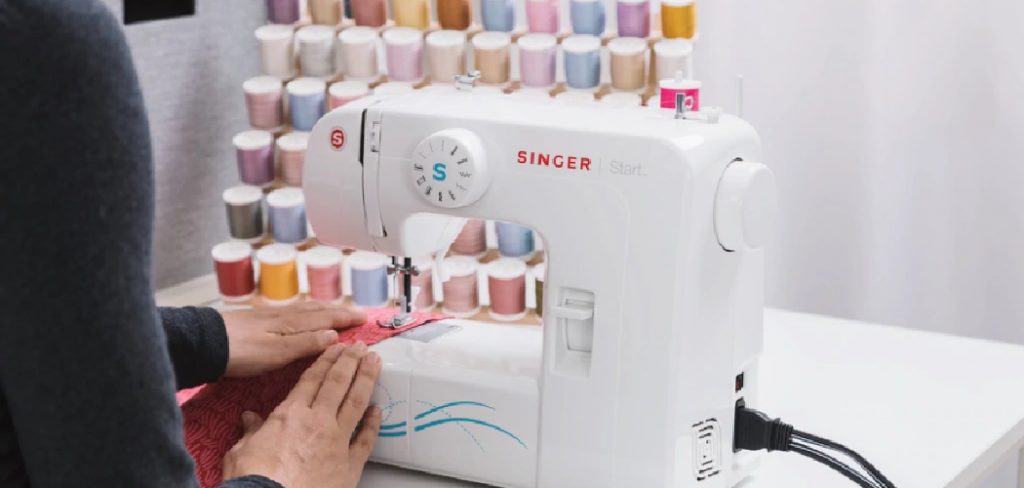
However, the process of changing a needle on this type of machine can be daunting for some people. In this blog post, we will walk you through the process of how to change needle in singer sewing machine in just a few easy steps. So, if you’re ready to get started, keep reading!
Step by Step Guide: How to Change Needle in Singer Sewing Machine
Step 1:
Make sure the machine is unplugged. Now, take your screwdriver and remove the screw that holds the needle plate in place (if there is any).
Step 2:
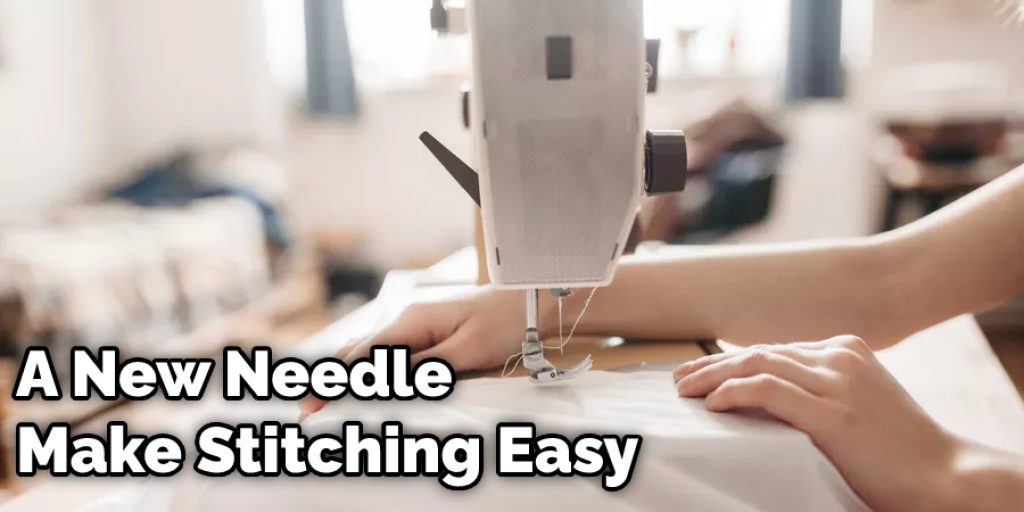
Lift the sewing machine’s presser foot (i.e., the small metal bar that holds your fabric in place while it is being sewn) and rest it on its back, or place it in one of the grooves next to where your fabric will go when you are sewing.
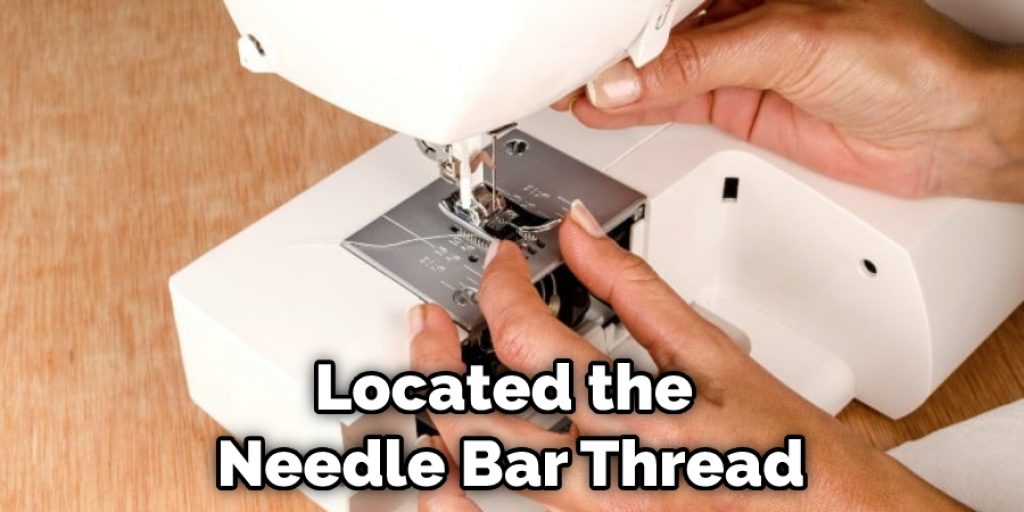
Step 3:
Locate the needle bar thread, a thin metal thread that runs through your sewing machine and attaches to most of the working parts. Your needle bar thread will be located approximately halfway down your device on most machines. It will be next to or wrapped around your bobbin (a small spool where you put the bottom portion of fabric).
Step 4:
Once you have located the needle bar thread, pull it all the way out from your sewing machine’s bobbin case. This will bring the needle up and remove any resistance to changing the needle.
Step 5:
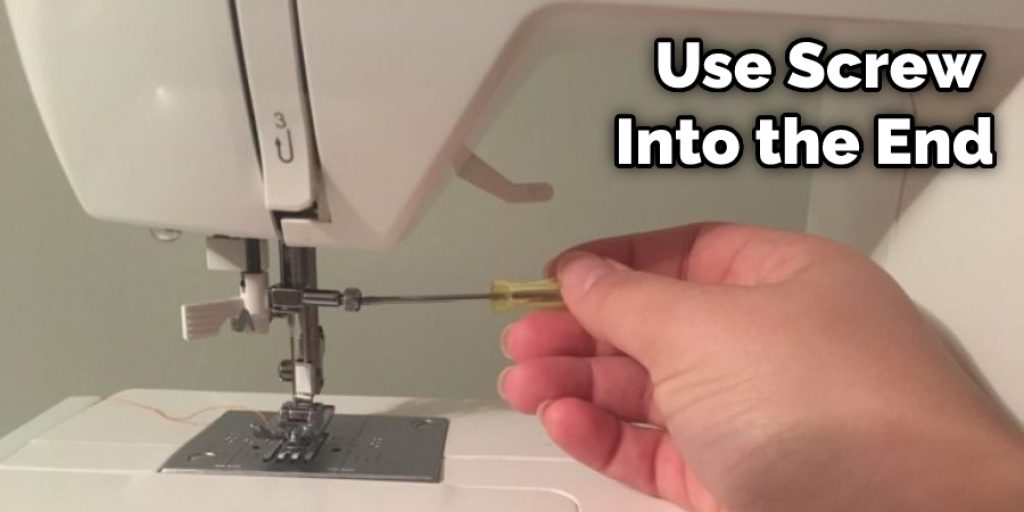
Push down on top of your old needle (with a small pair of pliers if necessary) and unscrew your needle from the needle bar thread.
Step 6:
Take a look at your new needle; if it is different from your old one, select which size you would like to use and screw it onto the end of the needle bar thread. The sizing information should be located on or near where you will put your new needle in, or on the front of your machine.
Step 7:
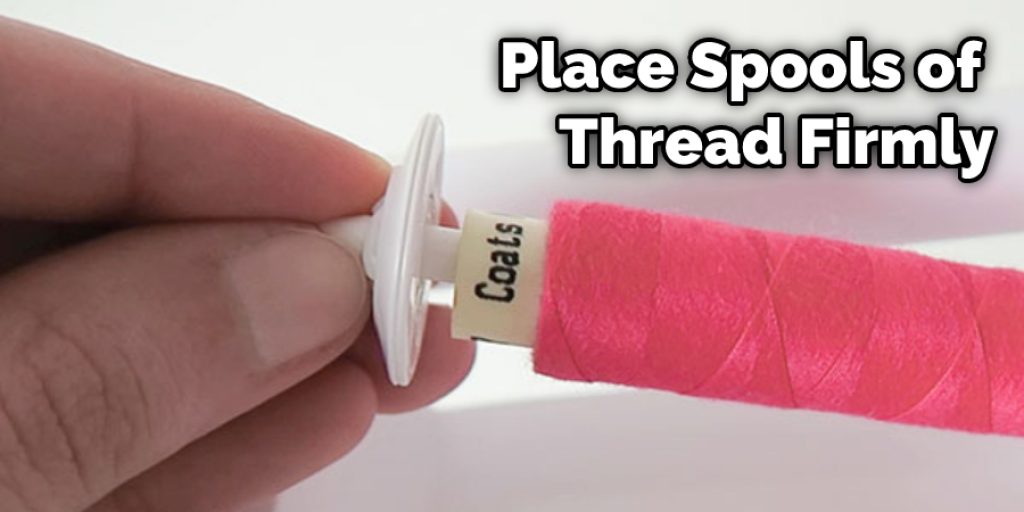
Push the needle bar thread back down into the bobbin case and insert both spools of thread. Your bottom spool should have a notch in it, and this will allow you to more easily pull out the below-the-plate thread for changing your top spool when necessary.
Step 8:
Once you have your new needle inserted and both spools of thread firmly placed on their spindles, lower your presser foot back down so that it is securely holding your fabric in place.
Step 9:
Sew a few test lines with the same stitch type as during regular sewing to make sure everything is working correctly.
Step 10:
Once you are happy with the way your machine is sewing, sew a few seams in scrap fabric to test different stitch types if you have problems using your original stitching.
Some Tips and Suggestions
Here are some tips and suggestions on how to change needle in singer sewing machine.
1. You will need an extra needle and a small screwdriver.
2. If you have never done this before, practice changing the needle and bobbin on another machine so that you can get the feel of it before trying to do it on your Singer sewing machine.
3. Make sure that there is nothing else wrong with your sewing machine before replacing the needle.
4. When you replace your needle with a smaller size, change your bobbin to a smaller size as well. This is just if you are unsure what needs to be done before changing the needle and bobbin.
5. Remember that these steps are written down with an assumption that if you have never changed your Singer sewing machine’s needle or bobbin, you might need to use some extra force to get the old needle out.
6. If your machine has a drop-in bobbin, this will make changing the needle and bobbin much easier and quicker.
7. If you have a sewing machine that tension is adjusted with a knob, you will need to check and see what the manual says and if it needs to be checked each time before changing the needle or bobbin.
How to Put the Needle in a Sewing Machine?
When you want to change the needle in a sewing machine, you need to take out the current needle and put another one. To do so, open up your sewing machine cover. There is usually a latch on both sides of the seam, which keeps the seam closed when not sewing. Press down on the latch, and the cover will open up.
Please take out the old needle by pulling it straight up from its holder. Once you have removed the old one, check if there is any damage. If so, discard it and replace it with a new needle. Put the new hand into its holder precisely as you took out the old one.
Then, close the cover and ensure that it is securely fastened. Because you will be sewing very soon after changing the needle, test to see if everything works correctly by turning on the machine and testing it out. If you want to detail how to change needle in singer sewing machine, consider reading this full blog post.
When to Change A Sewing Machine Needle?
Needles need to be changed about every 8 hours of sewing time. If you are sewing very heavy seams, the hand will dull faster. Also, needles should be replaced if they have bent tips or burrs on them.
Schedule changing needles before your machine starts skipping stitches, making noises, or thread jams. The machine will make more noise and skip stitches when a hand is dulled.
Needles should be changed before this happens to avoid problems with your sewing later on. When changing a needle, look on the side of it for numbers. For example, the number 12/80 indicates a size 12 needle and will have 80 needles per inch on it.
Hands with more significant numbers have finer tips but go slower in the machine. A smaller number means a more pointed tip and goes faster. For most general sewing, a size 10 or 11 needle is fine.
How Long Does a Sewing Machine Needle Last?
Needles are made of tempered steel. They are tough, which makes them very strong but also brittle. If your needle is bent or dinged up, it won’t go through the fabric smoothly, and the stitches will be poor if they come out at all. Also, a needle that has been bent will not last as long as a new one.
Needles are made to be used for about eight hours of stitching time before they should be replaced with a new needle. If a hand is used for a shorter time, be sure to clean it and return it to its storage container so that the unused needles don’t get mixed up. Sewing machines are built with more strength than the average person realizes.
The problem is not so much in the moving parts as in some stationary ones, which come in direct contact with the needle. For example, there is a tiny ball bearing on the end of the hook in some sewing machines.
The ball bearing keeps constant pressure on its seat to keep it firmly locked in place; when the needle goes through this bearing, it must be perfectly straight, or else it will nick and weaken the hand.
How to Tell if Your Sewing Machine Needle Is Dull?
If you keep on sewing with your old needle, the chances are that your fabric will tear. Furthermore, it might damage the machine itself if not detected early enough. Aside from the risk of cloth tearing it causes, a dull needle can also cause skipped stitches and thread jams.
These problems are caused by the rough tip pushing through the bottom layer of fabric, slowing down the stitching process. Also, in some cases, when the needle strikes an object (usually a pin or metallic debris), it might break.
Although a new hand will glide smoothly through the fabric, a dull needle might also cause skipped stitches and thread jams, resulting in torn fabrics.
You Can Check It Out to: Open a Singer Sewing Machine
Conclusion
Most sewing machine problems are easy to fix and can be remedied with a quick look at the instruction manual. That being said, it is always good practice to troubleshoot your particular issue before you start unscrewing anything from the bottom of your machine!
This blog post has shown you how to change needle in singer sewing machine. We have also discussed why it is essential to understand how this process works and when it should be done.
If you’ve followed all steps in the instructions and still cannot get your sewing needle threaded properly or find that it keeps breaking, call us for help. We would love to offer some expert advice on how we might help you resolve any issues.
For any project or garment you are working on to go smoothly, ensure that you know how to replace the needle in your sewing machine before starting correctly!


