How to Make a Fabric Ball
Fabric balls are delightful and versatile craft projects that can be enjoyed by both children and adults. Whether used as toys, decorative accents, or even stress relievers, fabric balls are easy to make and offer endless possibilities for customization.
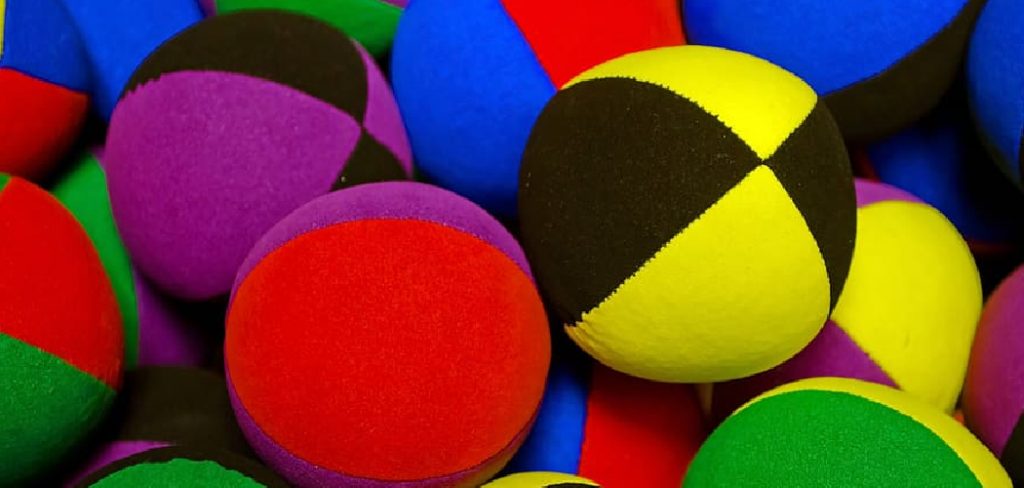
In this article on how to make a fabric ball, we will guide you through the step-by-step process of creating your own fabric ball. With some colorful fabric, basic sewing skills, and a few materials, you’ll be able to craft a charming and personalized fabric ball that will bring joy to your crafting adventures.
11 Step-by-step Guides on How to Make a Fabric Ball
Step 1: Gather the Materials
To make a fabric ball, gather the following materials:
Fabric:
Choose various colors and patterns to suit your preference.
Scissors:
Sharp fabric scissors for cutting the fabric.
Sewing machine or Needle and Thread:
Depending on your preference, use a sewing machine or sew by hand.
Stuffing:
Polyester fiber fill or any soft filling material.
Pins:
To hold the fabric in place during sewing.
Embellishments (Optional):
Ribbons, buttons, or embroidery thread to add decorative elements.
Step 2: Decide on the Size and Shape
Decide on the size and shape of your fabric ball. You may have a general idea in mind or you can experiment with different shapes and sizes to create unique designs. If desired, use paper to draw out templates of the shape and cut them out as a guide for cutting your fabric pieces. It is best to use a symmetrical shape for your fabric ball. This will make the sewing process easier.
Step 3: Create the Pattern
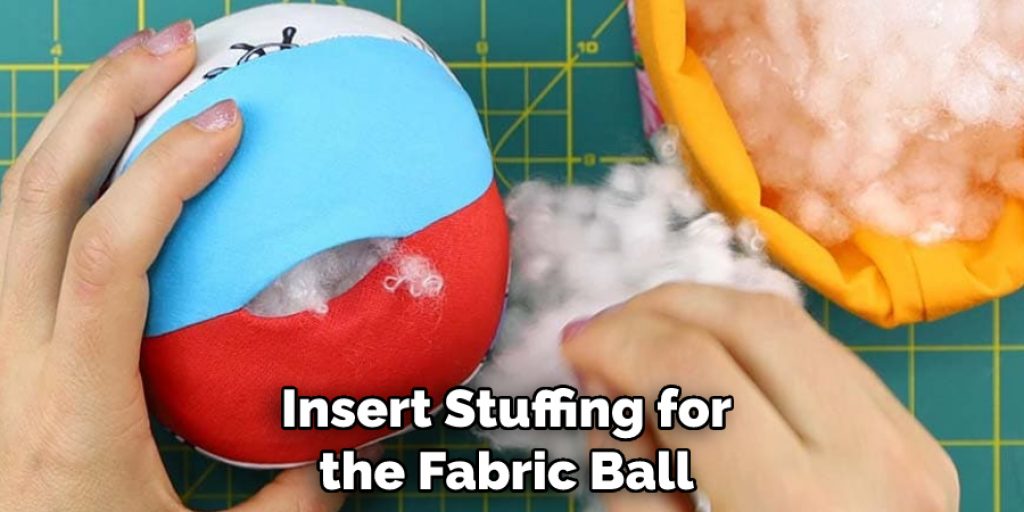
Measure and mark the dimensions of each fabric panel based on your chosen size and shape. You can use a ruler or create a template using cardboard or paper. If your fabric panels are not symmetrical, make sure to create two separate patterns. It is important to leave an opening at the top of your fabric pattern so that you can insert stuffing for the fabric ball. This opening should be at least 1 inch wide. Buttons or ribbons can be used to close the opening.
Step 4: Cut the Fabric Panels
Using the pattern, cut out the required number of fabric panels from your chosen fabrics. Make sure to cut accurately, following the lines of the pattern. It is also important to leave a seam allowance of at least 1/4 inch around each piece. This will help you sew the pieces together more easily. If desired, you can also use a decorative stitch to embellish the fabric panels. It is also a good idea to press the fabric panels with an iron before you begin sewing.
Step 5: Pin and Sew the Panels
Take two fabric panels and place them right sides together, aligning the edges. Pin the panels along the edges to secure them in place. Use a straight stitch on your sewing machine or sew by hand, leaving a small opening for turning and stuffing.
Repeat this process with the remaining fabric panels until all are sewn together, leaving one opening. If desired, you can also decorate the edges with ribbons or other trims before sewing. This will give your fabric ball a more unique look.
Step 6: Trim Excess Fabric and Clip Curves
Trim any excess fabric and clip the curves along the edges to reduce bulk and allow for smoother turning. Be careful not to cut into the stitching. It is also a good idea to grade the seams, which means trimming one side of the seam allowance shorter than the other. This will help reduce bulk and give your fabric ball a clean finish. It is best to grade the seam allowance of the inner fabric panels shorter than the outer ones.
Step 7: Turn the Fabric Ball Right Side Out
Carefully turn the fabric ball right side out through the opening. Use a turning tool or the blunt end of a pencil to push out the corners and achieve a neat shape. It is also a good idea to press the seams with an iron before stuffing. But be sure to use a pressing cloth or fabric in between the iron and the fabric to prevent damage. It is also important to use low heat when pressing fabric. If you are using a sewing machine, use a zig-zag stitch to close the opening.
Step 8: Stuff the Fabric Ball
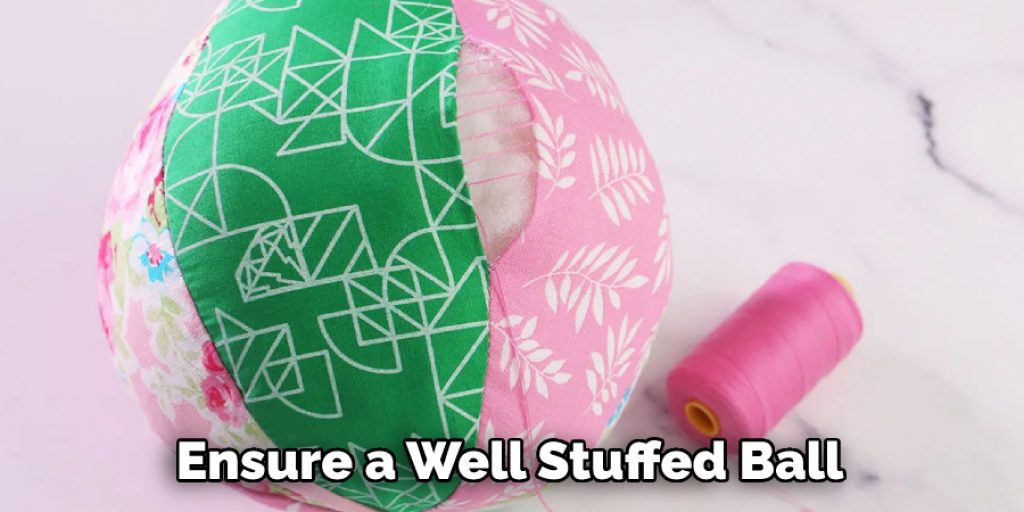
Stuff the fabric ball with polyester fiberfill or your preferred filling material. Start with small amounts and distribute the filling evenly to achieve a plump but softball. Use a chopstick or the end of a long tool to help push the filling into the corners and ensure a well-stuffed ball. It is important not to overstuff the ball, as this can distort its shape. But be sure to stuff it firmly as this will help hold its shape once it is closed.
Step 9: Hand Stitch the Opening
Using a needle and thread, neatly hand-stitch the opening closed. Ensure that the stitches are secure and hidden within the fabric. It is also a good idea to finish the edges of the opening with decorative stitches or trims. This will help add detail and make your fabric ball look more polished. It is important to take your time with this step, as it will be the finishing touch of the project.
Step 10: Add Embellishments
For an extra touch of personalization, consider adding embellishments to your fabric ball. Sew on ribbons, attach buttons, or use embroidery thread to create decorative stitches or patterns. It is best to leave the embellishments until last, as it will be easier to sew them on without the bulk of the stuffing. It is also important to use lightweight materials that won’t weigh down the ball or cause it to lose its shape.
Step 11: Enjoy Your Creation
Your fabric ball is now ready to enjoy! You can use it as a decoration, gift, or toy. No matter how you use it, your personalized fabric ball is sure to bring a unique and creative touch to any project. With just a few simple materials and techniques, you have created a unique and beautiful work of art. Enjoy!
Following these steps on how to make a fabric ball will help you create a fabric ball that is unique and tailored to your personal style. With some patience and creative flair, you can make a beautiful fabric ball that will be a lasting and memorable addition to any project. Good luck!
Do You Need to Hire a Professional?
No, you do not need to hire a professional to make a fabric ball. With the right materials and instructions, anyone can make a fabric ball. However, if you are looking for a more professional-looking fabric ball, it is best to hire a seamstress or tailor who specializes in making fabric balls. Hiring a professional will ensure that your fabric ball is made with quality materials and techniques, so it can last for years to come.
Making a fabric ball is a great way to add an extra special touch of handmade artistry to any project or gift. With the right materials and instructions, you can make your own unique fabric ball and have something to show for it.
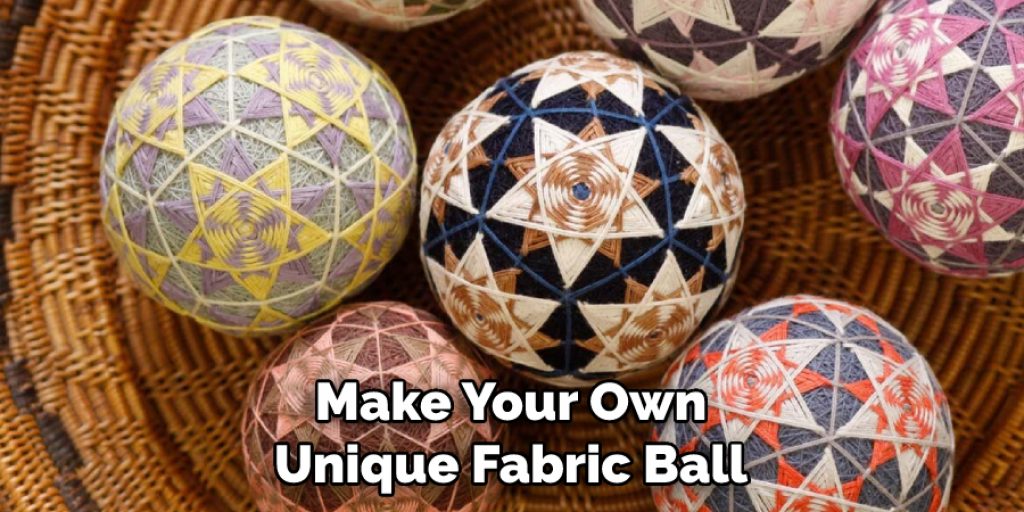
How Much Could It Cost?
The cost of making a fabric ball can vary depending on the materials used. Most basic materials such as fabric, thread, and stuffing can be found at your local craft store or online for fairly cheap. If you are looking to hire a professional seamstress or tailor, expect to pay more for their services. The price could range anywhere from $20 to over $100, depending on the complexity of your fabric ball.
Creating a fabric ball is an easy and fun project that anyone can do. With some patience and creativity, you can make a unique and beautiful fabric ball that will add a thoughtful detail to any project or gift. So grab some supplies and get started today!
Frequently Asked Questions
Q: What Type of Fabric Should I Use?
A: The best fabrics for making a fabric ball are lightweight materials such as cotton or linen. It is important to use a fabric that is durable and will not easily tear or fray.
Q: How Do I Stuff the Ball?
A: It is best to use polyester fiberfill or another lightweight stuffing material. Start by plugging the opening of the ball with a small piece of stuffing and then gradually add more stuffing until the ball is full.
Q: How Can I Make My Fabric Ball Look Professional?
A: The best way to make your fabric ball look professional is to take your time when sewing the seams and making sure they are secure. It is also a good idea to hire a professional seamstress or tailor if you are looking for a more polished look.
Q: Can I Reuse the Fabric Ball?
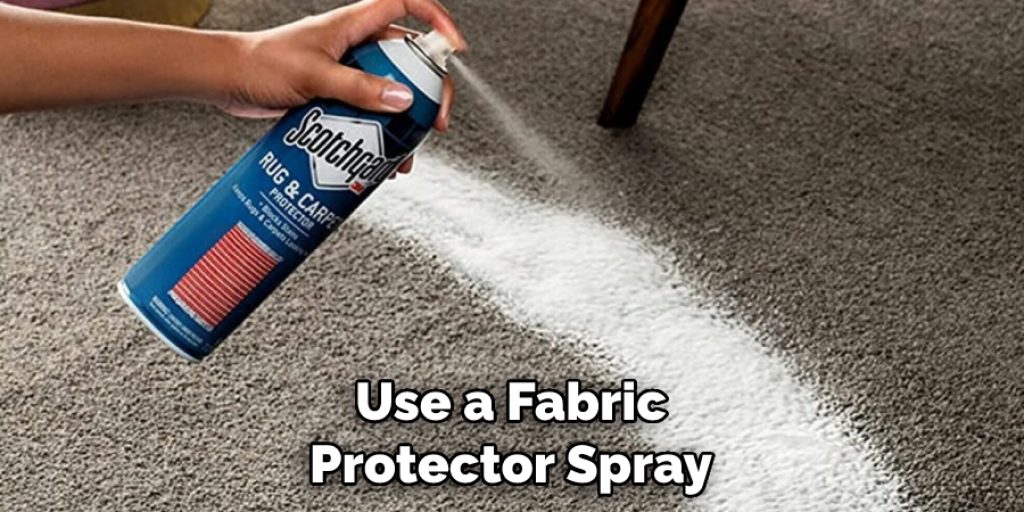
A: Yes, it is possible to reuse your fabric ball. When storing the fabric ball, make sure it is stuffed firmly and securely so it will keep its shape. You can also use a fabric protector spray to help protect the material from dirt and staining.
Conclusion
Making a fabric ball is a fun and rewarding craft project that allows you to explore your creativity while creating a delightful and versatile item. By following these step-by-step guidelines on how to make a fabric ball, you’ll be able to craft a fabric ball that suits your style and preferences. Let your imagination run wild as you create a unique and beautiful fabric ball that can be used for any project or gift.

