How to Knit Arm Warmers
Are you looking for the perfect cool-weather accessory to keep your arms warm and stylish this season? Knitting arm warmers are a great way to add instant style and warmth to any outfit. Whether you’re looking for something cozy to wear around your house or a stylish addition to your favorite cold-weather look, knitted arm warmers are the perfect solution.
Not only are they easy to customize with unique patterns and colors, but they can also be whipped up quickly with minimal supplies. In this tutorial, we’ll go through all of the basics, from selecting yarn and needles, casting on stitches, marketing even rows, joining seams, and more. Whether you’re new to knitting or an experienced pro, this guide on will teach you how to knit arm warmers with ease! So grab your knitting materials – it’s time to learn it.
Why Do You Need Arm Warmers?
1. Provide Warmth
Arm warmers are the perfect accessory for those chilly days. They provide just enough warmth and coverage to keep your arms comfortable without sacrificing style. Arm warmers can also be worn during any season, so you don’t have to worry about having too much or too little coverage when the temperatures start to change. And best of all, arm warmers are easy and quick to make, so you can customize your look to fit any occasion.
2. Add Style
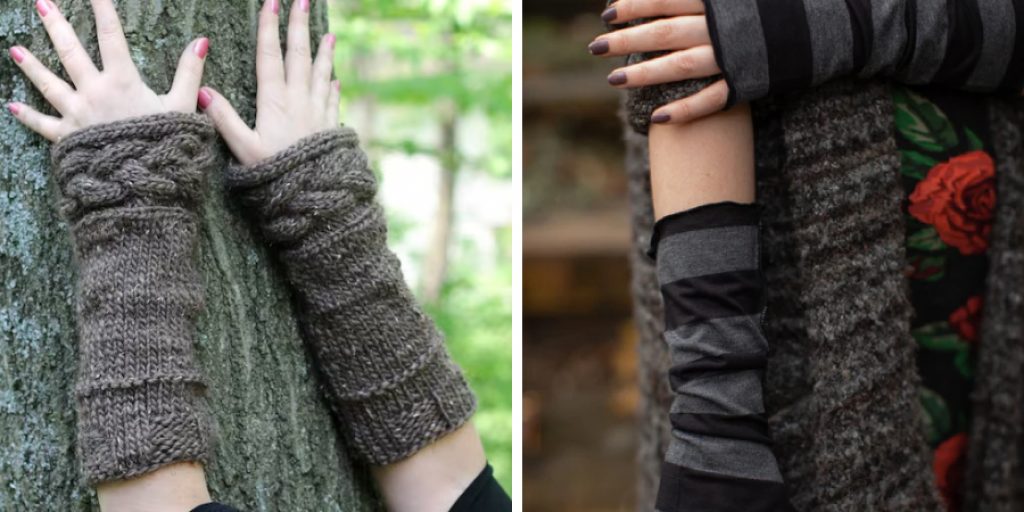
Knitted arm warmers add an instant touch of style to any outfit. Whether you’re looking for something cozy to wear around the house or a statement piece to take your cold-weather look up a notch, knitted arm warmers are sure to do the trick. With so many different yarns, textures, and colors to choose from, you can create arm warmers that are unique to your style.
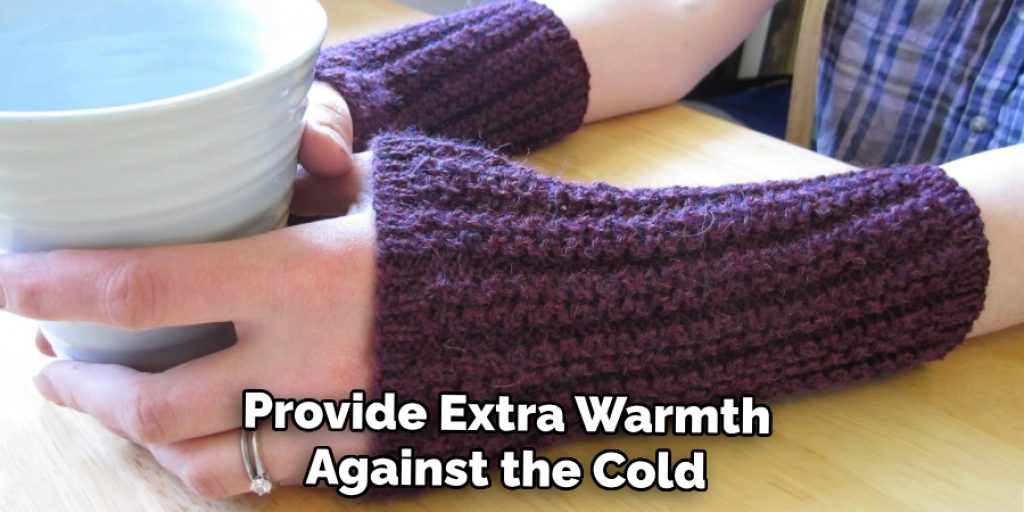
3. Can Be Worn Year-Round
Arm warmers are versatile enough to be worn in any season. In the winter months, they provide extra warmth against the cold without having to wear bulky jackets or sweaters. And in the summer months, they can be worn during cool evenings and in air-conditioned environments without feeling too hot.
Materials Needed To Knit Arm Warmers
Before you get started on your arm warmers project, you’ll need to gather up a few supplies. You’ll need the following:
- Yarn (preferably worsted weight)
- Knitting needles (4mm or 6mm, depending on your gauge preference)
- Scissors
- Tapestry needle
10 Instructions on How to Knit Arm Warmers
Now that you’ve gathered all of the necessary materials, it’s time to start knitting! Follow these instructions for how to knit arm warmers using the following steps:
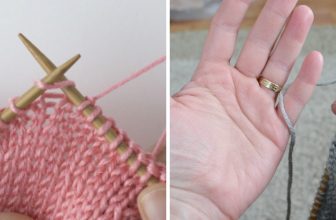
1. Choose Yarn and Needles
Choose your yarn and needles: Select a worsted weight yarn for your arm warmers and the appropriate needle size (4mm or 6mm). While choosing your yarn, keep in mind the size of the person who will be wearing the arm warmers and adjust your gauge accordingly.
2. Cast On Stitches
Once you’ve chosen your yarn and needles, cast on enough stitches to create a cuff that is approximately one inch wide (for most adult sizes), stiches should be cast on loosely to create a stretchy cuff.
3. Knit Even Rows
Knit even rows by alternating knit and purl stitches until you reach the desired length of your arm warmers. Make sure that each row is knitted with even tension for a neat finish. Knitting even rows will create a ribbing effect.
4. Join Seams
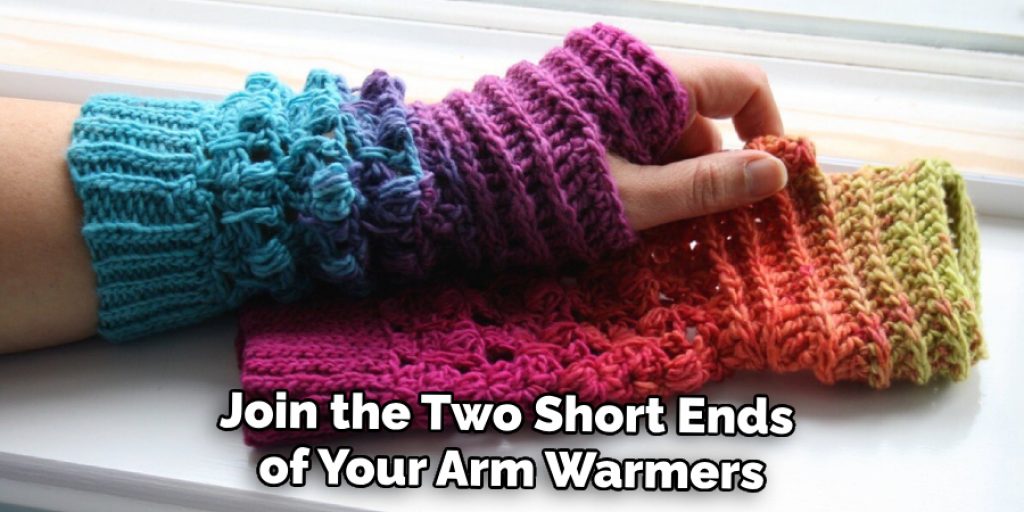
Join the two short ends of your arm warmers by using a seam stitch or three-needle bind-off. This will create an invisible seam that blends with the ribbing pattern. Seam stitches should be worked from the inside of your arm warmers for a clean finish.
5. Add Decorative Elements
Add decorative elements such as fringe, cables, bobbles, or stripes to spice up your arm warmers and make them even more unique. These elements can be added at any point during the knitting process and are a great way to express your creativity.
6. Bind-Off Stitches
When your arm warmers are the desired length, bind off all remaining stitches and weave in any loose ends with a tapestry needle. This will create a neat finish to your arm warmers that won’t stretch out or unravel over time.
7. Block Arm Warmers
Once all of the stitches have been bound off, block your arm warmers with steam or a damp cloth. This will open up any tight stitches and give your arm warmers an even finish. Blocking will also help preserve the shape and structure of your arm warmers.
8. Sew Buttons
If desired, sew a few buttons onto the cuff of each arm warmer for an extra touch of style. You can use any size or color button to match your arm warmers design – just make sure that you sew them on securely so they don’t come off.
9. Wear and Enjoy!
Finally, you can enjoy your finished arm warmers! Slip them on whenever the weather gets chilly or when you want to add a fashionable touch to your outfit. And don’t forget – arm warmers are easy and quick to make, so why not knit a few pairs in different colors and patterns?
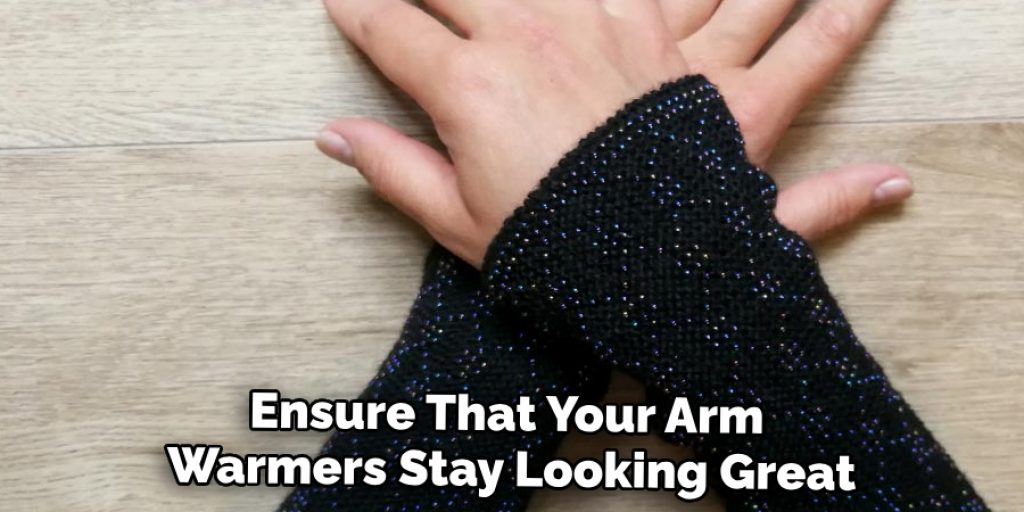
10. Care For Your Arm Warmers
To ensure that your arm warmers stay looking great for years to come, be sure to store them carefully when not in use and hand wash them with gentle detergent when needed. Proper care will keep your arm warmers looking like new for seasons to come.
You now have all of the information you need to learn how to knit arm warmers! With the right materials, a few simple knitting stitches, and some creative embellishments, you can whip up a stylish pair of arm warmers in no time. So grab your knitting supplies and get to work – it’s time to make some cozy arm warmers!
7 Common Mistakes to Avoid When Knitting Arm Warmers
Knitting arm warmers are a great way to stay cozy during the cold winter months. However, making them can be tricky, and it’s easy to make mistakes that can ruin your project. Here are seven of the most common mistakes people make when knitting arm warmers and how to avoid them:
1. Not using the right needle size is a common mistake. The size of your knitting needles should match the yarn you’re using. If you use a needle that is too large for the yarn, your arm warmers will be loose and saggy. On the other hand, if you use a needle that is too small for the yarn, your arm warmers will be tight and uncomfortable to wear.
2. Another mistake people make when knitting arm warmers is using the wrong yarn weight. Generally speaking, you should use a lightweight or worsted-weight yarn for arm warmers as these types of yarns are easiest to work with. Heavier yarns can be harder to knit with and may result in an overly bulky pair of arm warmers.
3. Not checking your gauge is also a very common mistake that can lead to an ill-fitting pair of arm warmers. Before beginning your project, you should always check your gauge to make sure the tension in your knitting matches the pattern’s instructions. If it doesn’t, you may need to adjust your needle size or yarn weight accordingly.
4. Not measuring your arm properly is another mistake people make when knitting arm warmers. You should measure the circumference of your arm and wrist before starting the project so you can ensure that your arm warmers fit correctly.
5. Not paying attention to the type of stitch used in a pattern is also a common mistake. Different types of stitches create different types of textures, and you should make sure the pattern you’re using matches your desired look for the finished product.
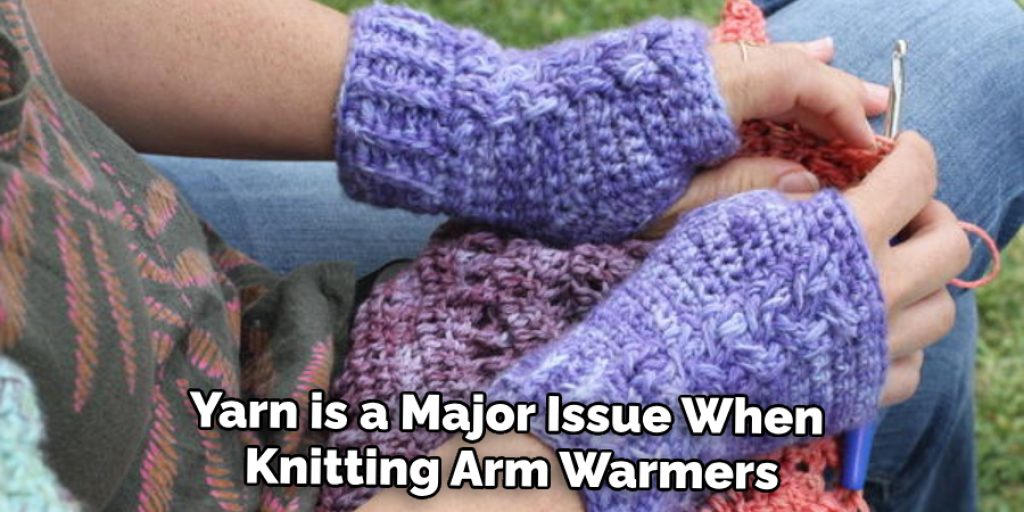
6. Not having enough yarn is a major issue when knitting arm warmers. Make sure you buy enough yarn to complete your project, including any extra needed for making adjustments or modifications.
7. Not reading through a pattern before beginning is a mistake that can lead to a lot of frustration. Before starting your project, be sure to read the pattern thoroughly and understand all of the instructions. This will save you time and effort in the long run.
By avoiding these common mistakes when knitting arm warmers, you can ensure that your project turns out looking great!
Conclusion
Now you can proudly wear your knitted arm warmers– showing off your newly acquired skills and ability to create something unique for yourself. From the very first chain stitch to stitching your arm warmers together – it’s been a rewarding journey. Not only do you have a handmade item that expresses your own sense of style, but you’ve also learned an important new skill that will prove incredibly useful in the years ahead!
Knitting is also a great way to relax and unwind after a stressful day – providing both mental and physical relief. So why not give knitting a go? If you’re looking for a challenge or just want to explore something new – get creative with some yarn and set time aside to pick up this new hobby! Best of luck on the wonderful journey of arm-knitting! Follow these tips on how to knit arm warmers, and you’re sure to create something beautiful.
Nancy Behan
Nancy is an embroidery artist, fashion blogger and a full time editor at DIY quickly. Nancy edits the fashion section on DIY quickly, focusing on the embroidery and cross stitch articles, alongside with fabric and other costume design elements. She graduated from the University of Michigan with a Bachelor of Arts in Art History. She loves to work on her own projects, read books and watch romantic movies in her spare time.