
How to Increase a Purl Stitch
Do you want to learn in detail how to increase a purl stitch? If your answer is definite, in that case, we can assure you that this article is specially written for you. Yes, you read the sentence correctly. You will come to know the ins and outs of purl stitch in this post. So, now let’s get started with it. The first thing you need to do is to secure the yarn by tying a slip knot.
To increase a purl stitch in a correct manner, you require to follow some steps. If you failed to follow the steps appropriately, then it is quite possible that you will not be able to learn the purling process, and as an outcome of that, you might not be able to increase a purl stitch. At first, you need to insert the needle into the stitch which is present in front of the working needle. And after that, you need to take the yarn over the needle and pull it through the loop.
But you do not have to bother at all because here at this point we want to share some good news with you. Throughout this entire content, we will be trying to discuss all the vital details, tips, methods, and other less-known facts as well about purl stitching. What is Purl Stitching? Purl stitching is a very simple and easy method of creating different types of patterns on the surface of the fabric or clothing item. You can consider this one as a kind of ribbing pattern or texture too.
If you want to become a pro at purl stitching, we suggest you read this whole article. It will teach you the basics of increasing a purl stitch, and we believe that if you follow the instructions, you will be able to achieve your desired results.
An Overall Overview of How to Increase a Purl Stitch
Are you worried about your purl stitch? Here are some tricks and tips to improve your purl stitch. If you read this content, we are sure that you will be able to increase your purl stitch. Do you want to purl the front and backside? If yes, you have to follow some activities.
Infront and backside single purl activities are complicated tasks for the first time, but it will be easier if you do it at once. Follow some simple steps while knitting; after some time, you see it is easier to understand with needles in your hand and feel natural. First of all, you need to set your needles in front of you. The left needle should be in the left hand, and the right needle should be in the right hand.
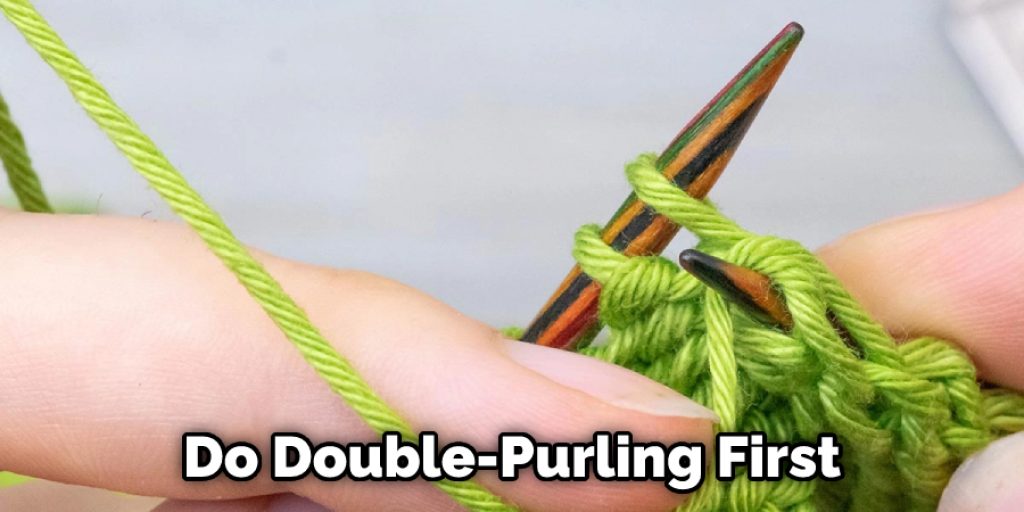
By the front and backstitch, you have to do double-purling first in front loop closest to you and the same time the back loop furthest from you. This yarn creates a suture that tightens up the increase. The second time, you don’t back loop, it creates a hole in your knitting that is very similar to yarn over. The following steps are below:
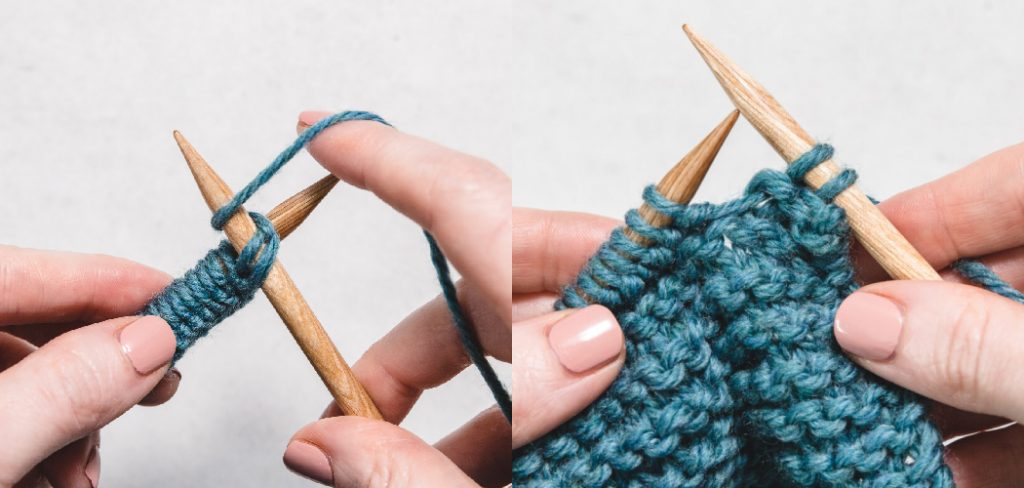
- With the purl stitch, you can begin, and you have to make sure your thread stays in front of your work. The right needle enters into the first loop and lets it on the left needle, like fringe.
- Counterclockwise right sew brings around yarn, bite it up a cover. The right sew and only wrapped the thread; on the left needle, get it through a loop. You will do a purl sew up to this point.
- If you want to create a purl to increase a stitch, you must work into the back of that loop. That is why you do not drop the suture from your left needle.
- Right needle counterclockwise brings around working yarn. On the left needle through the yarn back stitch wrapped bring around the right sew. Now you will drop the loop from the left sew. The right needle will increase your purl stitch.
For the first couple of times, you will feel pretty awkward when you do it. Once you learn it, after that, you need no time to increase your purl stitch. If you want your knitwear to be formed, then some perfect methods will help you achieve your desired outcome. The steps that will help you out are-
- In your right hand, with the stitch, retain needle and work with the row help of your left forefinger around the working yarn.
- Use your right hand so that you can push both the yarns.
- The needle pulls up, the bottom thread picks up, and the top thread backward pulls this.
- With the right arm needle through the stitch pull and with the working yarn tighten slightly and the left-hand needle stitches off with the slice.
- According to the pattern, you will repeat stitches again and again until it increased.
- At the end of a line, you can pitch on new sew only manage the working thread.
How to Increase Stitches on a Purl Row
If you want to increase stitches on a purl row, in that case, you can also do so by merely following some proper steps. Though it may seem quite complicated for the first sight, but in the end, you will be able to do the task in an appropriate manner if you correctly maintain the steps. There are some tips to know how to increase stitches on a purl row-
- Usually, in front of the sewing, you can put the stitch.
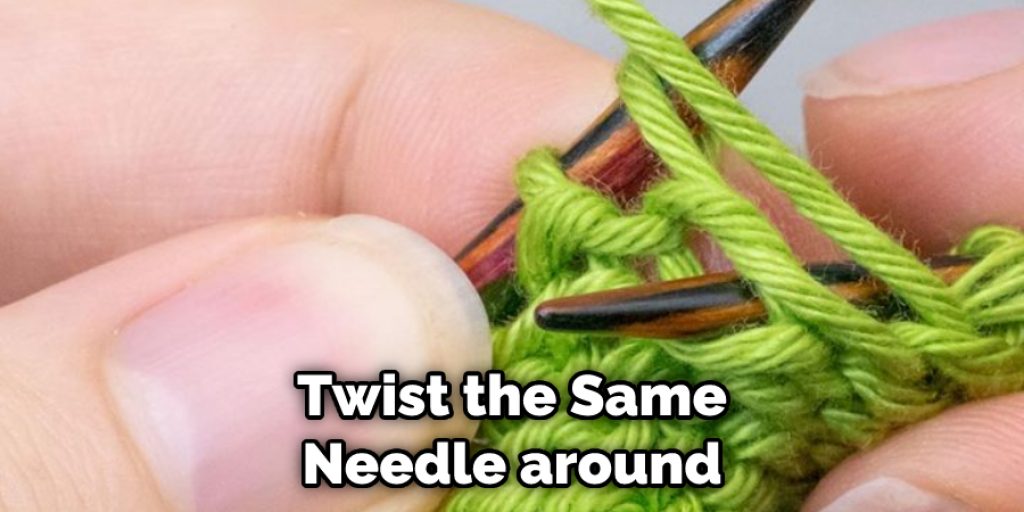
- Put the thread round the needle and start to stretch out the stitch off, but do not stretch out it.
- The stitch pulling to the onward, twist the same needle around.
- The similar stitch the needle put in the backside.
- The needle impeded with the yarn.
- Fringe will be off.
After completing this whole article, we believe all your confusions and inquiries regarding increasing a purl stitch might have come to an end, and you know how to increase a purl stitch. Now you can successfully apply this achieved knowledge in your practical work.
Here at this stage, we would like to suggest you as a bonus tip, which is if you are new to anything or want to learn something new, then do not get panicked at all. Instead, you should stay focused and start your journey by following the steps that we have provided above for achieving an effective result.
You should always have faith and believe in yourself because it is you who is born to learn something new so you can make it yourself. If you follow the proper method, then no obstacle can come in your way!
So why are you still waiting? Just start your work by using the steps and see how you can increase a purl stitch without even having previous knowledge. Let’s get started to accomplish your task!
You may read also – How to Make a Light Fill Stitch Design for Embroidery


