
How to Join Round in Knitting
Knitting is a fantastic hobby that requires patience, creativity, and precision. It can also be intimidating, especially for newbies joining rounds. A lot of beginners struggle with this basic knitting skill. But don’t worry! Joining rounds is not as hard as you may believe it to be. In this blog post, we will guide you through the essential steps of how to join round in knitting in the most straightforward way possible.

Can You Join Round in Knitting?
Knitting is a creative and fun hobby that allows you to craft beautiful and cozy items such as scarves, hats, and blankets. It’s also a great way to relax and unwind after a long day. One question that often comes up for knitters, especially beginners, is whether or not they can join a round to create a closed loop.
The answer is yes, you certainly can! Joining a round is an essential skill to learn if you want to knit seamless items like hats or cowls. With a little practice, you’ll be joining rounds like a pro in no time. So why not give it a try and see what amazing knitting projects you can create?
Why Should You Join Round in Knitting?
Knitting has always been a popular hobby, but have you ever tried knitting in the round? This technique allows you to create seamless, tubular projects like hats and socks. One of the many benefits of joining round in knitting is the elimination of unwanted seams. This technique allows you to continue knitting in circles, which means a smooth and uniform finish. Not to mention, it speeds up the knitting process by eliminating the need to sew pieces together.
If you’re on the fence about trying this technique, give it a go! The sense of accomplishment you’ll feel when completing a project without unsightly seams will have you hooked.
How to Join Round in Knitting: A Beginner’s Guide
1. Cast On
The first step to joining round in knitting is to cast your stitches onto your circular needles. You can refer to your knitting pattern to know the number of stitches you need to cast on. Cast on your stitches using the long-tail cast-on method, the most common method. When you have cast on your stitches, make sure they are not twisted.
2. Place a Marker
Place a stitch marker to indicate the beginning of a new round. You can use a removable stitch marker or a loop of contrasting yarn. Place the marker at the first stitch on your needle and immediately after casting on it. You should also ensure the marker stays on top of the needle.
3. Join the Round

Take the last stitch you cast on and place it next to the first stitch. Holding the stitches in one hand, take the free needle and insert it into the first stitch on the left-hand needle. Let the right-hand needle pass under the left-hand needle, and with your second knit stitch, pull the yarn through the first stitch. You have joined the stitches in a round, but make sure the stitch markers remain at the beginning of your round.
4. Maintaining Tension
When joining rounds, it is essential to maintain your tension. You want to ensure your stitches are not too tight or loose. If your tension is too tight, the stitches will be challenging to move along the needle. If it’s too loose, there will be large holes between your stitches. It’s crucial that you get your tension right and, if necessary, practice knitting a few rows before joining the round to maintain the proper knitting tension.
5. Continue Knitting
Once you have joined the round successfully, continue knitting in a circle, making sure you move the stitch marker with each round. Remember always to insert the right-hand needle into the next stitch to be knitted, ensuring you pass it under the left needle.
6. End of Round
When you’ve completed a round, the last stitch should be right next to the stitch marker that indicates the start of your round. You have now successfully joined your knitting in a circle!
7. Bind-Off
Finally, when you have finished knitting all the rounds in your pattern, it’s time to bind off your knitting. To bind off, knit two stitches together as one stitch and then pass the first stitch over the second stitch. Continue following this process until there is only one stitch left on your needle. Cut the yarn leaving a tail of at least 6 inches, and pull it through the last loop to secure it.
That’s it! You’ve now learned how to join round in knitting. With these seven steps, you can join spherical knitting with confidence and ease. So grab your needles and get started!
5 Considerations Things When You Need to Join Round in Knitting
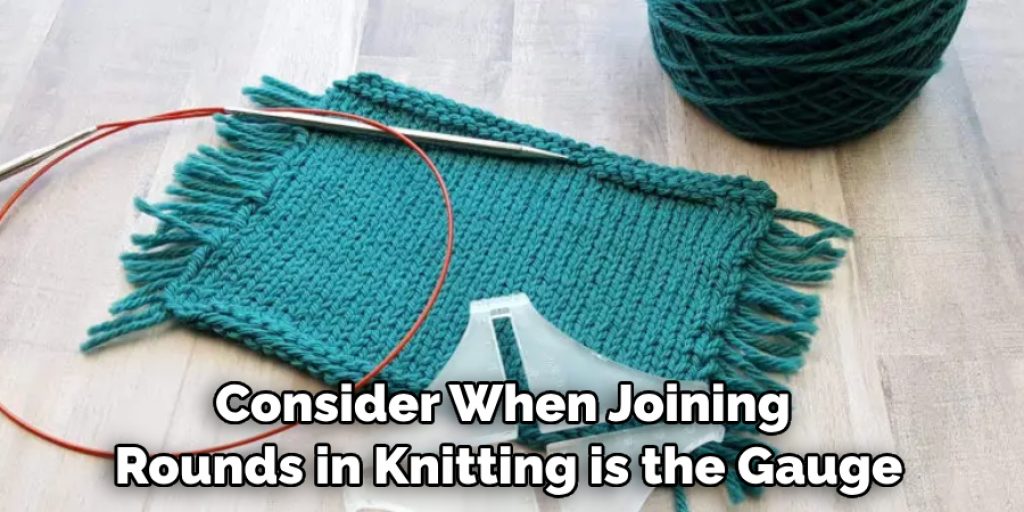
1. The Gauge of Your Needles
The first thing you need to consider when joining rounds in knitting is the gauge of your needles. The gauge is the thickness of the needle, and it will determine how tight or loose your stitches will be. If you are using a thicker needle, your stitches will be looser, and if you are using a thinner needle, your stitches will be tighter. You will need to adjust your gauge accordingly so that your stitches are even.
2. The Type of Yarn You Are Using
The second thing you need to consider is the type of yarn you use. Different yarns have different weights and textures, and this will affect how your stitches look and feel. You will need to experiment with different yarns to find one that works well for you.
3. The Size of Your Project
The third thing you need to consider is the size of your project. If you are working on a large project, you will need to use more yarn than if you are working on a small project. This is because the larger the project, the more stitches you will have to knit.
4. The Number of Stitches You Have Already Knit
The fourth thing you must consider is the number of stitches you have already knit. If you have already knit many stitches, joining rounds may be more difficult. This is because there will be more stitches to work with, and keeping track of where you are in the pattern may be harder.
5. The Pattern You Are Using
The fifth and final thing you need to consider is your pattern. Some patterns are easier to join rounds than others. If you are having difficulty joining rounds, try looking for a different pattern that may be easier to follow.
Once you have considered all of these things, you are ready to join rounds in knitting! Follow the instructions in the pattern carefully, and don’t be afraid to ask for help. With a little practice, you will soon become an expert at joining round in knitting!
Benefits of Join Round in Knitting
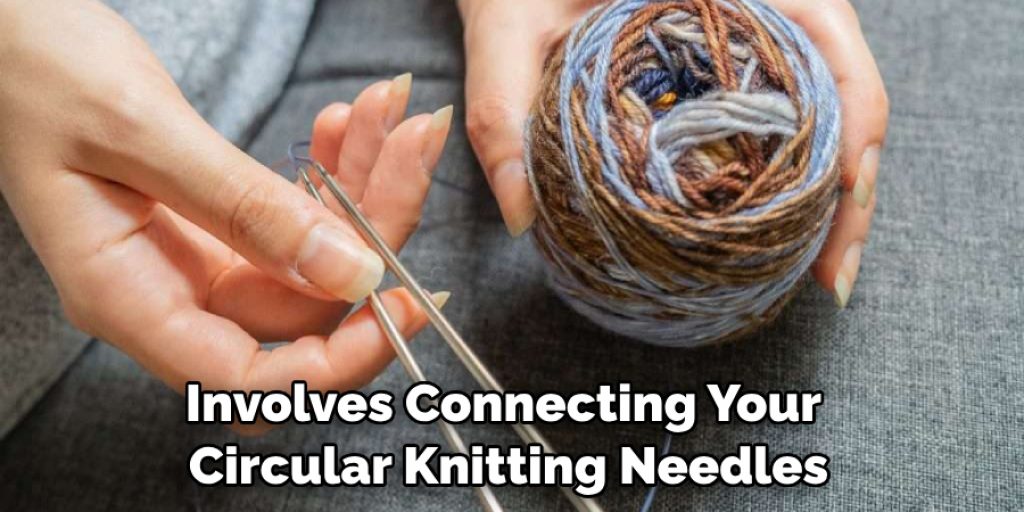
If you’re a knitting enthusiast, chances are you’ve heard of the Join Round technique. This technique, which involves connecting your circular knitting needles to create a continuous loop, has several benefits. One of the most obvious benefits is that it eliminates the need for seaming. By knitting in the round, you can easily create seamless garments and accessories.
Additionally, knitting in the round with Join Round allows you to avoid the “jog” sometimes occurring when switching from one row to the next. This technique is also great for creating stripes and other colorwork patterns. So if you want to take your knitting to the next level, consider giving Join Round a try!
Some Common Mistakes People Make When Trying to Join Round in Knitting
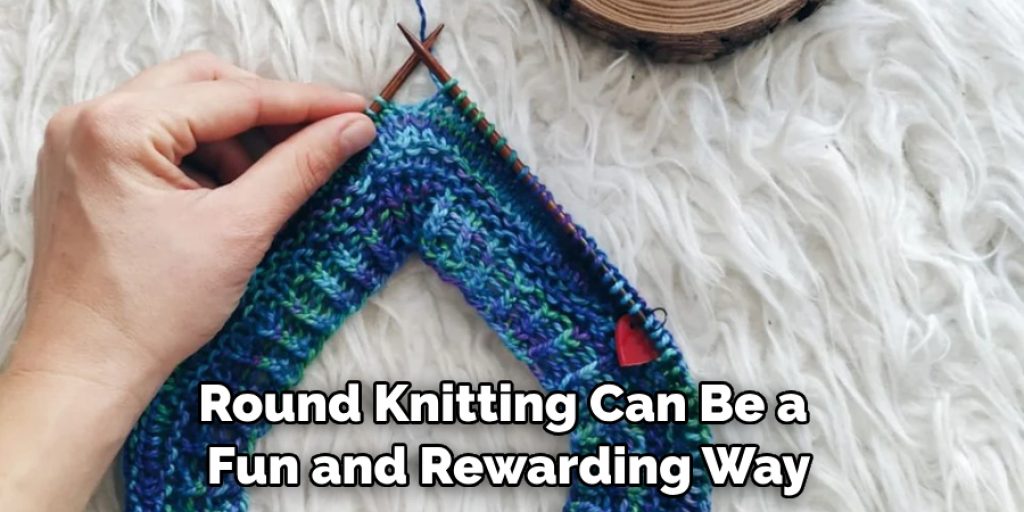
Round knitting can be a fun and rewarding way to switch up your knitting projects, but it can also be tricky to get the hang of if you’re not used to it. Unfortunately, a few common mistakes people make when trying to join around in knitting can lead to frustration and imperfect results. One of the most common issues is accidentally twisting your stitches when joining in the round, which can create a spiraled effect in your finished project.
Another mistake is forgetting to mark the beginning of your round, making it difficult to track where you are in the pattern. Overall, while these mistakes can be frustrating, the good news is that with practice and patience, you can easily get the hang of round knitting and create beautiful pieces.
Conclusion
Joining rounds in knitting can be a little intimidating, but it’s a skill that can easily be learned by following these simple steps. Remember to cast on your stitches correctly, place a marker to indicate a new round, and join the rounds to maintain consistent tension. With these steps, you can effortlessly knit in the round and enjoy creating beautiful knitting projects that will leave your friends and family amazed. Thanks for reading our post about how to join round in knitting.
Nancy Behan
Nancy is an embroidery artist, fashion blogger and a full time editor at DIY quickly. Nancy edits the fashion section on DIY quickly, focusing on the embroidery and cross stitch articles, alongside with fabric and other costume design elements. She graduated from the University of Michigan with a Bachelor of Arts in Art History. She loves to work on her own projects, read books and watch romantic movies in her spare time.


