How to Knit a Beret
As the temperature drops and the chilly winds of winter start to blow, what better way to stay warm and stylish than with a cozy knit beret? Berets are timeless accessories in many different styles, colors, and materials, making them the perfect fashion statement for any outfit.
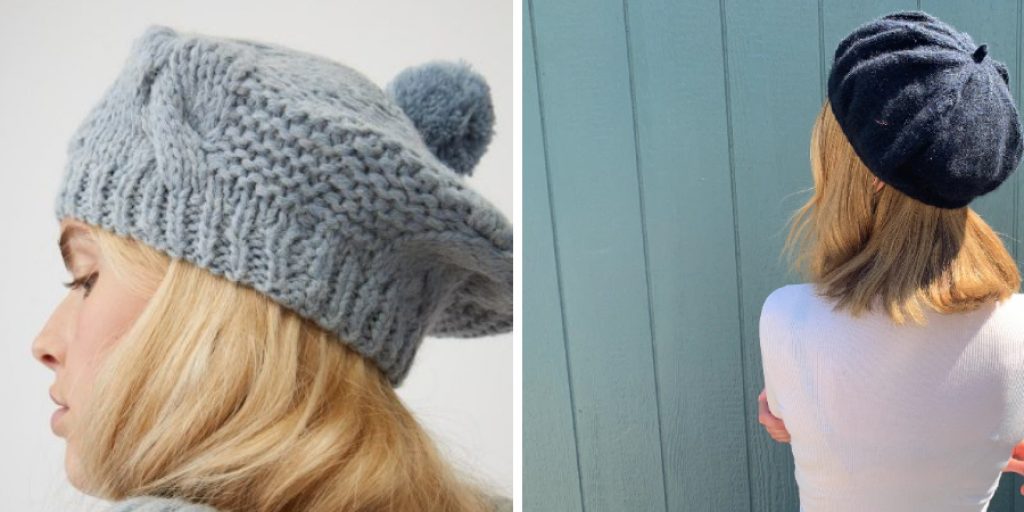
And the best part? Thanks to the age-old art of knitting, a handmade beret is just a few hours of knitting adventure away. In this post, we’ll be sharing everything you need to know about how to knit a beret, perfect for this winter season!
Can You Knit a Beret?
Knitting can be a therapeutic and rewarding hobby, not to mention all the fabulous garments you can create. One of the classics is the beret, a timeless accessory that can elevate any outfit. So, can you knit a beret? Absolutely! With a little practice, anyone can master knitting a beret. It may look daunting at first, but the beauty of this project is its simplicity.
The circular shape and basic stitches make it an ideal project for beginners or those looking for a quick and satisfying knit. Plus, there are endless styling possibilities with berets – go classic with woolen textured yarn, or jazz it up with a glittery blend. Whatever your preferred style, knit a beret and spice up your headwear game.
Why Should You Knit a Beret?
Have you been searching for a new hobby that not only serves as a creative outlet but also has practicality? Look no further than knitting a beret! With the fast winter months approaching, a cozy and stylish beret will keep you warm and add an element of sophistication to any outfit. Not to mention, knitting is a great way to unwind and relieve stress.
As you work on each stitch and watch your creation come to life, you’ll experience a sense of pride and accomplishment. Plus, a beret makes for a thoughtful and heartfelt gift for a loved one. So, why not try knitting and discover the joys of creating your fashion pieces?
How to Knit a Beret in 7 Easy Steps
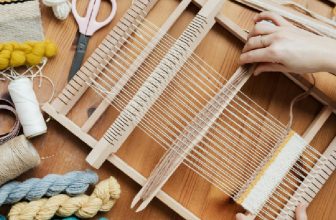
Step 1. Choose Your Yarn and Needles
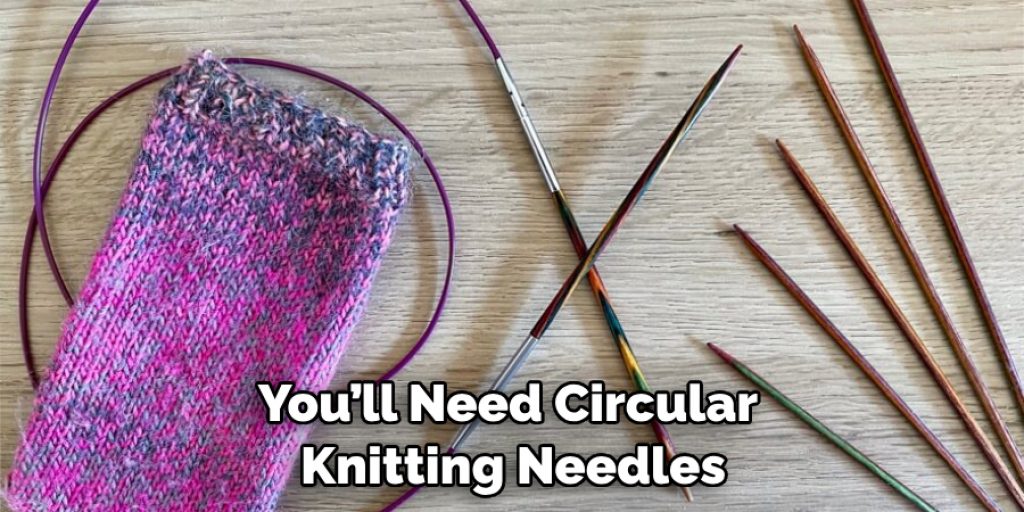
The first step to knitting your beret is choosing your materials. You’ll need around 100g of yarn and circular knitting needles. Generally, the type of yarn and needle size will depend on your preference, but medium-weight yarn (#4) and 5mm needles work well for most patterns. Once you’ve got your materials, you’re ready to cast on and get started.
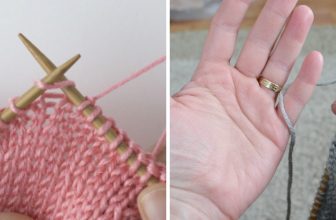
Step 2. Cast-on and Ribbing
Begin by casting around 72 to 80 stitches onto your circular needles, making sure you join the stitches to form a circle, being careful not to twist them. Then, start knitting the ribbing in a pattern of knit two, purl two (K2, P2) for about eight rows. This provides a snug fit and helps hold the beret in place. Ensure you measure your work as you go along to ensure you’re on the right track.
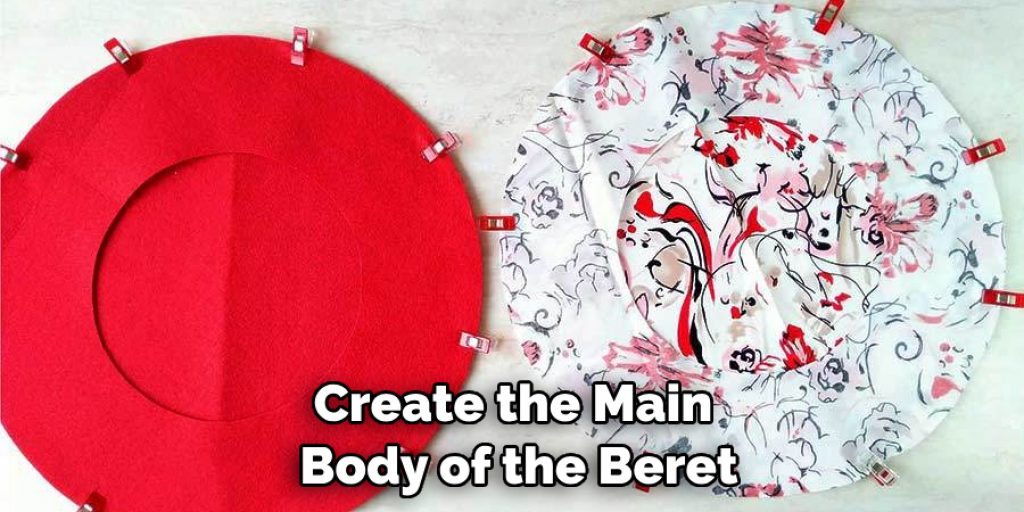
Step 3. Knit in Stockinette Stitch
To create the main body of the beret, you can alternate between knitting and purling in a stockinette stitch until you reach your desired length. You can increase or decrease your stitches based on your desired beret size. For a child-size beret, you can decrease it to around 60 stitches. For larger sizes, you can increase up to 90. Remember to keep measuring it as you go along.
Step 4. Create Your Beret Shape
Next, it’s time to begin shaping the beret to create the classic slouchy style. Use decreases (knit two together) every few rows, with a few knit rounds in between, until you have around 20 stitches left. Then, use the thread method to cinch the beret closed, weave in the tail, and congrats – you’ve got a knitted beret!
Step 5. Add Embellishments (Optional)
You can add stitching or appliques to your beret for an extra special touch. You could embroider a small flower design or sew on some buttons for a unique look. Consider using different colors of yarns and ribbons to create bold stripes or patterns.
Step 6. Sew in the Lining (Optional)
If you want a more finished look, sew a lining to the beret. You can use fabric similar in color and weight to the yarn for the best results. Cut out two pieces of fabric in the shape of your beret and sew them together with the right sides facing each other. Then turn it inside out and hand-stitch the lining onto the beret.
Step 7. Put on Your Beret and Enjoy!
And lastly, don’t forget to wear your new handmade knitted beret and show it off! With just a bit of practice, you can create an array of colorful and stylish berets that will keep your head warm in style.
Now grab some friends and enjoy your new look. You’re sure to be the envy of all your knitting friends!
That’s it! You’ve now learned how to knit a beret. Now get out there and practice what you’ve learned – happy knitting!
5 Considerations Things When You Need to Knitting a Beret
1. Yarn Type
The type of yarn you use for your beret will have a big impact on the final product. A thicker yarn will result in a warmer, more substantial beret, while a thinner yarn will create a lighter, more delicate hat. Choose a yarn appropriate for the season and the level of warmth you desire.
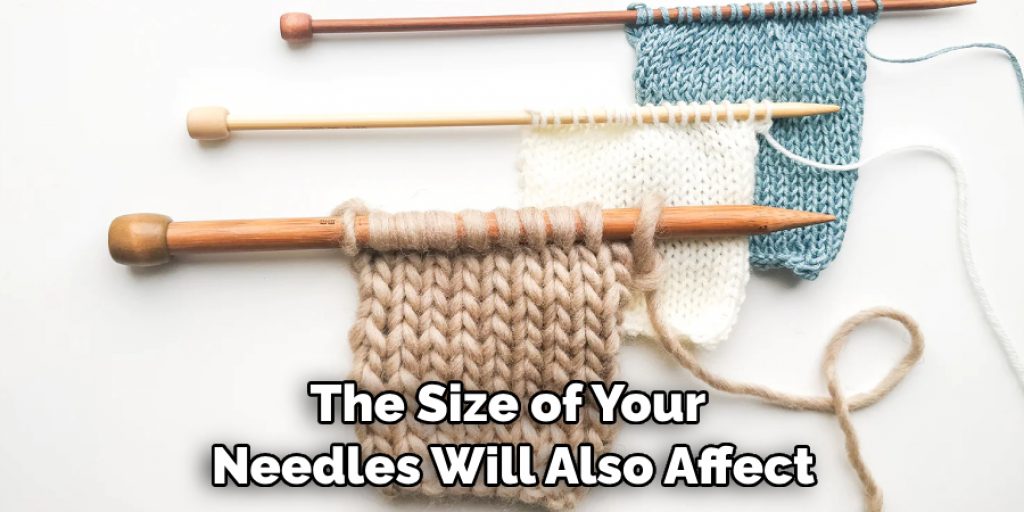
2. Needle Size
The size of your needles will also affect the final product. A smaller needle will create a denser fabric, while a larger needle will produce a looser, more open fabric. Choose a needle size that is appropriate for the yarn you are using.
3. Gauge
Gauge is the number of stitches per inch that you knit. It is important to maintain a consistent gauge throughout your project to avoid having an uneven or misshapen beret. Use a gauge swatch to test your tension before beginning your project.
4. Pattern
Many different patterns are available for berets, so take some time to browse them and find one you like. If you are a beginner, it may be helpful to choose a pattern with fewer stitches and simpler shaping. Once you have chosen a pattern, follow it carefully to achieve the desired results.
5. Blocking
Blocking is a process of wetting and shaping your knitting that allows it to dry into its final form. It is important to block your beret to even out the stitches and ensure the shape is correct. To block your beret, wet it lightly and then shape it onto a blocking board or form. Allow it to dry completely before wearing it.
Knitting a beret is an enjoyable project that can challenge your skills and provide you with a beautiful accessory. Remember to choose the right yarn, needle size, gauge, and pattern when making a beret, and block it properly to achieve the desired results!
Benefits of Knitting a Beret
Knitting a beret can offer a plethora of benefits, both tangible and intangible. Knitting is a form of active mindfulness, allowing creators to disconnect from the world around them and focus solely on their creativity. Beyond the joy of knitting, a beret offers additional perks like warmth, fashion, and versatility.
Berets can be styled in myriad ways, making them versatile accessories that can accompany a range of outfits, from casual to formal. Knitwear is an eco-friendly alternative to mass-produced synthetic materials, ensuring that your beret is both stylish and sustainable. Finally, knitting a beret can serve as a source of pride, offering a sense of accomplishment and accomplishment in the knowledge that you crafted something beautiful and useful with your own two hands.
Some Common Mistakes People Make When Trying to Knitting a Beret
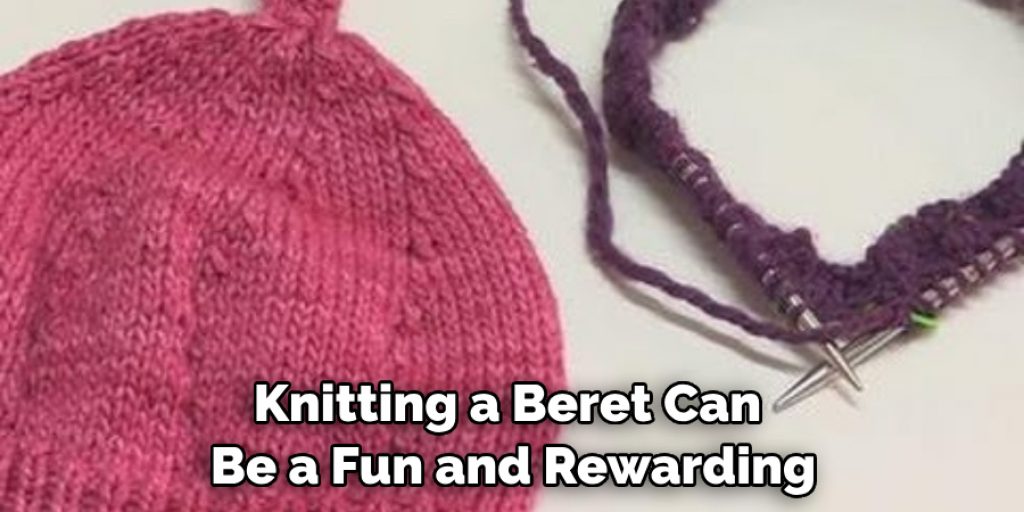
Knitting a beret can be a fun and rewarding experience for any aspiring craftsperson. However, there are a few common mistakes that many people make when first attempting this popular headwear. One of the biggest mistakes is not choosing the right type of yarn for the project. A beret requires the yarn’s specific weight and texture to achieve the desired shape and style.
Another mistake is not following the pattern closely enough or jumping ahead too quickly, leading to errors in the design and fit of the final product. Finally, not taking the time to properly measure and adjust the size of the beret can result in an ill-fitting or uncomfortable finished product.
By avoiding these common mistakes, anyone can knit a beautiful and functional beret they can be proud of.
Conclusion
There’s nothing quite like the satisfaction of creating something with two hands, and knitting your beret is no exception. From selecting your materials to your final stitch, each part of the process is a chance for you to create something uniquely your own.
Not to mention something that’ll keep you warm and fashionable all winter. So why not dive headfirst into the exciting knitting world and start assembling your first handmade hat today Thanks for reading our post about how to knit a beret.
Nancy Behan
Nancy is an embroidery artist, fashion blogger and a full time editor at DIY quickly. Nancy edits the fashion section on DIY quickly, focusing on the embroidery and cross stitch articles, alongside with fabric and other costume design elements. She graduated from the University of Michigan with a Bachelor of Arts in Art History. She loves to work on her own projects, read books and watch romantic movies in her spare time.