How to Make a Tassel with Embroidery Thread
Are you looking for a way to bring life to your mundane projects? Look no further! Adding a tassel is a great way to embellish and add depth to your creations. Tassels can be used on anything from bags to keychains, pillows to curtains. And the best part?
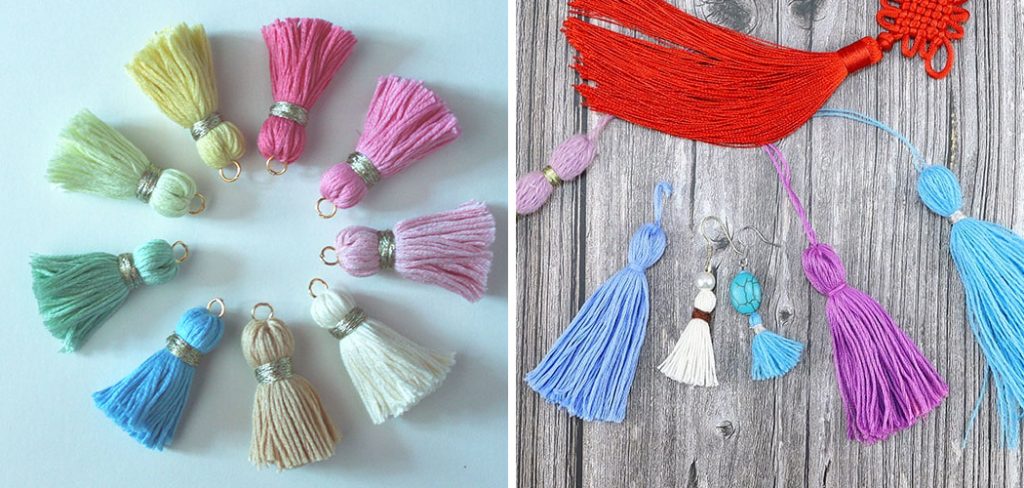
They are incredibly easy to make! With a bit of embroidery thread and a few helpful tips, you can create tassels to your heart’s content. So keep reading to learn more about how to make a tassel with embroidery thread.
Can You Make a Tassel with Embroidery Thread?
Adding tassels to home décor or clothing can add an interesting detail that catches the eye. While there are many ways to make tassels, have you considered using embroidery thread? Not only does it come in a variety of colors, but it’s also thin enough to create a delicate tassel. To start, gather your supplies: embroidery thread, scissors, and a piece of cardboard for wrapping.
Once your thread is cut to the desired length, wrap it around the cardboard, tie it at the top, and trim the bottom. Separate the loops at the bottom and trim to create a nice, even tassel. With a little practice, you’ll be tassel-making like a pro!
Why Should You Make a Tassel with Embroidery Thread?
Adding a tassel made of embroidery thread to your projects can completely elevate the final look and feel. Not only do they add a touch of elegance and uniqueness, but they also make your finished product feel more polished. Imagine a simple keychain transformed into a personalized gift with the addition of a colorful tassel.
Or an everyday tote bag elevated into a bohemian accessory with a cascading tassel. Making a tassel with embroidery thread is a fun and easy way to add something special to your creations. Plus, with so many colors and styles to choose from, you can customize your tassel to perfectly match your vision. So why not try making a tassel with embroidery thread and see how it can take your project to the next level?
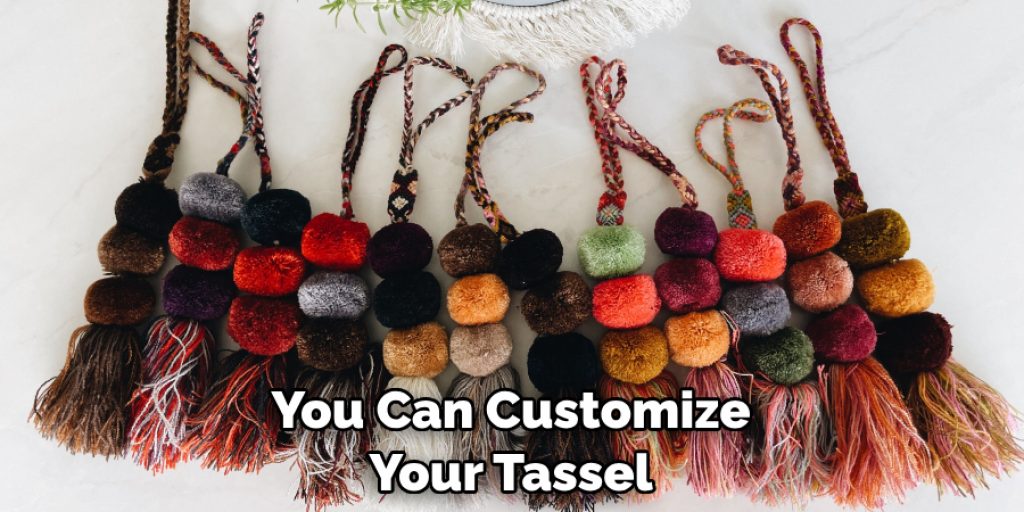
Get Creative: How to Make a Tassel with Embroidery Thread
Step 1: Choose Your Thread
Embroidery thread comes in various materials, colors, and thicknesses. Choose the thread that suits the project you are working on and fits the aesthetic you’re aiming for. For example, cotton threads might work better for a bohemian-style tassel, while silk threads might work better for something more formal. You could also choose multiple threads to create a multicolored tassel.
Step 2: Measure and Cut
Measure out the desired length with a tape measure or a ruler for your tassel and double it. For example, if you want your tassel to be four inches long, you will need to cut a piece of thread that is eight inches long. To make sure your tassel is uniform and neat, you could use a cardboard template. Cut a piece of cardboard to the length you want, then wrap your thread around it multiple times. Once you’ve reached the desired thickness, carefully slide the thread off the cardboard and set it aside.
Step 3: Secure the Top of the Tassel
Take one end of the thread and fold it over to create a loop, leaving a small tail. Hold the loop and wrap the tail around the top of the tassel, covering as many threads as possible. Once you’ve wrapped the tail around enough times, tuck the end of the loop under the wrapped thread and pull it tight.
Step 4: Add the Cap
Cut another piece of thread about two inches long. Fold it in half and tie a knot to create a small loop. Thread the loop through the top of the tassel and pull it tight. Secure the cap to the tassel by wrapping each tail around the top and knotting it tightly. Trim any excess thread. Your tassel is now ready to be added to your project or keychain!
Step 5: Make a Hanger for the Tassel
Cut another piece of thread about four inches long. Create a loop at one end that is big enough to fit over your project or keychain. Thread the other end of the thread through the top of the tassel, then tie it off securely. Trim any excess, and you’ve got yourself a finished tassel!
Step 6: Give the Tassel a Fluffy Look
Trim the threads at the bottom of the tassel to give it a fluffy look. Make sure you’re not trimming too much, just enough so that it looks nice and even. You could also use scissors to shape the tassel into your desired style.
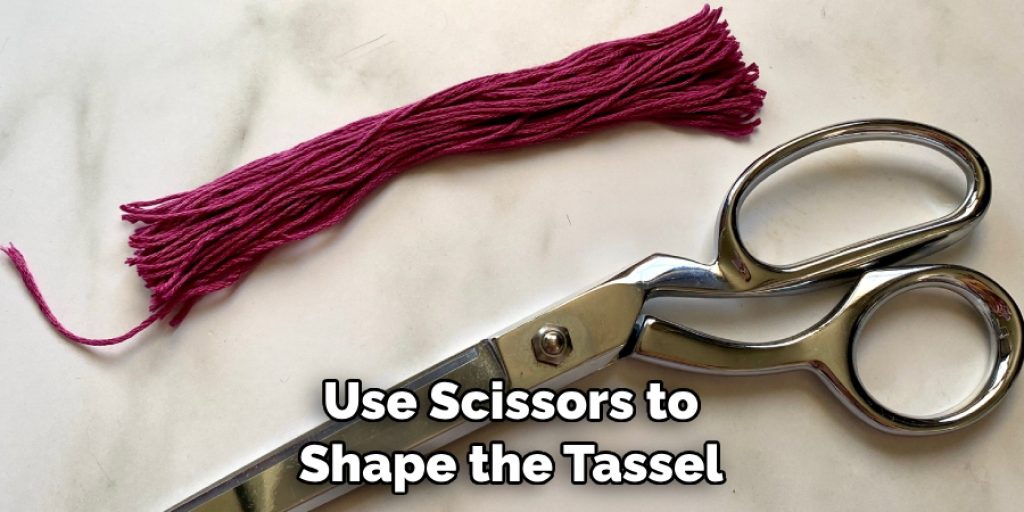
Step 7: Enjoy Your Tassel!
You’ve completed your cute tassel, ready to be added to any project or keychain! Enjoy the finished product and take pride in your handiwork. Making tassels with embroidery thread is a great way to add fun detail to any creation, so practice this skill and let your imagination guide you. Have fun!
Now that you know how to make a tassel with embroidery thread, you can start crafting one for any project or keychain. All it takes is a few simple steps to create something unique and special. So don’t hesitate—get started on your tassel now!
5 Considerations Things When You Need to Make a Tassel with Embroidery Thread
1. Choose the Right Thread
When making a tassel with embroidery thread, it is important to choose the right thread for the job. The type of thread you choose will depend on the size and shape of your tassel and the design you are trying to achieve. If you are looking for a more delicate look, silk or cotton threads may be best. If you want a bolder look, thicker threads such as wool or acrylic may be better suited.
2. Select the Right Color
The color of your embroidery thread will also play an important role in the overall look of your tassel. It is important to select colors that complement each other, and that will help to create a cohesive design. You can also use multiple colors in order to create an ombre effect or add dimension to your tassel.
3. Cut Evenly
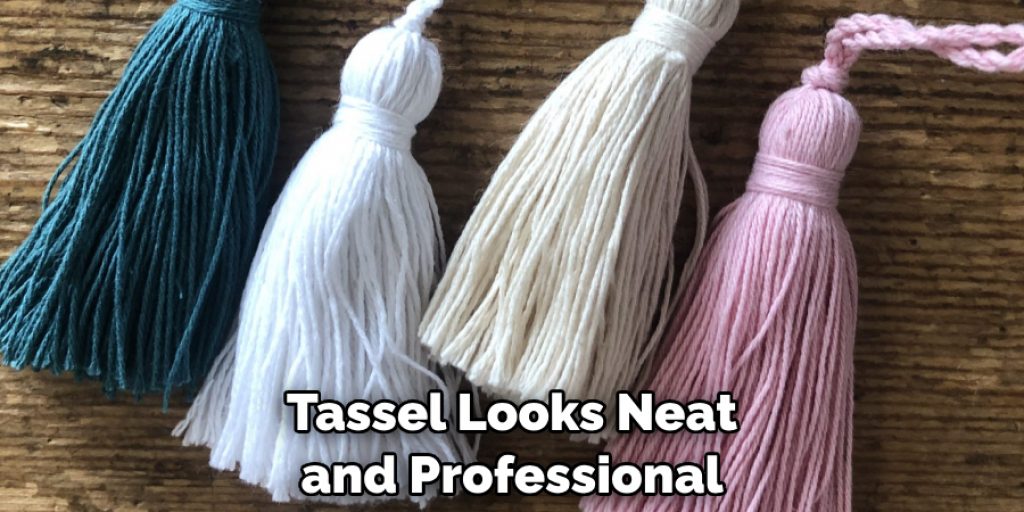
When cutting your embroidery thread for your tassel, it is important to ensure that all pieces are cut evenly so they all hang at the same length when completed. This will ensure that your tassel looks neat and professional when finished. It is also a good idea to measure each piece before cutting to know they are all even in length before beginning assembly.
4. Secure Ends
Once you have cut all of your pieces, it is important to secure the ends so that they do not fray or unravel while assembling your tassel. You can do this by using clear nail polish or fabric glue on each end of each piece of thread before beginning assembly. This will help ensure that your tassel looks neat and professional when finished.
5. Assemble Carefully
Once all of your pieces have been cut and secured, it is time to begin assembling them into a tassel shape. Take care when doing this so everything lines up properly and looks neat. Once assembled, secure it with clear nail polish or fabric glue if necessary to ensure everything stays in place while wearing or displaying it.
These simple steps when making a tassel with embroidery thread will help ensure your finished product looks neat and professional. With the right supplies and patience, anyone can make an attractive and unique tassel for any occasion. So why not try it out today?
Benefits of Making a Tassel with Embroidery Thread
Whether you want to add personality to your keychain or graduation gown, creating a tassel with embroidery thread is an excellent option. Not only does making your tassel allow for a custom, one-of-a-kind design, but it also provides a sense of accomplishment and pride. Plus, embroidery thread comes in various colors, allowing you to match your tassel to any outfit or color scheme.
Making a tassel with embroidery thread is a fun and affordable project that can be completed in just a few easy steps. So why not try and see the endless benefits of creating your tassel with embroidery thread?
Some Common Mistakes People Make When Trying to Make a Tassel with Embroidery Thread
Tassels have been used for centuries in various cultures as decorative accents on garments, accessories, and home decor items. Making a tassel might seem simple, but it requires a certain level of precision and skill. Many people often make mistakes when trying to make a tassel with embroidery thread, such as using the wrong type of thread, not measuring the thread properly, or leaving uneven lengths of thread.
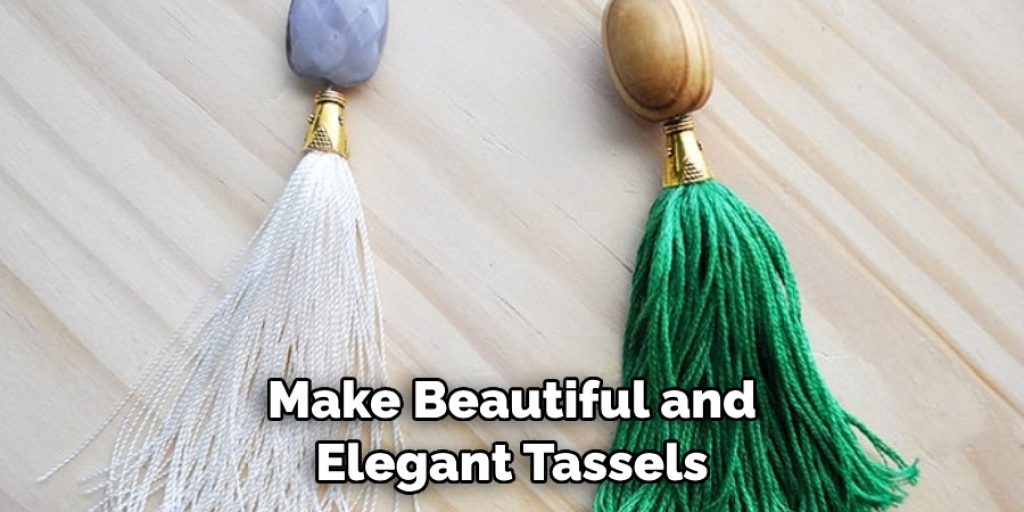
These mistakes can result in a tassel that looks sloppy and unprofessional. However, with a little patience and practice, anyone can learn to make beautiful and elegant tassels that will add a touch of sophistication to any project.
Conclusion
And there you have it, folks, our easy guide on how to make a tassel with embroidery thread. With these simple steps, you’ll be adding tassels to all your projects in no time. Not only are they fun to make, but they’re a great way to personalize any project and make it uniquely yours. So get creative and have fun!

