
How To Build Up Existing Baseboards
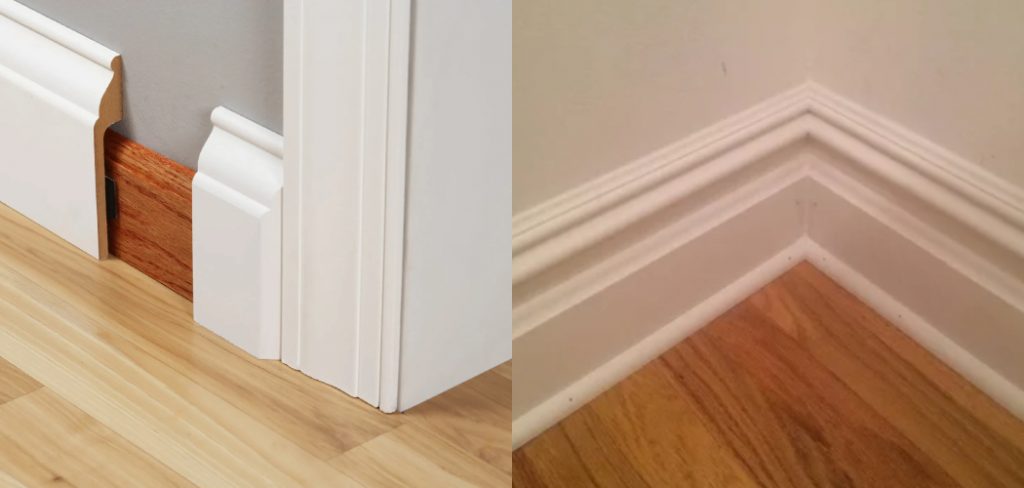
The baseboard trim was already in excellent condition in our laundry room mostly. We decided not to take the initiative to tear them out and install new boards for all of the other items we would have on our checklist to do! And by applying a tiny thin piece of topped with white marble fitted to the end, we only modified them.
Instructions:
Method 1:
Purchase Fresh Shoe & Baseboard
You’ll need some new content for this design (baseboard and shoe). You may want to buy the same baseboard model you have all over your house, so the new baseboard looks similar to the old one.
Move ahead and purchase the baseboard until you learn the design. Also, ensure that you buy parts more extensive than the wall to which you mount them. That’s also essential since you need more than enough space on both sides to make these changes and then get it to match on the floor.
The shoe is the lower part, which juts too forward and is attached to the ground. Think this or not, a different plank of wood is connected to the worktop until it is placed on the floor. And what thickness of the baseboard you purchase, you’ll have to buy the very same shoe style.
The Baseboards Measurement & Split Miters
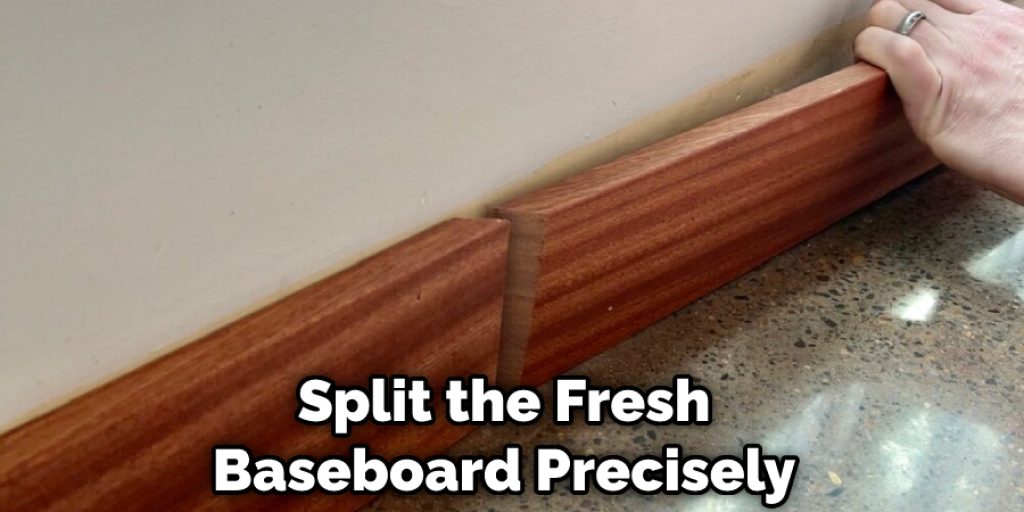
It’s a way to break the baseboard and the platform to scale until you get the product completely ready. This is where you want your miter tool. Typically I split the fresh baseboard precisely as they chopped the older things. When the older baseboard bottoms out to a sharp tool (like such a vent), you can usually cut it clean, making it very easy to break.
When you reach two sides of the wood, though, then you might more certainly “miter” the edges that involved removing them at a 45-degree incline. These are done so that they build a proper 90 ° angle at the border whenever they are paired up along. In the following example, you can see that you create such breaks by merely turning the saw blade from 0 ° to 45 °. You cut it similarly. However, the saw is rearranged in such a direction the edges are mitered.
This baseboard was split at a level of 45, and remember, these were cut right up mostly on the saw and just not lying down. Quickly switch the 45 ° angle inclination on the saw to another hand of the saw on create the slit on the other 1/2 of the mitered edge (even now 45 °) and allow a slit. They can match well in a 90-degree doorway if you bring the two sides around.
Rookie suggestion: it isn’t tricky, but it often requires some analysis and design adjustments to ensure you’ve got it down (it can also sound like such a brain riddle). I recommend you do a couple of test slices to the leftover/scrap finish to refine the combination on your fresh baseboard or shoe once you get there.
A further Rookie bit of advice: I typically label my baseboard scale and then sketch the direction I would like to cut. If I bring this to the saw, this drawing always benefits since I have a timely note on what advice to cut.
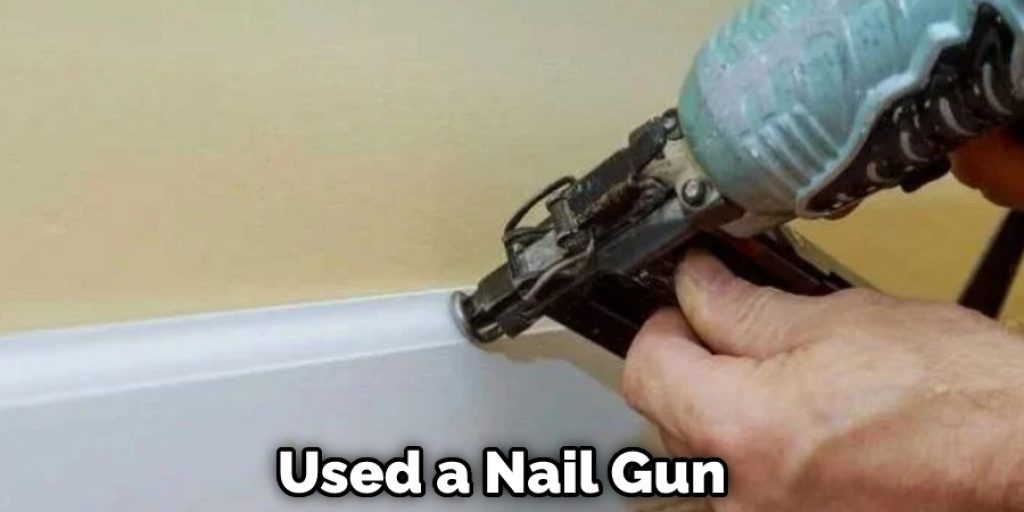
Nail it over the wall
I position it across the space’s circumference along its walls until I attach the fresh baseboard to the floor and ensure it works like a cap (or as close as practicable) until pinning it to the surface. It is ready to hammer it to the wall that used a nail gun whenever I think it’s okay. You would like to install the baseboard around the whole portion to the baseboard’s left and right sides. Only with a power drill on this part, I was indeed a bit too nice, but I think it’s easier to get little many such nails than nothing at all.
Complete the shoe measures
It’s an opportunity to introduce the shoe since the baseboard is connected. Truthfully, you perform the same baseboard measure to fasten the shoe. It still does seem more complicated to me to have the right mitered tips with a shoe, so I certainly reap the benefits of several trial cuts until I pursue the “actual” cut. However, some of the shoes, like the baseboard, would need a clean edge; this has to be the best!
Adjust the Nail Holes
It isn’t a significant challenge to have several nail gaps, but it allows this phase a little time. Get the putty, cover the board, and a shoe with all the nail gaps. When it’s dry, you may smooth the extra gently so it would be a solid object and prepared for the priming/painters.
Caulk is the Best Pal when you’re working with whiteboard and finish, and it will cover up any of the less-than-ideal edges. I want to use pure white caulk or caulk explicitly designed for trimming work (to suit the light white undercut).
Being a nurse will require you to have a few scrub uniforms. A nurse knows how regularly they must wear them and how often they need to wash them. So, it is inevitable for them to be worn out easily. The best way is to have at least two or three uniforms made. If you want to be a little creative and learn how to make a scrub top yourself, then you should keep following ahead as we will tell you the best way how to make a scrub top.
Steps to Follow
Method 2:
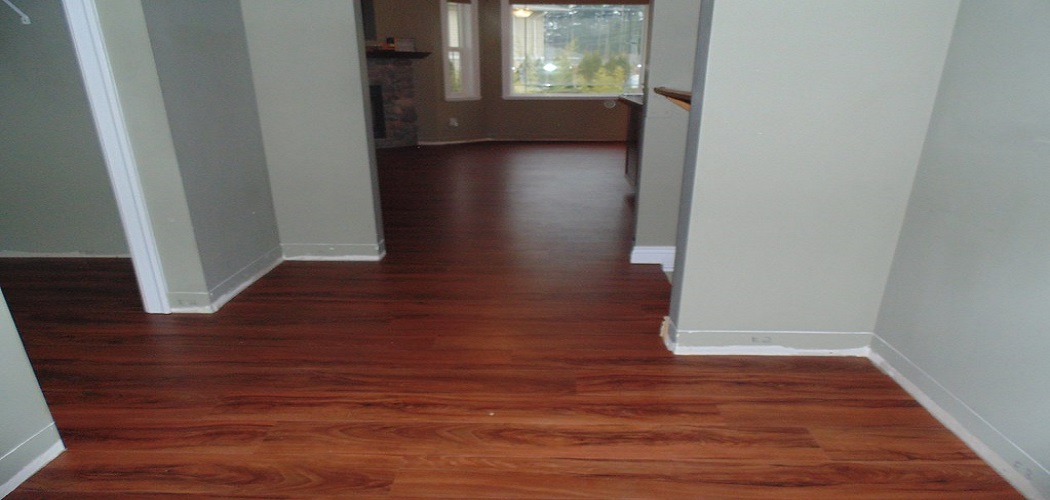
This upgrade is a straightforward and cheap approach to have the higher baseboards, which don’t arrive with the regular house looking better. We took a bit of wood measuring 1 in and used it to bring the mold to the level we needed as our spacer. Every part of the mold was sized and trimmed to the appropriate size with 45 ° angle bends at the edges.
And they were fastened to the wall in some positions with a nail device. We don’t prefer using Liquid Nails at home since we never learn as we’re about to have a bee in my cap to turn things up. Nail gaps were better to handle than Liquid Nail glue-filled frames!
You may then have to cover the openings to crevices with precise caulk paintings until the mold cavity is added. Too quick but a very critical phase toward your baseboards’ total finishing touch. It would help if you colored the baseboards after they had dried correctly. To bring it a perfect appearance, we colored these with two layers!
You May Also read – How to Fix Baseboards with Water Damage
Elizabeth Davis
Elizabeth is a creative writer and digital editor based in the United States. She has a passion for the arts and crafts, which she developed from a young age. Elizabeth has always loved experimenting with new mediums and sharing her work with others. When she started blogging, she knew that DIYquickly would be the perfect platform to share her tutorials and tips. She's been writing for the blog from the beginning, and her readers love her helpful advice and easy-to-follow instructions. When she's not writing or editing, Elizabeth enjoys spending time with her family and friends.


