How to Write on Leather
Writing on leather adds a personalized and artistic touch to a variety of items, from journals and wallets to belts and accessories. Whether you’re looking to create a custom gift, label your leather goods, or simply add your unique mark, knowing how to write on leather can be a valuable skill.
However, the porous and textured nature of leather requires careful consideration of techniques and tools to ensure a professional and lasting result. From selecting the right type of leather and preparing the surface to choosing appropriate writing instruments and mastering various styles, this guide will delve into the art of writing on leather.
Whether you’re an experienced calligrapher or a beginner intrigued by the idea of leaving your mark on leather, this article will provide insights and instructions to help you achieve beautifully written designs that stand the test of time.
The Importance of Writing in Leather
In a world full of plastic and synthetic materials, leather stands out as a timeless classic. Leather can be used to make clothing, furniture, and accessories that are stylish, sophisticated, and luxurious. But there’s one more way to use leather – by writing on it! Writing or imprinting text onto leather is an art form that has been around for centuries. It is a great way to personalize items and add an extra bit of character.
The process of writing on leather may vary depending on the type of leather you are using, but the general technique involves using either a stencil or craft knife to cut through the surface in order for ink to be applied into the grooves. You can then use paints, markers, stamps, or even gold leaf to create the finished design.
When writing on leather, it is important to remember to use the right ink and tools for the job. Inks or paints that are too thick may not be able to seep into the grooves of thicker leathers, while inks or paints that are too thin may run off when used with thinner leathers. It is also important to use the right type of tool when cutting the leather, as using sharp points or blades can cause long-term damage and scratches on the surface.
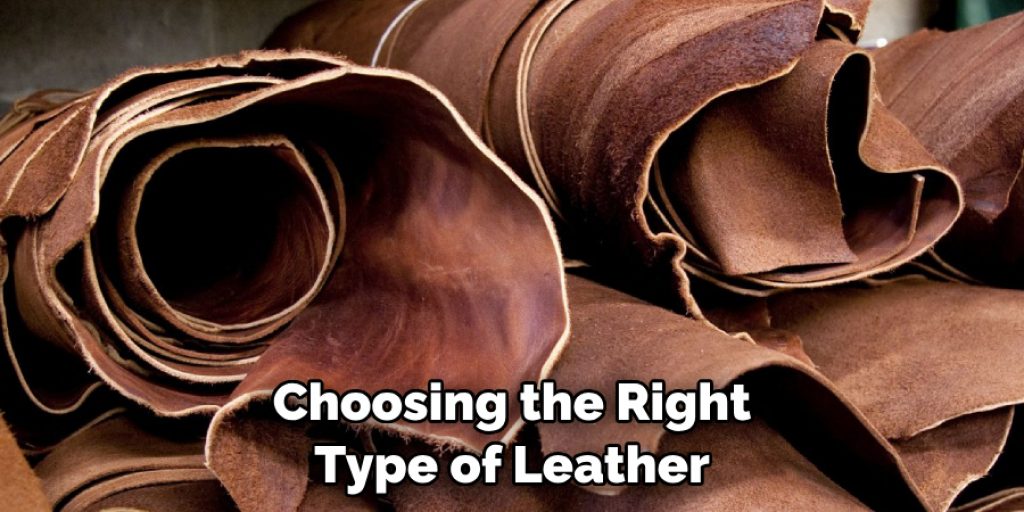
Choosing Suitable Leather Types for Writing
When it comes to writing on leather, not all leather types are suitable. For example, you should avoid using full-grain leather as it is too thick and can cause uneven results. Instead, use top grain or smooth finished leather that is softer and easier to write on. You may also want to experiment with faux or vegan leathers as these are thinner and often provide better results.
In addition to choosing the right type of leather, you should also make sure that you are using a suitable writing instrument. Pencils and pens work well on leather, but stay away from markers or felt tip pens as these can cause smudging and fading over time. Consider using a specialised leather pen for more intricate designs.
Once you have chosen a suitable leather and writing instrument, you can begin the process of writing on leather. First, make sure that the surface is clean and free of any dirt or dust. Use a damp cloth to gently wipe away any debris before proceeding.
Next, use your chosen writing instrument to write on the leather in short, light strokes. This will help avoid smudging and make it easier to erase any mistakes. If you are using a leather pen, you can also draw more intricate designs or patterns on the leather.
10 Steps How to Write on Leather
Step 1: Choose the Right Type of Leather
Selecting the appropriate type of leather is crucial for successful writing. Smooth, untreated leather works best, as it provides a clean surface for writing and prevents ink bleeding. Avoid heavily textured or suede leather, as they can make writing uneven and difficult to read. Additionally, double-check that the leather you’re using is genuine and not a synthetic material.
Step 2: Prepare the Leather Surface
Before writing on leather, ensure the surface is clean and free from any dust, dirt, or oils. Use a soft, damp cloth to gently wipe the leather and let it air dry. This ensures optimal adhesion of the writing materials.
If you are using a leather finish like paint, use a foam brush to apply the product evenly. Allow the finish to dry completely before beginning to write.
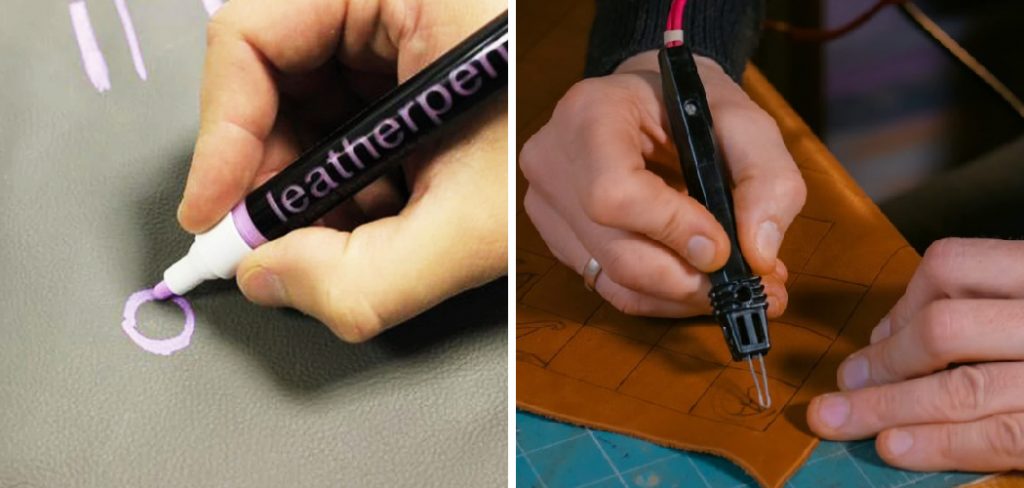
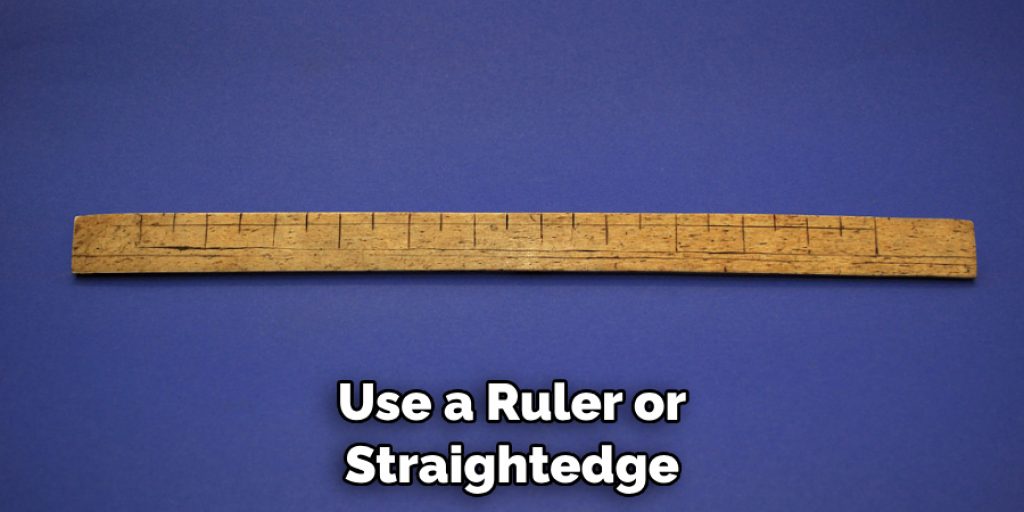
Step 3: Gather Your Writing Tools
Choose writing tools that suit the type of design you want to create. Options include fine-tip markers, gel pens, ballpoint pens, calligraphy pens, and leather embossing tools. Test the chosen tool on a small, inconspicuous area to ensure it works well with the leather.
Once you have your tools, outline your design. If needed, use a ruler or straightedge to draw precise lines or geometric shapes. Practice writing the desired message on paper a few times before attempting it on leather this will help ensure good results and prevent mistakes.
Step 4: Create a Template or Sketch
Plan your design by creating a template or sketch on paper. This helps ensure your writing is properly aligned and sized on the leather. If you’re using calligraphy or more intricate designs, practice on paper before moving to the leather. Once you feel comfortable with the design, use a pencil to lightly trace it onto the leather. This is especially important for complex designs that require careful alignment and spacing.
Step 5: Transfer the Design
Place your template or sketch on the leather and secure it with tape or clips. Lightly trace the design onto the leather using a pencil or a removable fabric marker. Be gentle to avoid damaging the leather.
Once the design has been transferred, you will need to use a hammer and an embossing tool to carve out the lettering or artwork. Start by using a softer mallet-like rubber for more delicate leathers. For thicker hides, you can use a steel hammer instead.
Step 6: Choose the Right Writing Technique
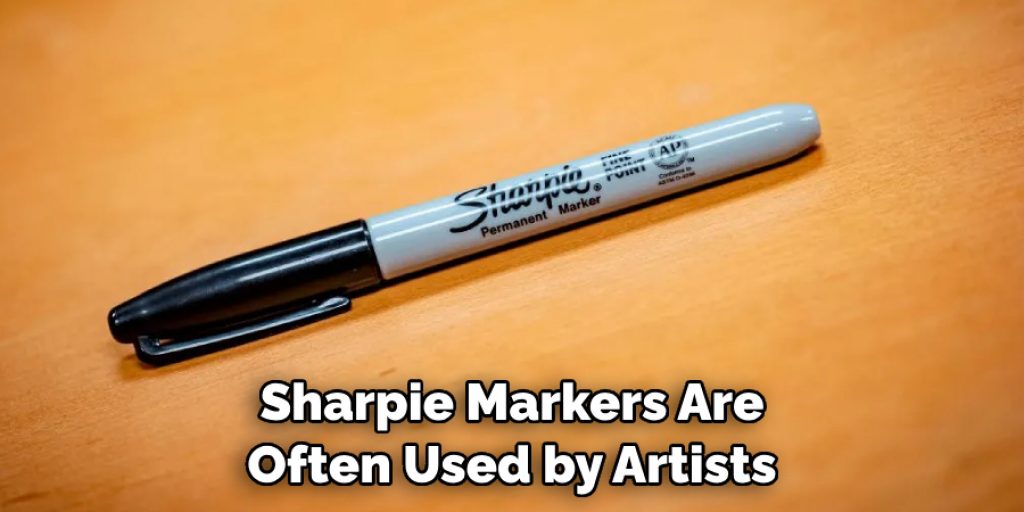
Depending on your desired outcome, you can choose between various writing techniques. Direct writing involves using markers or pens directly on the leather. Embossing involves pressing letters or designs into the leather to create a raised effect. Both techniques offer distinct results, so choose the one that suits your project.
To directly write on leather, you’ll need a permanent marker or pen. Sharpie markers are often used by artists and DIYers. To preserve your work, be sure to use a waterproof ink that won’t fade or rub off when exposed to water.
Step 7: Direct Writing on Leather
For direct writing, use a fine-tip marker, gel pen, or ballpoint pen. Test the chosen tool on a small, inconspicuous area of the leather to ensure it doesn’t bleed or smudge. Write using even pressure, and avoid going over the same area repeatedly, as it may damage the leather.
Step 8: Leather Embossing
To emboss leather, use an embossing tool or stylus to trace over the pencil lines of your design. Apply gentle, consistent pressure to create a raised effect. Make sure the design is visible and well-defined without pressing too hard to avoid damaging the leather.
To make the embossing stand out, use a dye or paint to fill the design. For professional results and an authentic look, try using leather dyes. If you’d like to achieve a more modern effect, acrylic paints are also an option. Let your creation dry for several hours before displaying or wearing it.
Step 9: Allow the Ink to Dry
If you’re using ink-based writing tools, allow the ink to fully dry before touching the leather. This prevents smudging or transferring the ink to other areas. Drying times may vary depending on the type of ink used. If you are using waterproof ink, it will take longer than non-waterproof ink to dry. To speed up drying time, use a hairdryer or fan to help the ink set quicker.
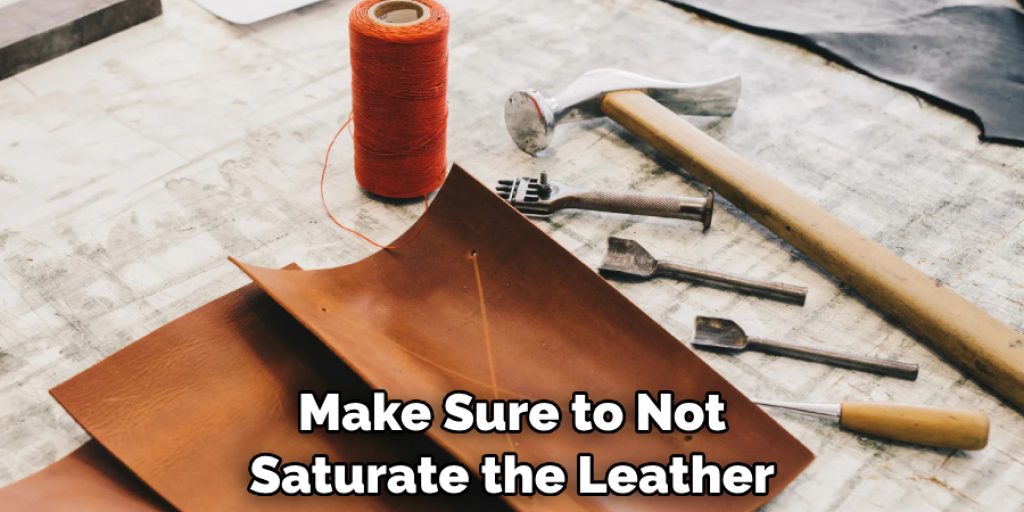
Step 10: Apply a Sealant (Optional)
To protect your written design and prevent it from smudging or fading over time, consider applying a leather sealant or finish. Test the sealant on a small, inconspicuous area first to ensure it doesn’t alter the appearance of the leather or the writing.
Once you’re happy with the look, simply brush or spray on a thin layer of sealant and allow it to dry. You may need to apply a few layers for maximum protection. Make sure to not saturate the leather, as this could lead to discoloration.
Conclusion
Writing on leather can be a great way to add personal touches to your leatherwear and accessories. Unfortunately, it’s not as simple as just using any pen or marker. Different types of leather require different approaches and techniques when writing on them. From the appropriate materials needed, to the correct inking methods, make sure you are taking all the necessary steps for a successful experience.
If you need advice on how best to go about writing on leather, then don’t hesitate to reach out for help and guidance – we’re here for you! Learning how to write on leather is an art form that requires some knowledge and practice to perfect, but with dedication and patience, anyone is capable of mastering artful script – even if only composed of three words: “I love leather”. So what are you waiting for? Get out there and start making your mark!
Angela Ervin
Angela is the executive editor of DIY quickly. She began her career as an interior designer before applying her strategic and creative passion to lifestyle and home. She has close to 15 years of experience in creative writing and online content strategy for housekeeping, home decorations as well as other niche efforts. She loves her job and has the privilege of working with an extraordinary team. She lives with her husband, two sons, and daughter in Petersburg. When she's not busy working she spent time with her family.