
How to Print on Faux Leather at Home
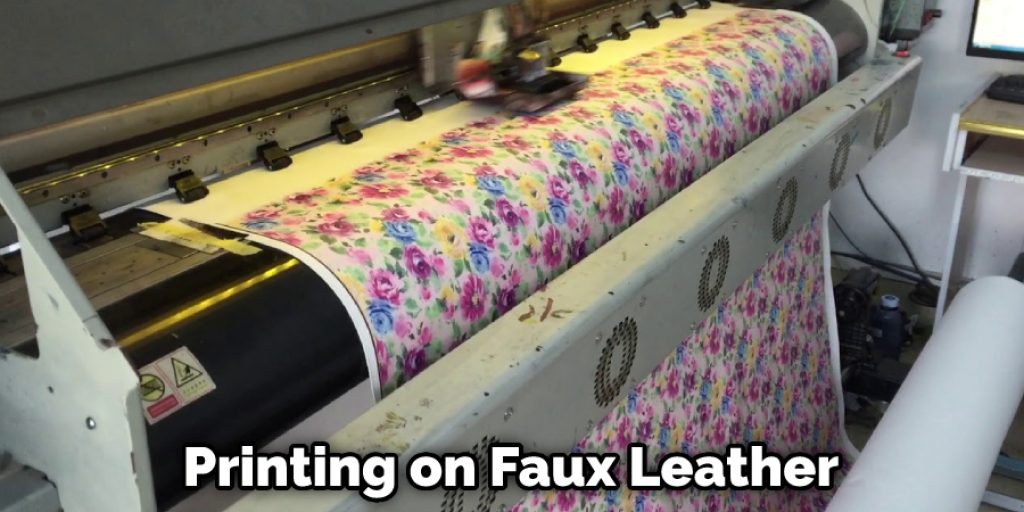
Printing on faux leather is a great way to personalize and customize projects. Whether you’re looking to create a new piece of furniture or just want to add a little extra flair to an existing project, printing on faux leather can be a great way to do it.
With the right tools and supplies, it’s easy to print on faux leather at home. This article will show you how to print on faux leather at home. So whether you’re new to printing or just new to printing on faux leather, follow along and learn how easy it is to get the results you want. Let’s get started!
Summary: Homemade faux leather printing is easy to do at home with a few supplies. All you need is a printer, some faux leather, and a spray adhesive. To print on faux leather, start by spraying the adhesive onto the surface of the leather. Then place the fabric over the adhesive and press firmly into place. Next, use your printer to print your design onto the leather. For best results, use a high-quality printer that can handle decals or prints.
What Things You’ll Need
- Faux leather
- Printer
- Inkjet transfer paper
- Scissors or craft knife
- Sponge or soft cloth
Step by Step Guideline: How to Print on Faux Leather at Home
Step 1: Choose Your Design.
The first step is choosing the design you want to print on your faux leather. This can be anything from a simple logo or image to a more complex pattern or design. Once you have your design, it’s time to print it.
Step 2: Print Your Design.
Once you have your design ready, it’s time to print it onto your inkjet transfer paper. Ensure that you’re using an inkjet printer for this step, as regular printers will not work with this type of paper. When printing your design, be sure to mirror or flip it so that it will print in reverse. This is necessary to transfer the design onto your faux leather, and it will be the right way around.
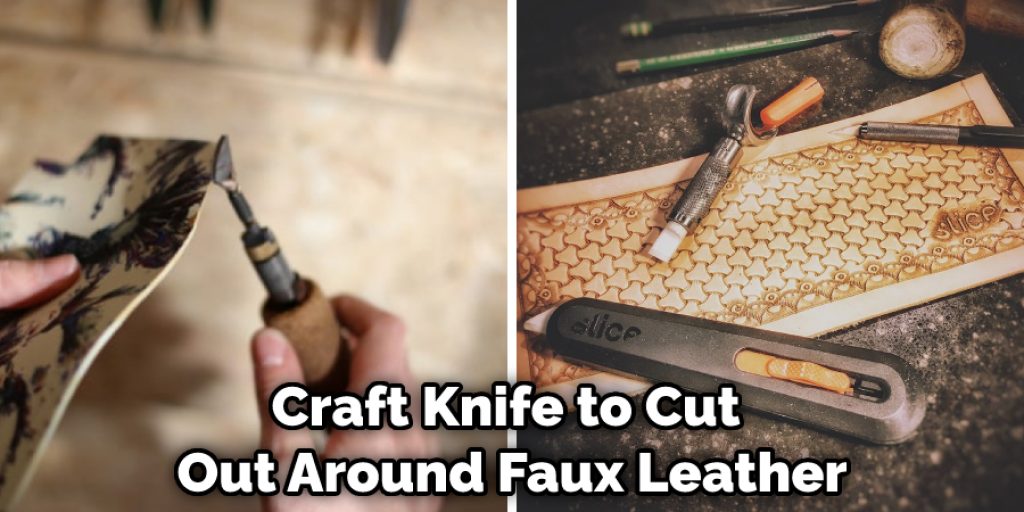
Step 3: Cut Out Your Design.
Once your design is printed, use scissors or a craft knife to cut out around it carefully. Try to be as precise as possible so that you don’t waste any of your transfer paper. Always err on the side of caution and cut out a little bit more than you think you need.
Step 4: Apply the Transfer Paper to the Faux Leather.
Now it’s time to apply your design to the faux leather. To do this, simply place the transfer paper onto the faux leather, design side down. Next, use a sponge or soft cloth to gently rub the paper onto the leather, ensuring that the entire design is transferred.
Step 5: Remove the Transfer Paper.
Once you’ve rubbed the transfer paper onto the faux leather, carefully peel it away from the surface. If any part of your design is still attached to the paper, gently rub it back onto the faux leather and try again. If your design has been transferred successfully, you should now see it printed onto the faux leather surface.
Step 6: Allow the Ink to Dry.
Now that your design is transferred onto the faux leather, allow it to dry for at least an hour or two before continuing. This will give the ink time to set so that it doesn’t smear when you’re working with it. If the ink is still wet, it can be easily wiped away and ruined.
Step 7: Cut Out the Faux Leather.
Once the ink is dry, you can cut out your design using a sharp pair of scissors or a craft knife. If you’re using a craft knife, use a cutting mat underneath to protect your work surface. Once your design is cut out, you’re finished! You now have a one-of-a-kind piece of faux leather that you can use for projects.
Now that you know how to print on faux leather at home, you can create unique and customized pieces. So use your imagination and get creative with your designs. With a little practice, you’ll be an expert at printing on faux leather in no time!
Additional Tips and Advice
- Always test your design on a scrap piece of faux leather before committing to a final product. This will allow you to make any necessary adjustments and ensure that you’re happy with the results.
- When printing on faux leather, it’s important to use an ink that is specifically designed for use on non-porous surfaces. Regular printer ink will not dry properly on faux leather and may even damage the material.
- Be sure to clean the surface of your faux leather before starting any project. This will help ensure that your design adheres properly and looks its best.
- Make sure the surface you’re working on is well-ventilated. Faux leather can release fumes when heated, so it’s important to work in a well-ventilated area to avoid inhaling them.
- Use a low heat setting when using an iron or heat press on faux leather. Too much heat can damage the material, so it’s important to err on the side of caution.
- If the leather you’re working with is particularly thick, you may need to use a thicker needle when sewing. This will help prevent the needle from breaking as you sew.
- When cutting faux leather, use sharp scissors or a rotary cutter. Dull blades will snag on the material and cause it to tear.
Can You Print on Leather With Inkjet Printer?
You can print on leather with an inkjet printer, but you’ll need to use a special type of ink designed for non-porous surfaces. Regular printer ink will not dry properly on leather and may even damage the material. Be sure to test your design on a scrap piece of leather before committing to a final product. This will help ensure that you’re happy with the results.
If the leather in question is faux leather, also known as pleather, you can print on it using regular inkjet printer ink. This type of leather is made with a porous fabric backing that allows the ink to dry properly. However, if you’re working with real leather, you’ll need to use special ink designed for non-porous surfaces.
Final Words
Printing on faux leather is a simple process that can be completed at home with the right tools and supplies. In this blog post, we’ve walked you through the steps necessary on how to print on faux leather at home with an inkjet printer. You’ll need some basic supplies to get started, including a piece of faux leather, an inkjet printer, a foam brush, and an acrylic paint pen in your desired color. The first step is to prepare your faux leather for printing by spraying it with a temporary adhesive spray.
This will help the ink stick to the surface of the fabric. Once the adhesive is dry, you can begin printing your design by placing it face down on the faux leather and running it through your printer. By following these steps, you can create your own printed faux leather accessories or furniture pieces in no time. Have you tried printing on faux leather? What tips do you have for other readers? You can share them in the comments below!


