
How to Paint a Pergola
Are you ready to take your outdoor living area to the next level? If so, consider adding a pergola! This structure is beautiful and timeless and an incredibly rewarding do-it-yourself (DIY) project that anyone with basic carpentry skills can tackle. Painting a pergola can be especially rewarding as it allows you to assign each board its color or hue for a unique look.
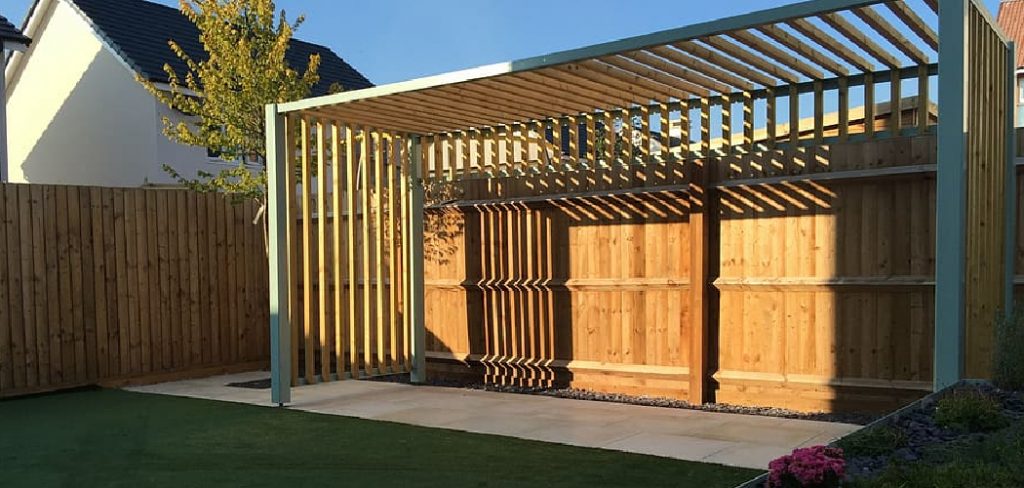
If you’re ready to start your pergola painting project, follow these steps and tips on how to paint a pergola. This blog post will walk you through everything from prepping the original surface and choosing paint colors to apply primer and finishing coats in multiple steps, helping ensure your perfect personalized backyard oasis.
So if painting a pergola sounds up your alley, let’s start!
What Will You Need?
- Primer
- Paint (ideally exterior latex, acrylic, or alkyd)
- Roller and tray or paint sprayer
- Brush (for hard to reach areas)
- Drop cloths
- Sandpaper/sanders and sander blocks
Once you have gathered all of the necessary materials, it’s time to begin prepping the pergola for paint.
10 Easy Steps on How to Paint a Pergola
Step 1. Prepping Your Pergola
Before painting a pergola, you must ensure the surface is clean and free of any debris, dirt or dust. If your pergola were recently stained or painted, you would also want to use a sander or sandpaper to remove any flakey paint layers. When prepping the pergola for painting, ensure the surface is completely smooth and debris-free before proceeding with the project.
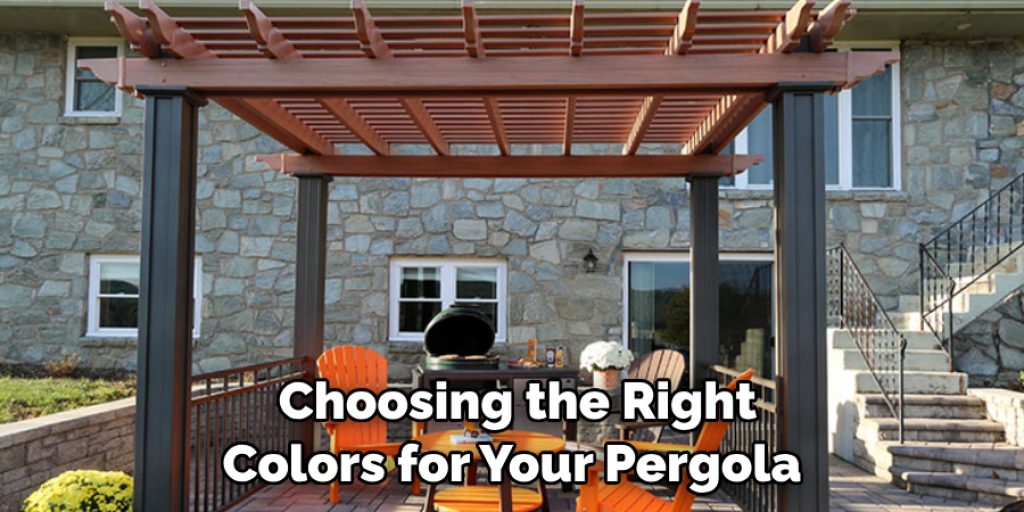
Step 2. Choose Your Paint Colors
Choosing the right colors for your pergola can be a daunting task. You want to select something that goes well with your overall outdoor aesthetic while also putting your own unique spin on things. If you’re feeling overwhelmed, consider consulting with an interior designer or visiting the local paint store for expert advice.
Step 3. Prime Your Pergola
Once you have selected the perfect colors for your pergola, it’s time to apply the primer. Primer is an essential step in ensuring your paint job looks its best and lasts for years. Make sure you thoroughly cover all surfaces with a quality outdoor primer before applying any other coats of paint.
Step 4. Apply Your First Coat of Paint
Once your pergola is primed, it’s time to start applying the paint. Depending on your project’s size, you can use a roller and tray or even a paint sprayer to apply the first coat. Make sure you cover all surfaces and follow up with light sanding if needed before adding any additional layers of color.
Step 5. Apply Additional Coats of Paint
After the first coat, it’s time for the additional layers. Remember, multiple thin coats are always better than a single, thick one. Apply the paint evenly and allow each layer to dry thoroughly before applying the next. This will prevent any streaks or uneven patches.
Take your time with this process; giving the paint enough time to dry will ensure a smooth and long-lasting finish. If you notice any imperfections, lightly sand the area, wipe away any dust, and apply another coat. Repeat this process until you are satisfied with the color and coverage.
Step 6. Let the Paint Dry
After you’ve applied all necessary coats of paint, let your pergola dry. It’s crucial to provide enough time for the paint to cure fully. Depending on the type of paint used and weather conditions, this could take anywhere from a few hours to a few days. Avoid touching or using the pergola during this time to prevent smudges or fingerprints. Once the paint is fully dry, check for any missed spots or uneven areas and touch up as necessary.
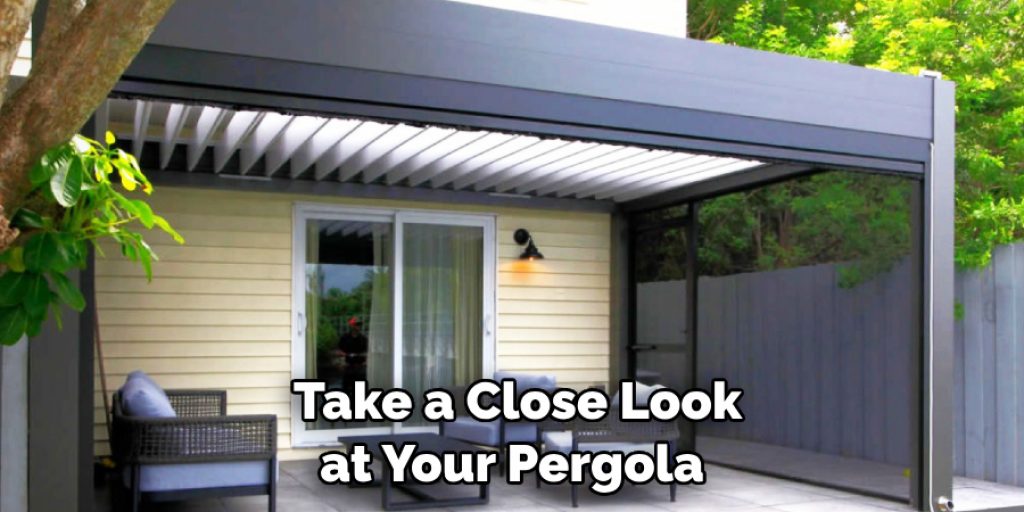
Step 7. Inspect Your Work
Once the paint has thoroughly dried, it’s time to inspect your work. Take a close look at your pergola from different angles to ensure that all the nooks and crannies are well covered with paint. Pay special attention to the corners, joints, and undersides of the beams where there may have been difficulties in reaching them.
If you notice any patches that need a touch-up, use a small brush to apply additional paint, ensuring that all areas are evenly covered to deliver a polished, professional finish.
Step 8. Clean Up
After you’re satisfied with the paint job, it’s time to clean up. Collect all your painting materials. Brushes, rollers, and trays need to be cleaned thoroughly with warm, soapy water. Once cleaned, store them in a dry place for future use. Pick up the drop cloths and dispose of any unused paint and debris in accordance with your local waste disposal regulations. Remember to recycle what you can!
Step 9. Enjoy Your Pergola
Congratulations, you’ve successfully painted your pergola! Now it’s time to enjoy the fruits of your labor. Arrange outdoor furniture under your pergola, hang some string lights for a cozy atmosphere, or even grow climbing plants to add a touch of greenery. Your newly painted pergola is ready to provide shade, style, and a great backyard relaxation spot.
Step 10. Maintain Your Pergola
Maintaining your pergola is key to ensuring its longevity. Regularly check the paint for any chips or cracks and touch up as needed. Clean the pergola periodically to prevent the buildup of dust and debris, which can wear down the paint over time.
By following these maintenance tips, you can ensure your pergola stays beautiful and vibrant for years to come. With a little effort and dedication, you can create a stunning backyard oasis you’ll enjoy for years to come. So get out there and start painting!
5 Additional Tips and Tricks
- If you want a more rustic look to your pergola, consider using a natural wood stain or sealer instead of paint.
- For added protection against the elements, use an oil-based primer before painting your pergola. This helps the paint adhere better and last longer.
- When choosing colors for your pergola, remember that lighter shades will help reflect light and dark colors will absorb heat.
- Before painting, use a pressure washer to remove dirt or debris from the pergola surface. This will ensure that your paint job looks smooth and avoid any bumps or small imperfections in the finish.
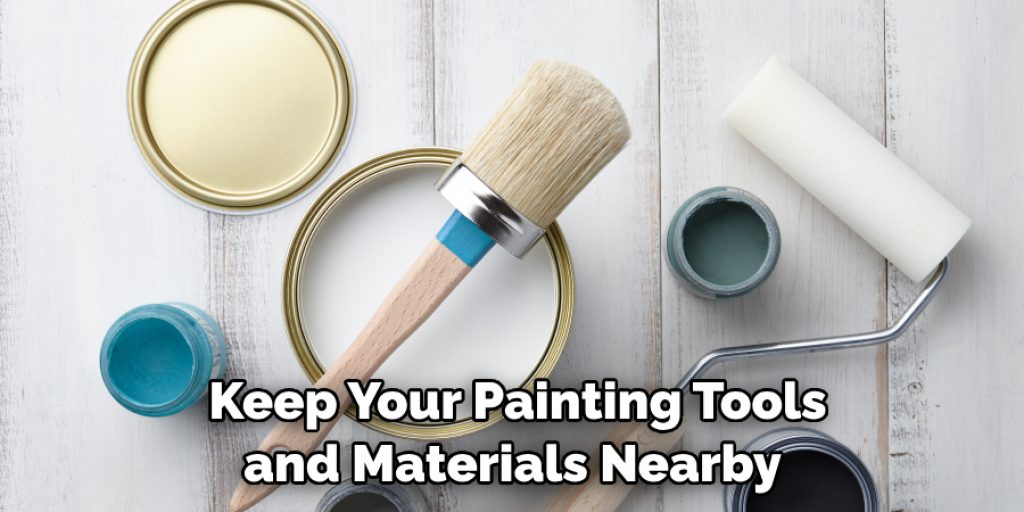
- It’s always best to keep your painting tools and materials nearby when working on your pergola. This way, you can quickly grab what you need without going back and forth between preparing the paint and painting.
With these five tips and tricks, you can easily transform your pergola with a fresh coat of paint! Be sure to take the time to prepare the surface before painting, and be patient as your project comes together.
5 Things You Should Avoid
- If painting your pergola in direct sunlight, wait until the sun no longer shines directly on it. This can cause the paint to dry too quickly, resulting in an uneven finish.
- It’s important to avoid using a roller for painting a pergola, as this could result in drips or splatter marks. Instead, use a brush for smooth and even coverage.
- Avoid overlapping already painted areas, as this can lead to an uneven finish. Instead, focus on creating a neat edge between each section of paint.
- When painting, ensure you are working in well-ventilated areas – never indoors or near flammable materials/items.
- Avoid painting a wet pergola, as this could cause the paint to bubble and not adhere properly. Instead, always make sure the surface is dry before starting your project.
By avoiding these five common mistakes, you can be confident that you will have a beautiful and evenly painted pergola in no time!
What Kind of Paint Do You Use on a Pergola?
When it comes to choosing a type of paint for your pergola, there are many options available. It’s best to use exterior paint or a weather-resistant wood stain, as this will help protect your pergola from the elements and keep it looking great for years to come. If you opt for a more unique look, consider using chalk paint or a matte finish.
Whatever your choice, make sure the paint you’re using is suitable for outdoor use and specifically designed for wood surfaces. Additionally, be sure to invest in high-quality brushes and rollers for an even finish.
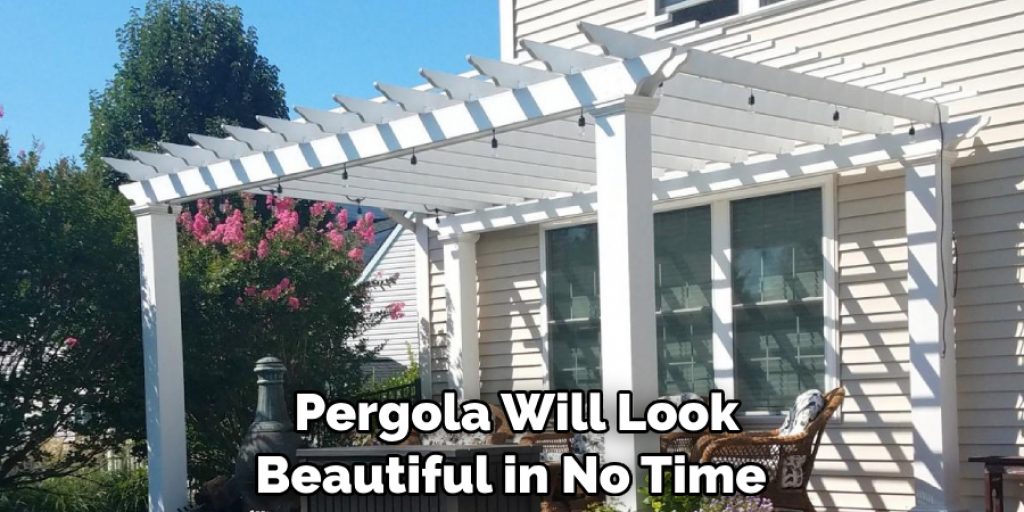
Finally, always read the instructions on your paint cans carefully before starting! By following these simple steps, you can be sure your pergola will look beautiful in no time.
Conclusion
How to paint a pergola can be difficult, but with the right tools and techniques, you can quickly transform your outdoor structure. Ensuring the environment and materials are prepared beforehand for a successful job is important. Sanding and priming surfaces are essential to an even paint finish, as is selecting a quality exterior paint formulated for use on wood.
With patience, precision, and a few helpful tips along the way, the results of painting your pergola will ultimately be worth it. The colors you choose for your pergola depend entirely on personal preference. Still, some important considerations must be remembered, such as complementing existing materials or landscape design elements and preventing long-term damage from sun exposure.
A little bit of creativity and effort can go a long way toward a beautiful result in any DIY painting project, including transforming your pergola into something special!
Angela Ervin
Angela is the executive editor of DIY quickly. She began her career as an interior designer before applying her strategic and creative passion to lifestyle and home. She has close to 15 years of experience in creative writing and online content strategy for housekeeping, home decorations as well as other niche efforts. She loves her job and has the privilege of working with an extraordinary team. She lives with her husband, two sons, and daughter in Petersburg. When she's not busy working she spent time with her family.


