How to Paint a Bike Frame With a Brush
Is your bike in need of a new coat of paint? Painting a bike frame is an easy and affordable way to give it a fresh look. Many cyclists like to take pride in the appearance of their bikes. While some may choose to buy a new frame, others may decide to repaint an old frame. Painting a bike frame is not as difficult as it may seem and can be done with a few basic tools and supplies.
In this guide, we will walk you through how to paint a bike frame with a brush. To paint a bike frame with a brush, you need to prepare the surface and use the correct type of paint. So whether you’re a beginner or an experienced painter, read on for all the information you need!
What is the Best Type of Paint for a Bike Frame?
Before we dive into the steps of painting a bike frame, it’s important to understand what type of paint is best suited for the job. The two most commonly used types of paint for bike frames are spray paint and brush-on paint.
Spray paint is a popular choice due to its ease of use and quick application process. However, it can be difficult to control and may result in uneven coverage if not applied correctly. Brush-on paint, on the other hand, allows for more control over the application and can provide a smoother finish. It also allows for touch-ups and corrections if needed.
When choosing a paint, make sure to select one that is specifically designed for metal surfaces or outdoor use. This will ensure the paint adheres well to the bike frame and provides long-lasting results.
Why Should You Paint a Bike Frame With a Brush?
There are many reasons to paint a bike frame with a brush. Some of the benefits include:
1. Brushes allow for better control and precision than using a spray gun.
2. Brushes are less likely to cause runs or drips in the paint finish.
3. Brushes provide a more even finish than spray guns.
4. Brushes are less expensive than spray guns.
5. Brushes can be used to create custom paint finishes that are not possible with a spray gun.
6. Brushes are easier to use than spray guns for touch-ups and repairs.
7. Brushes can be used to paint small parts and details that are difficult to reach with a spray gun.
8. Brushes allow for greater flexibility in terms of the types of paints that can be used.
What Tools and Supplies You’ll Need?
The first step in learning how to paint a bike frame with a brush is gathering the right tools and supplies. Here is what you will need:
Paintbrush:
Choose a high-quality paintbrush with synthetic bristles that are designed for use with oil or enamel paints. It’s also important to select a brush size appropriate for the surface area you will be painting.
Sandpaper:
You’ll need sandpaper to roughen up the surface of the bike frame before painting. This will help the paint adhere better and provide a smoother finish.
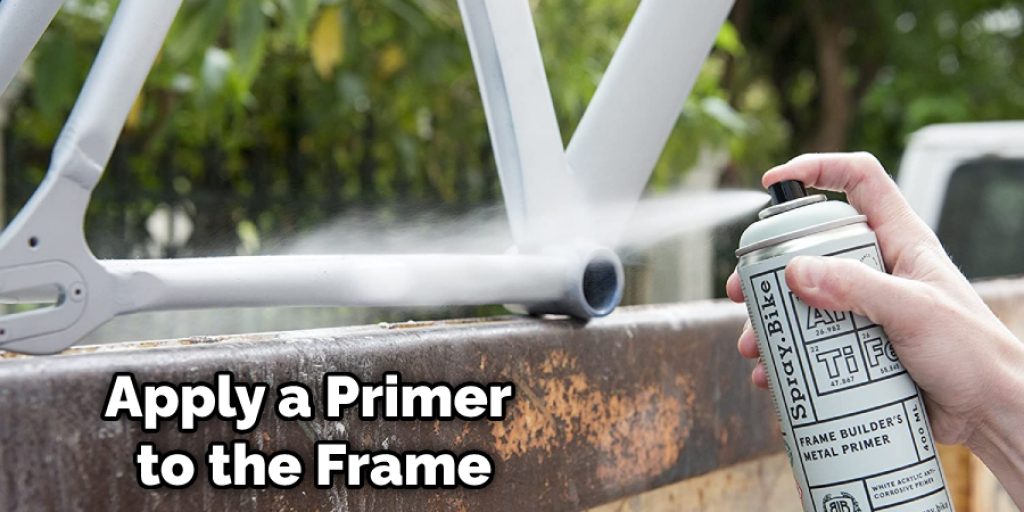
Primer:
A primer specifically designed for metal surfaces is essential for creating a smooth base for your paint to adhere to.
Paint:
As mentioned earlier, choose a high-quality paint that is specifically formulated for use on metal surfaces or outdoor use. You may also want to consider using a clear coat for added protection and shine.
Drop Cloth:
To protect your work area from paint spills or drips, lay down a drop cloth or old sheet.
Masking Tape:
Using masking tape to cover any areas of the bike frame that you do not want to be painting a bike frame with a brush is an easy and affordable way to give your bike a fresh new look. With the right tools, supplies, and techniques, you can achieve professional-looking results in no time.
Step-by-Step Guide: How to Paint a Bike Frame With a Brush
Step 1: Prepare the Surface
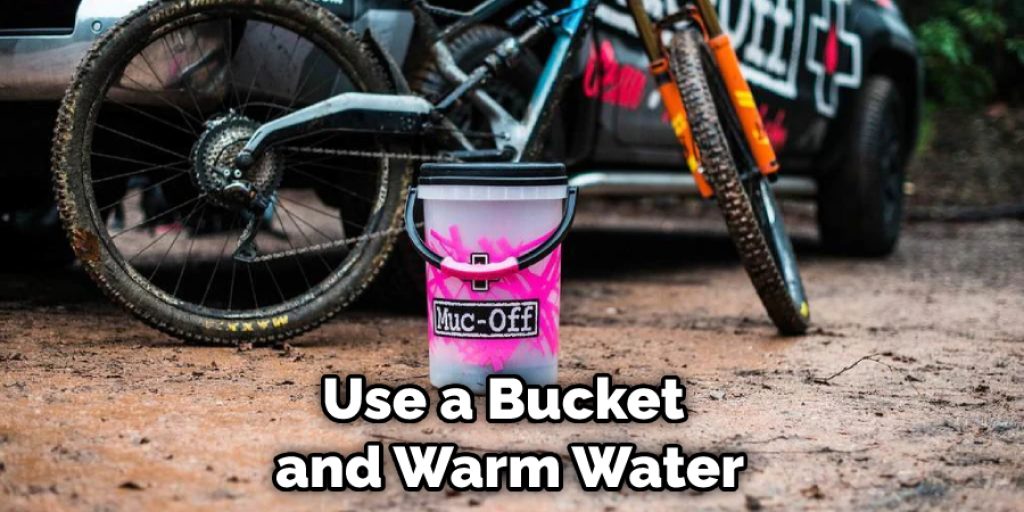
Before you start painting, you need to prepare the surface of the frame. The first step is to clean it off. Use a bucket and warm water to scrub off any dirt or grime. Be sure to rinse off all the soap residue. You can also use a degreaser to get rid of any grease or oil on the frame.
Next, use sandpaper to lightly roughen up the surface of the frame. This will help the paint adhere better and provide a smoother finish. Wipe off any dust or debris with a cloth.
Step 2: Decide Your Paint Color
Once the frame is clean, it’s time to decide on a paint color. You can choose any color you like, but it’s a good idea to pick one that will match the rest of your bike. If you’re not sure what color to choose, look at the paint swatches at your local hardware store. You can also get creative and choose multiple colors for a unique design.
The color you choose will also determine the type of paint you’ll need. For example, if you want a metallic finish, make sure to select a metallic paint.
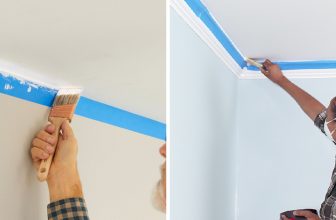
Step 3: Tape Off the Parts You Don’t Want to Paint
Next, you need to tape off the parts of the frame that you don’t want to paint. This includes the seat, handlebars, and any other parts you don’t want to get painted on. Use some masking tape and make sure the tape is firmly stuck to the frame. The tape will act as a barrier to prevent any paint from getting onto these areas.
You may also want to cover any areas of the frame that you don’t want to paint with plastic bags or sheets. You can secure them with tape as well. The key is to make sure these areas are completely covered and protected from the paint.
Step 4: Paint the Frame
Now it’s time to start painting! Pour some paint into a bucket and add some water. Stir the paint until it’s evenly mixed. Dip your brush into the paint and start painting the frame. Be sure to apply even coats of paint and avoid any streaks.
You may need to do multiple coats of paint depending on the color and coverage you desire. Allow each coat to dry completely before applying the next one. The paint can take anywhere from 30 minutes to an hour to dry, depending on the type of paint and the weather conditions.
Step 5: Let the Paint Dry
Once you’ve finished painting, it’s important to let the paint dry completely. This may take a few hours or even a day or two. Once the paint is dry, you can remove the tape and admire your new paint job!
The paint may look a little uneven or streaky at this point, but don’t worry – we will fix that in the next step. It’s important to let the paint cure completely before moving on to the next step.
Step 6: Apply a Clear Coat (Optional)
If you want to add an extra layer of protection and shine to your paint job, you can apply a clear coat. Simply follow the same steps as painting, but use a clear coat instead of regular paint. This will give your bike frame a glossy finish and protect the paint from chipping or fading.
You may need to do a few coats of clear coat as well, so make sure to let each coat dry completely before applying another one.
Step 7: Sand the Frame (Optional)
If you notice any imperfections or rough patches on the surface of your painted frame, you can lightly sand them down with fine-grit sandpaper. This will help smooth out the surface and make it look more professional. Be careful not to sand too hard or you may remove some of the paint. It’s always better to sand lightly and gradually than to remove too much paint in one go.
But if you’re satisfied with the finish and don’t see any imperfections, you can skip this step. The clear coat will also help to smooth out any small imperfections.
Step 8: Apply Another Coat of Paint (Optional)
If you feel like your paint job needs another coat, you can repeat the steps for painting and let the frame dry completely before moving on to the next step. This will give your bike a more vibrant or bold color.
You can also use this step to touch up any areas that you may have missed or didn’t cover well with the first coat of paint. It’s always better to do multiple thin coats rather than one thick coat, as it will prevent drips and provide a smoother finish.
Step 9: Let the Paint Cure
After you have applied all the paint and clear coat layers, it’s time to let the paint cure completely. This may take up to a week, depending on the type of paint and weather conditions. It’s important not to use your bike during this time or expose it to any harsh elements.
You can speed up the curing process by placing your bike in a warm and dry area. But be patient – rushing this step may result in a less durable paint job.
Step 10: Reassemble Your Bike
Once the paint has cured, you can remove any plastic sheets or bags from your bike and reassemble it. Make sure all the parts are securely attached and tighten any screws or bolts if needed. But be careful not to scratch or rub off any of the paint during this process.
You can also add any decals or stickers at this point if you want to personalize your bike even more. The possibilities are endless – have fun with it!
With proper maintenance, your painted bike frame can last for years to come and add a unique touch t
Some Helpful Tips and Suggestions:
1. When painting a bike frame, it is essential to make sure that the surface is clean and free of any dirt or debris. You can use a degreaser or soap and water to clean the surface before painting.
2. Always shake the paint well before using.
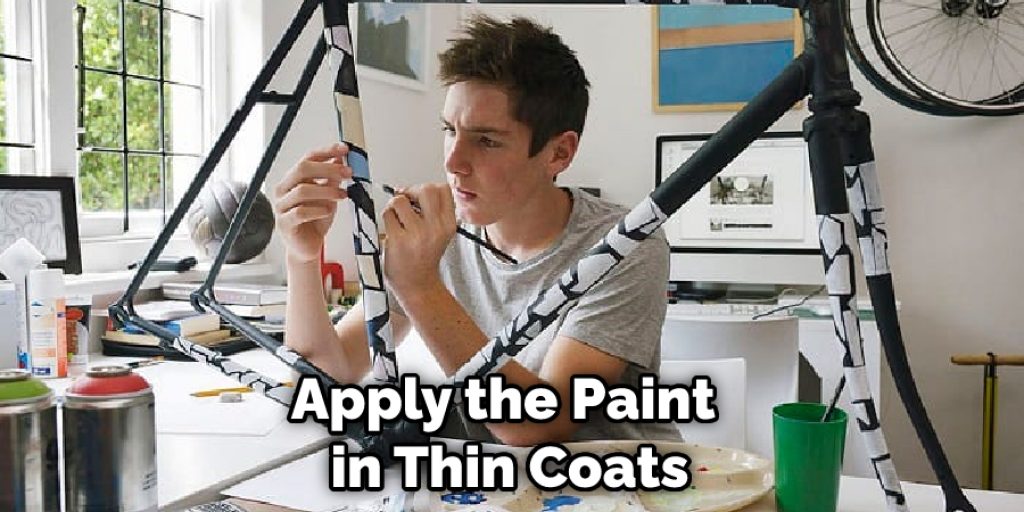
3. Apply the paint in thin coats, allowing each coat to dry completely before applying the next.
4. Use a brush with synthetic bristles, which are less likely to absorb the paint than natural bristles.
5. Start painting in a corner and work your way around the frame, using even strokes.
6. If you need to stop painting for a while, cover the paint can come with a lid to prevent the paint from drying out.
7. When you’re finished painting, allow the frame to dry completely before assembling the bike.
Other Alternative Methods to Paint a Bike Frame:
1. Spray Paint:
This is the most popular way to paint a bike frame. It is easy and fast, but it can also be messy. You will need to buy special spray paint for bicycles designed to withstand outdoor weather conditions.
2. Painting With a Roller:
A roller gives you a smooth finish, and it is less likely to drip than a brush. You will need to use a special bicycle paint designed for use with rollers.
3. Using a Pad:
This is a good option if you are looking for a textured finish. You can buy bicycle paint that is designed to be used with a pad, or you can make your paint by adding some sand or gravel to regular paint.
4. Apply a Decal:
If you don’t want to paint your bike frame, you can always apply a decal. This is a sticker that is designed to look like a paint job. Decals come in various colors and styles, so you can find one that matches your bike’s personality.
5. Powder Coating:
This is a process that coats the frame with a layer of powder. The powder is then melted and bonded to the frame. This is a durable finish that can withstand extreme weather conditions. However, it is also the most expensive option.
Now that you know how to paint a bike frame with a brush, you can choose the best method for you. Whether you want a quick and easy job or a more detailed finish, several options are available. Just be sure to use the right paint and supplies for the job, and you will be able to create a frame that looks great and will last for years.
Do You Need to Use Professionals?
Painting a bike frame with a brush can be done by anyone, regardless of their experience or skill level. However, some people may prefer to have the job done by professionals. If you are not confident in your painting abilities or want a flawless finish, you may consider hiring professional painters.
You can also opt to have your bike frame professionally powder coated, which is a more durable and long-lasting option. Ultimately, the choice is yours, but with the right tools and instructions, painting a bike frame can be an enjoyable and rewarding DIY project. So go ahead and give it a try!
The possibilities for customizing your bike frame with a brush are endless, and you can create a unique look that sets your bike apart from the rest. Have fun and happy painting! So why not give it a try? Grab your supplies and start painting to transform your bike into an eye-catching masterpiece.
How Long Does it Take to Paint a Bike Frame With a Brush?
It takes about a day to paint a bike frame with a brush. You will need to allow time for the paint to dry between coats. First, you need to clean the frame and remove any stickers or decals. Then, you can apply a primer to the frame.
After the primer dries, you can start painting the frame with a brush. You will need to apply several coats of paint to the frame. Allow time for the paint to dry between coats. Finally, you can apply a sealant to the frame to protect the paint from the elements.
Frequently Asked Questions:
Q: Can I Use Any Type of Paint to Paint a Bike Frame?
A: No, it is essential to use paint specifically designed for use on bicycles. Regular household paints may not withstand outdoor weather conditions and can chip or peel easily. You can find bicycle paint at your local hardware store. You can also purchase paint online from specialized bicycle painting companies. It’s always a good idea to read reviews before purchasing paint to ensure it is of good quality.
Q: Do I Need to Sand the Frame Before Painting?
A: Yes, it is important to sand the frame before painting. This helps remove any dirt, rust, or scratches on the surface. Sanding also helps to create a rough surface for the paint to adhere to. The rougher the surface, the better the paint will adhere and last. You can use sandpaper or a wire brush to sand the frame. It is recommended to use sandpaper with a grit of 180 or higher. You can also use a degreaser or soap and water to clean the surface before sanding.
Q: Can I Paint Over the Old Paint?
A: Yes, but it is not recommended. It is best to remove the old paint completely before painting. This will ensure a smooth and long-lasting finish. If you do choose to paint over old paint, make sure to sand it down first for better adhesion. The old paint may also affect the color and finish of the new paint. You can also use a primer to help with adhesion. The primer can also help to cover up any imperfections in the old paint. It is always best to start with a clean and smooth surface for the best results.
Conclusion:
Painting a bike frame can be a fun and rewarding project, but it’s important to take your time and do it right. By following the steps we outlined in this article on how to paint a bike frame with a brush, you should be able to create a finished product that you can be proud of.
Be sure to clean the surface of the frame before you start painting and use the correct type of paint. Painting a bike frame can be done in just a few steps, so don’t be afraid to try it yourself. Have you ever painted a bike frame? Let us know how it went in the comments section below. We would love to see your finished product!
You Can Check It Out to: Remove Paint from Bike Frame