How to Repair a Textured Ceiling
A textured ceiling can add character and dimension to any room, but it is also prone to damage over time. Whether it’s due to a leaky roof, natural wear and tear, or an accidental bump from furniture or other objects, repairing a textured ceiling may become necessary. Not only does it restore the aesthetic appeal of your ceiling, but it can also prevent further damage and potential safety hazards.
When it comes to repairing a textured ceiling, there are several advantages that make this an appealing option for homeowners. First and foremost, repairing a textured ceiling is often much more cost-effective than replacing the entire ceiling. This can be especially beneficial if you have a large area of damage or multiple areas in need of repair. In this blog post, You will learn in detail how to repair a textured ceiling.
Step-by-step Instructions for How to Repair a Textured Ceiling
Step 1: Inspect the Damaged Area
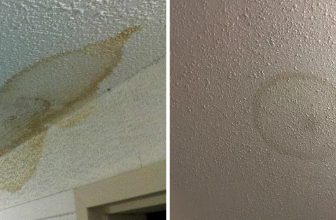
Before beginning any repairs, it is important to carefully inspect the damaged area of your textured ceiling. Look for cracks, holes, or peeling texture that may have been caused by water damage or general wear and tear. This will help you determine the extent of the repair needed.
Step 2: Gather Your Materials
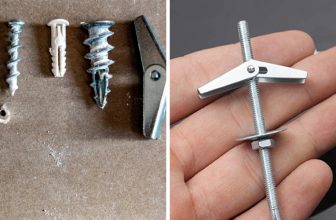
To properly repair a textured ceiling, you will need a few essential materials including joint compound, sandpaper, a putty knife, and a spray texture repair kit. You may also need paint to match the existing color of your ceiling.
Step 3: Prepare the Area
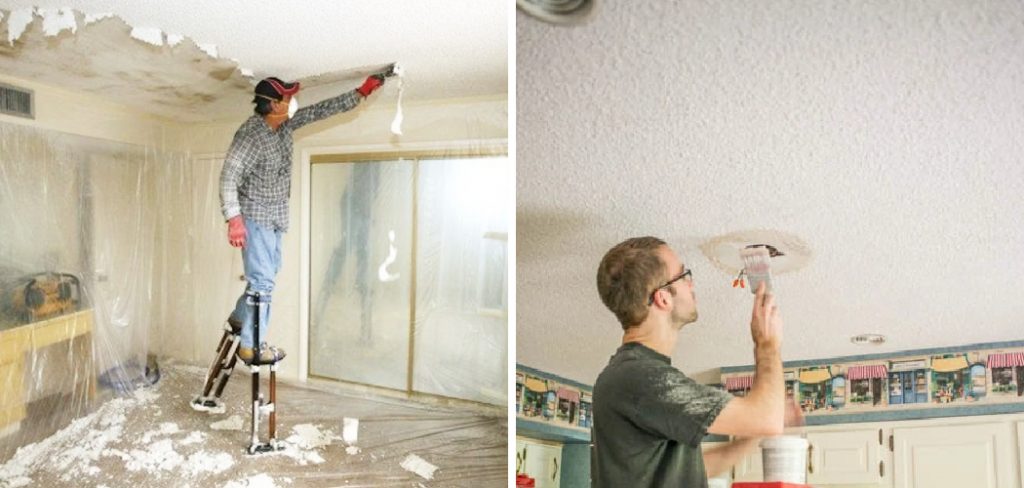
Before starting any repairs, make sure to protect the surrounding area by covering floors and furniture with drop cloths. This will prevent any accidental damage or spills from occurring. Using a putty knife, gently scrape away any loose or peeling texture from the damaged area. Be careful not to damage the underlying drywall while doing this.
Step 4: Apply Joint Compound
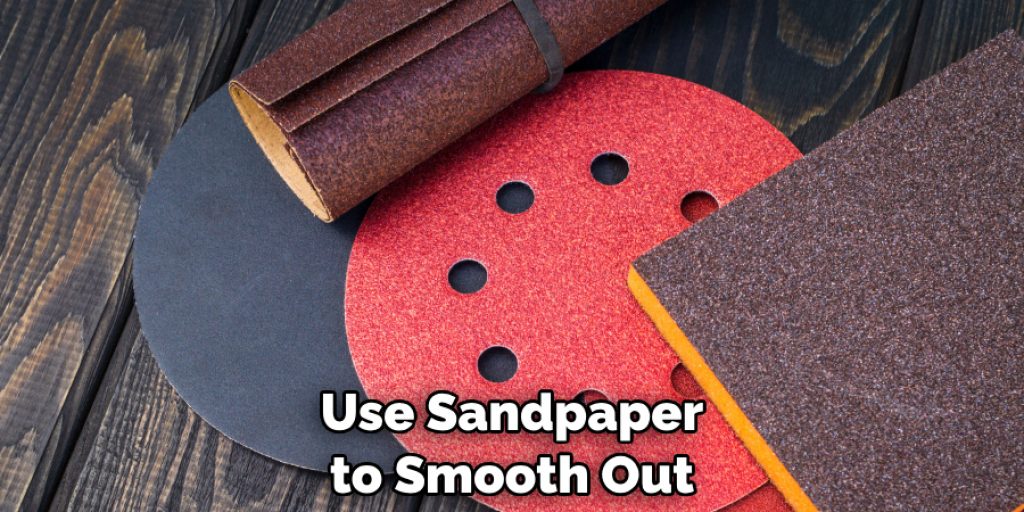
Once all loose texture has been removed, apply joint compound to the damaged area using a putty knife. Smooth it out as much as possible, making sure to cover all cracks and holes. After the joint compound has dried, use right sandpaper to smooth out any rough edges. This will create a more even surface for the next step.
Step 5: Prime the Area
Before applying texture, it is important to prime the repaired area first. This will help the texture adhere better and create a more seamless repair. Using the spray texture repair kit, follow the instructions to apply texture to the repaired area. It may take a few tries to get the desired look, so be patient and practice on a spare piece of cardboard before applying it to your ceiling.
Step 6: Let it Dry
Allow the textured area to dry completely before moving on to the next step. This may take a few hours, so be sure to plan accordingly. If your ceiling is painted, you may need to touch up the repaired area with paint to match the existing color. Once everything is dry and set, remove any drop cloths and enjoy your newly repaired textured ceiling.
Tips for How to Repair a Textured Ceiling
- Wear gloves and eye protection before starting the repair work to prevent any injuries.
- Make sure to have proper ventilation in the room while working with joint compound and other chemicals.
- Use a strong ladder or scaffolding when working on high ceilings to avoid accidents.
- Cover up any furniture or flooring with plastic sheets to protect them from debris or spills.
- Avoid using water-based products on a textured ceiling as it can cause the texture to loosen or sag.
- Always read and follow the instructions on any products you are using for the repair.
- If you are unsure about how to proceed with the repair, consult a professional instead of risking further damage.
Common Causes of Damage to Textured Ceilings
Textured ceilings are a popular choice for many homes, providing an added level of dimension and style to any room. However, they can be susceptible to damage over time due to various factors. Here are some common causes of damage to textured ceilings:

1. Water Damage
One of the most common causes of damage to textured ceilings is water. This can be caused by leaking roofs, burst pipes, or even natural disasters like floods. Water can seep into the ceiling and cause it to become discolored, sag, or even peel off.
2. Age
As with any other part of your home, textured ceilings can suffer from wear and tear over time. As they age, it is not uncommon for cracks to form and the texture to become uneven or even fall off completely.
3. Poor Installation
Sometimes, the damage to a textured ceiling can be attributed to poor installation. If the texture was not applied correctly, it may not adhere properly and can begin to peel off over time.
4. Structural Issues
If your home experiences structural issues such as settling or shifting, this can also cause damage to your textured ceiling. The movement can cause cracks to form and the texture to become uneven or loose.
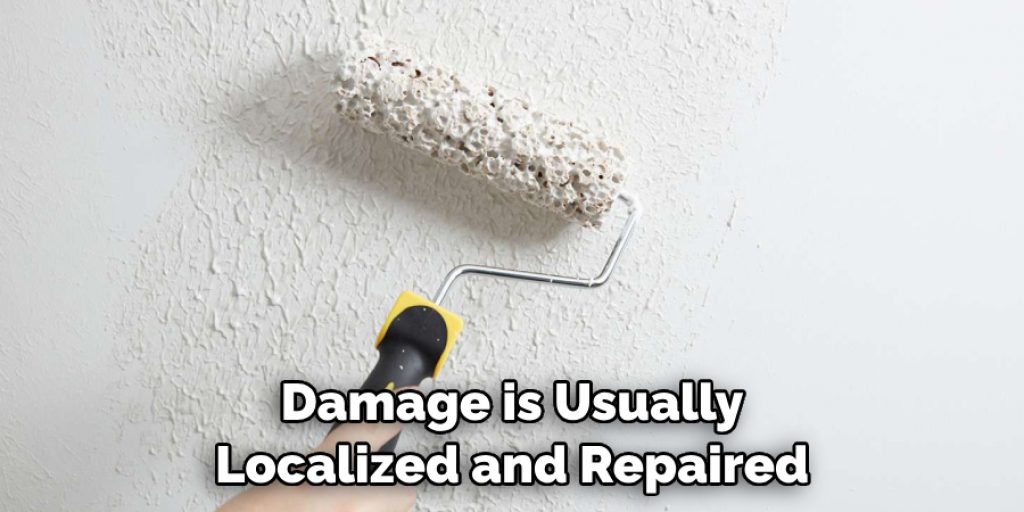
5. Accidental Damage
Accidents can happen, and if you have furniture or other objects in your home that are not secured properly, they can fall and damage your textured ceiling. This type of damage is usually localized and repaired easily.
Are There Any Tips for Maintaining and Preventing Future Damage on a Textured Ceiling?
Proper maintenance is key to preventing damage to your textured ceiling. Here are some tips to help you maintain your ceiling and prevent future damage:
- Regularly inspect the ceiling for any signs of water damage, cracks, or peeling texture.
- Fix any leaks in the roof or pipes as soon as possible.
- Avoid using harsh chemicals or abrasive cleaning products on the ceiling.
- Be gentle when cleaning the ceiling and avoid applying too much pressure to prevent damaging the texture.
- If there are any structural issues in your home, address them promptly to prevent further damage to the ceiling.
- When moving furniture or other objects around, be careful not to bump or scrape against the ceiling.
In addition to regular maintenance, it is also essential to have your textured ceiling professionally inspected every few years. A professional can identify any potential issues and address them before they become bigger problems.
How Can You Cover Up Imperfections in the Texture While Repairing a Textured Ceiling?
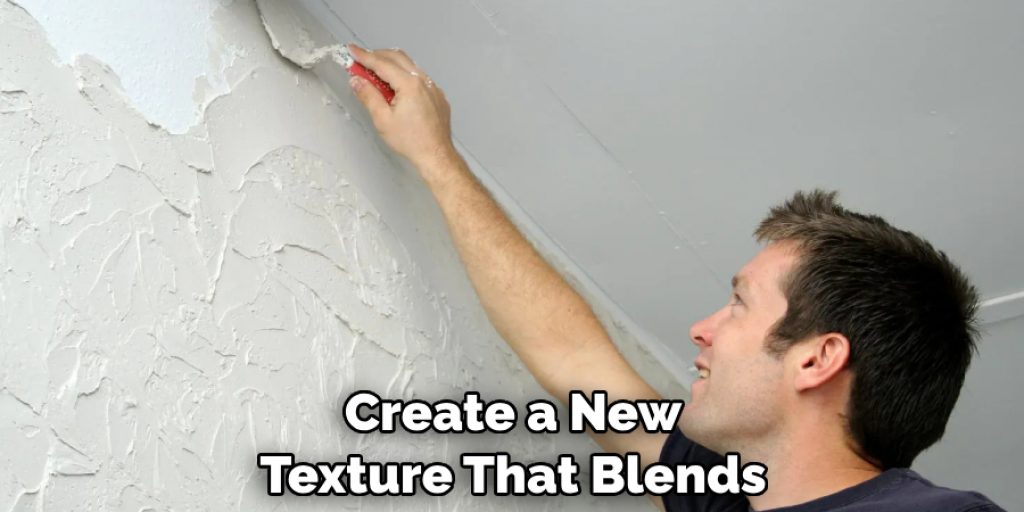
If you’re dealing with a damaged or cracked textured ceiling, it’s important to know how to repair it properly. However, simply fixing the affected area may not be enough – you’ll also want to cover up any imperfections in the texture that result from the repair process.
One way to do this is by using joint compound. This versatile material can help fill in small cracks and imperfections, as well as create a new texture that blends in with the rest of the ceiling. To use joint compound for this purpose, follow these steps:
- Prepare the Damaged Area: Before applying joint compound, make sure to clean any debris or loose texture from the damaged area. This will ensure that your repair is smooth and even.
- Apply an Initial Layer of Joint Compound: Using a putty knife, apply a thin layer of joint compound over the damaged area. Make sure to spread it evenly and smoothly.
- Create Texture: While the joint compound is still wet, use a texturing tool – such as a sponge or brush – to create the desired texture on the freshly applied layer. Experiment with different tools and techniques until you achieve a texture that matches the rest of the ceiling.
- Let It Dry: Allow the joint compound to dry completely before moving on to the next step. This may take several hours, depending on the thickness of your layer and environmental conditions such as humidity.
- Sand and Smooth: Once the joint compound is dry, use sandpaper to lightly sand any rough or uneven areas. This will help create a smooth surface for the final layer.
- Apply a Second Layer of Joint Compound: Using the same process as before, apply another thin layer of joint compound over the textured area. Again, use your texturing tool to create a consistent texture that blends in with the rest of the ceiling.
- Let It Dry and Touch Up: Allow the second layer to dry and then use sandpaper to smooth out any imperfections or uneven spots. If necessary, you can also add a third layer of joint compound to achieve the desired texture.
With these simple steps, you can easily cover up any imperfections in your textured ceiling while repairing it. Just remember to take your time and experiment with different techniques until you achieve a seamless repair.
What is the Most Cost-effective Way to Repair a Textured Ceiling?
Repairing a textured ceiling can be costly, especially if you hire a professional to do it for you. However, there are ways to save money and still achieve a high-quality repair. One cost-effective option is to use self-adhesive mesh tape instead of traditional drywall joint tape.
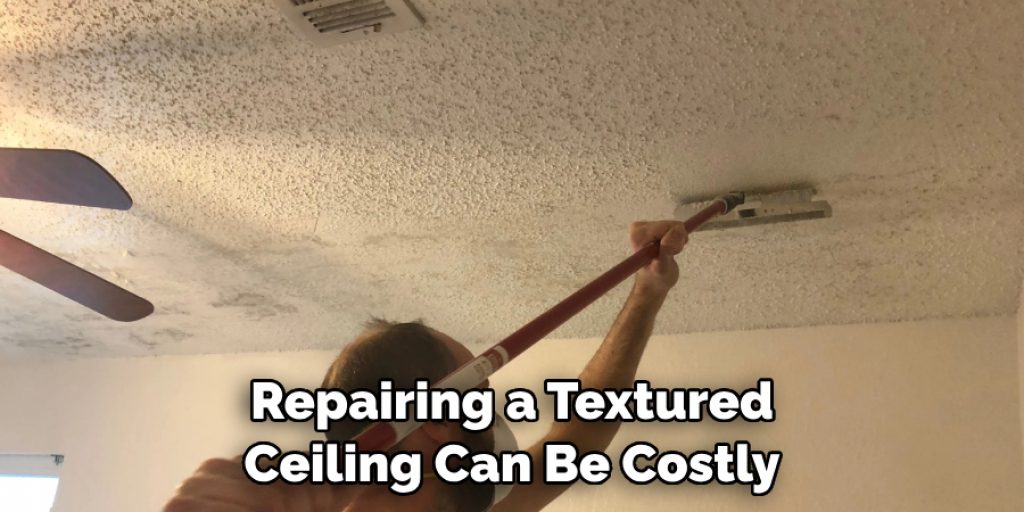
This tape is easier to apply and does not require multiple layers of compound, making the repair process quicker and more efficient. Additionally, you can save money by using a premixed joint compound instead of buying separate dry powder and water.
Finally, if you have multiple damaged areas on your textured ceiling, try to group them together and repair them at once rather than doing individual spot repairs. This will reduce the overall cost of materials and potentially save you money in the long run.
With a little bit of research and planning, you can successfully repair your textured ceiling without breaking the bank. Overall, understanding cost-effective methods for repairing a textured ceiling can save you time, money, and hassle in the long run.
Conclusion
In conclusion, repairing a textured ceiling is not as daunting as it may seem. With the right tools and techniques, you can easily fix any damages or imperfections on your ceiling. First, it is important to identify the type of texture on your ceiling before beginning any repairs. This will help determine which technique and materials are most suitable for achieving a seamless finish.
When it comes to actually repairing the texture, there are various methods such as using joint compound, spray texture, or even creating your own texture mix. Whichever method you choose, be sure to apply multiple thin coats and allow sufficient drying time between each layer. I hope this article has been beneficial for learning how to repair a textured ceiling. Make Sure the precautionary measures are followed chronologically.
Angela Ervin
Angela is the executive editor of DIY quickly. She began her career as an interior designer before applying her strategic and creative passion to lifestyle and home. She has close to 15 years of experience in creative writing and online content strategy for housekeeping, home decorations as well as other niche efforts. She loves her job and has the privilege of working with an extraordinary team. She lives with her husband, two sons, and daughter in Petersburg. When she's not busy working she spent time with her family.