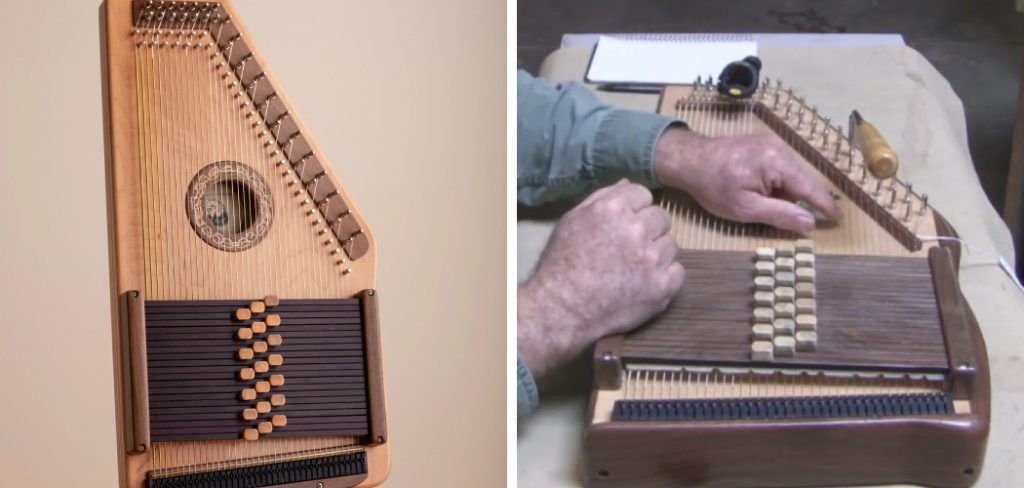
How to Tune an Autoharp
I’m sure that the autoharp may not be familiar to most people as it’s one of these much more unique gadgets which you’ve either come across and then not. A zither is operated by pulling the cords and has several lines extended parallel to a bare mixing board’s surface. Harps are often performed by pulling, by contrast. Therefore, they do have cords moving in a line vertically to the mixing console system by default.
Zithers are quite old devices made in the area. That’s hardly unexpected since you have a zither as fast as you run a thread over even a resonant frame! There are several sorts of zithers. It is believed that a form of zither tablature might have related to the creation of the 5-line music service we have nowadays (which would be music players demonstrating the fingering for a part instead of documents).
Autoharps are portable instrumental tools that could be used in various musical forms, and the traditional and modern music communities are still common worldwide. In reality, to have a piece of chordal background music for just about any musical genre, you could use an autoharp.
Although often used for chords, they aren’t restricted to this, and, by pulling the cords like a harp, its most virtuosic musicians have figured out how to use them as melody tools.
I sometimes wonder what the best parts are to perform for a total novice, and the autoharp is sometimes at the top of the chart right there. This is also a wonderfully versatile tool by clicking a button and chords several strings; something is intrinsically pleasing in having big, warm, chords!
By incorporating the almost limitless versatility offered by MIDI performance, the MIDI autoharp extends the usefulness of the harmonic autoharp.
How to Set the Autoharp
There are many playing methods to remember whenever it refers to the realm of stringed instruments; the same is valid of the autoharp. If the user gathers additional practice, if compared to traditional learning, it will be more probable that he or she might be involved in the various modulations possible for the autoharp.
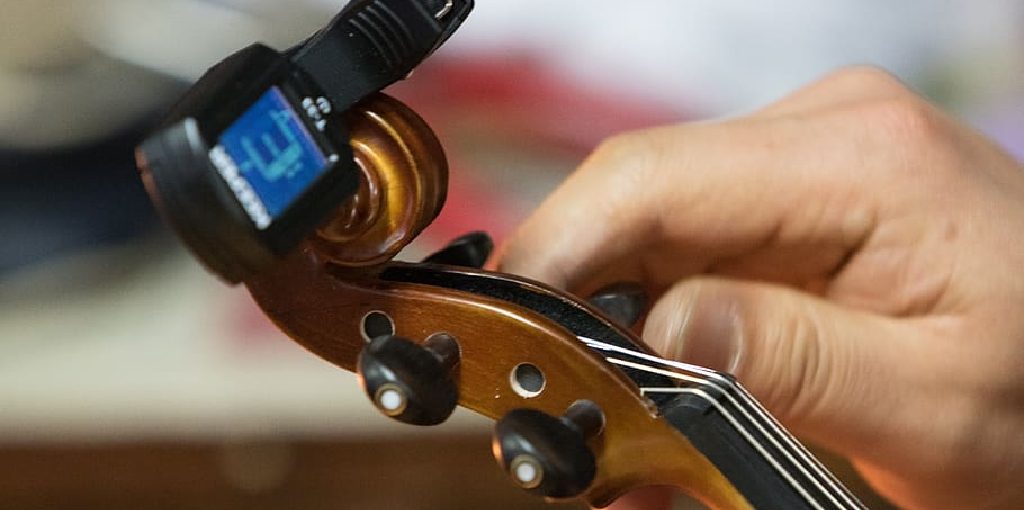
At the start, it’s important to thoroughly comprehend the fundamentals. So, I’ll adhere to describing necessary tuning throughout this post. Spending on a reliable electronic tuning is generally advised. Whereas some tools can be used to select proper tuning, an electronic tuner would be worth its weight in the start!
This folk tool may appear to be a complex and daunting weapon. In fact, (and confusing the issue), which is 3-octave range wide and an extra fifth gap. And there are various kinds of autoharps: chromatic, one-click, two-click, and three diatonic forms of the key. This tool can, though, be recognizable and relaxed with just a little practice and experience. We will be talking more about chromatic autoharp in regular tuned in this post.
The Fundamental Octave, First:
The chromatic autoharp mid-octave array begins at F, which seems to be the smallest bass point, it extends to C at its maximum treble related end. Furthermore, the mid-octave level is where many of the structures are formed. With that said, it’s just this octave which, as stated above, should be mastered initially; that’s the fundamental octave for every other. That’s the center F on a regular chromatic autoharp, although that’s the entire standard octave.
The Autoharp’s Standard Tune:
How can you find the starting note on the auto-harp? The most accurate way is to play a note on the instrument and then tune the other octaves until all the strings in the fundamental octave are in tune. You can also evaluate the frequency of all the strings to find the starting note. Keep in mind that they need to be an octave apart.
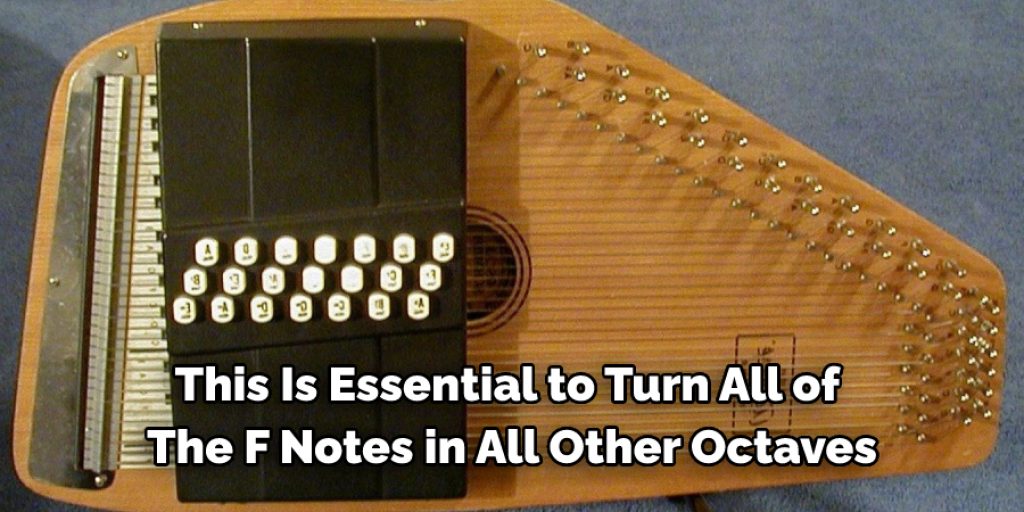
If you pull the center F key while tuning, and then pull all of the other F keys in each octave, you can turn them to fit the base point exactly. This is essential to turn all of the F notes in all other octaves until you try to adjust either of the pitches.
As is often the situation for electronic tuners, you could notice that you may have to overcome the tuner’s reading of higher note tones by mildly tuned on the pointy end of the chord. This approach is right due to the string’s extreme strength and the influence of harmonic currents on the finer cords.
The bottom octaves can, in particular, be balanced quite smoothly. You will need to use the hearing to adjust the vibrato of such tones since an automatic tuner cannot evaluate minimal harmonic currents, but just a specific technique.
Chords Testing the Tuning:
When you have balanced all other octaves based on the standard F octave, play a tune several chords so ensure that it makes sense and in harmony. (If you notice that you’ll need to change any of the base’s octave lines, you should then test this modification for the same tone you changed against all octaves.)
The best way is to try by ear while changing things here. However, the resulting shift will not meet the standard pitch for other stringed tools. This is all right, and it does not indicate that the piece is actually out of tuning when a chord sounds a little weaker.
When the Strings are to be Replaced:
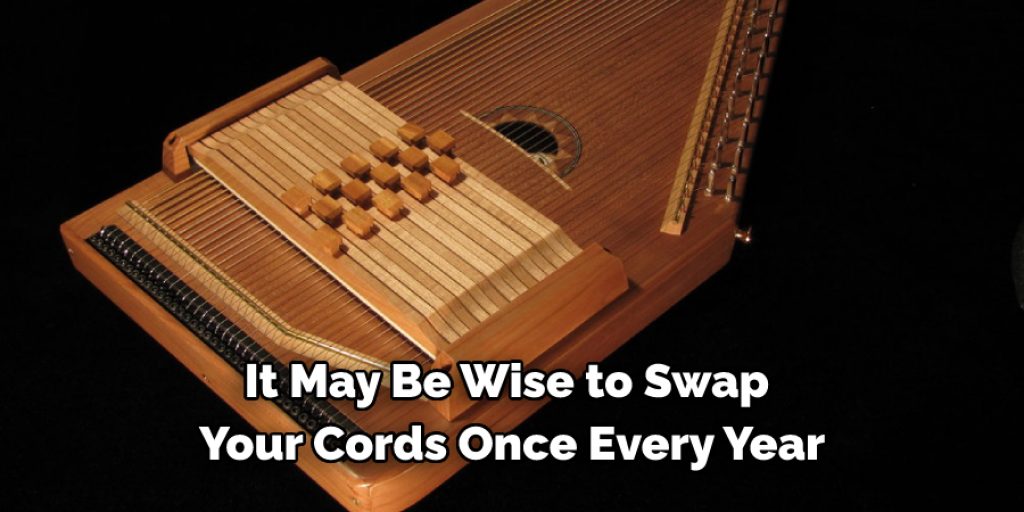
The cords on an autoharp do not wear out as quickly as the strings on a guitar. Although changing the cords is more complex than changing strings, this is a positive development. Therefore, if you play your autoharp every day, you should change the cords once a year. If you only play occasionally, you may only need to change them every three years.
How to Detach Strings with Autoharps:
Once you determine that it is appropriate for the strings to be replaced, get prepared, and collect them. You’re going to need:
• Nose Pliers Needle
• Cutters for cable
• A wrench for tuning
• Tuning tool (such as an Allen style key) when the fine-tuning device is fitted with your prototype
• An Electronic TunerAnd you’d have to reproduce it as often since you have ranges on your autoharp, the method is very complicated and repetitive. This is why most performers chose to enable them to be controlled by a luthier or other expert.
You May Also Read –