How to Make a Home Made Banjo
I still tried to play a musical instrument, and I was stopped from that target by some technical snow work until several years ago. I missed the resources to buy the banjo I wished for. I was persuaded that I could never make a worthy handmade banjo whenever confronted with the piano-finished music box and the queen of pearl-inlaid strings which line many instrument retail shelves.
However, throughout travel that brought me to the roads of Bombay, India, my eyes widened. There before, I met a toy seller who sold paper dragons, including one that was suspended from a rope tied to the end of a handmade fiddle.
Its soundbox had been a hollow container tuna extended with how I could presume the dry surface of a rat (yeah, at a minimum, those of a tiny, thin-hidden creature), and the collar was the end of an orange package. Taking a closer look, I noticed that there was just one friction-tuned peg and a sole string in the violin, which reached the neck itself on the move across the bridge to a string link on the side of the can by a decent half-inch.

Horsehair threads lightly swaying between the edges of a bent wooden twig make up the singer’s bow. He chose his left thumb as a detachable fret; however, with the arm’s emails, which carried the bow, he applied friction to the hair. In brief, considering, or maybe because of, the wild nature of his tool, I was amazed (and delighted!) to find that the material he created was stunning.
Instructions:
Banjos, which emerged in Africa, are a primary musical instrument. Advanced banjos are desired format and designed by professional craftsmen with carefully created tools. It could be fun to complete a customized form if you’re not very picky about tone or look and have some simple store equipment and powers. Find out the necessary supplies that you will require.
Make the decision on how big you can have the banjo. Label 2 rings with the width you would like the structure of the banjo to be. Within the first split, outline a path around 3⁄4 inches (1.9 centimeters), so they ended plywood can shape a pattern. Sand or the two plywood circles respectively align such that they align precisely.
Install two stacked spacer blockers to one of the circles at five or six places, but the other process on the upper, use wooden bolts to tighten via the top ring and spacers into the lower ring, probably wood adhesive.
To suit one face of the soundboard, take a part of completed-grade plywood. For the frame itself, the container, or even another element with which you initially inserted the first circles, you could type it and, if you want, enable it to be somewhat bulky so that it will work snugly.
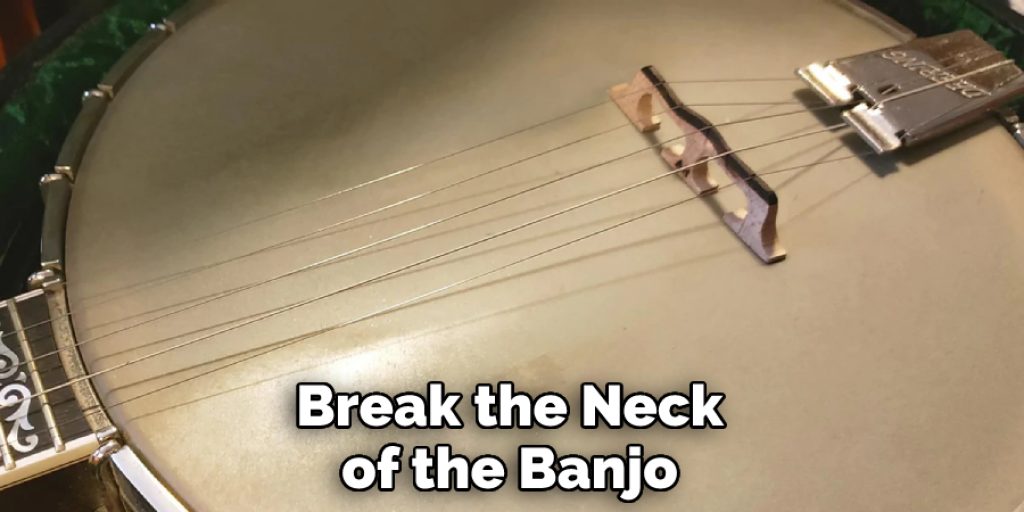
To cover this framework, take a portion of 1⁄8-inch (0.3 cm) Masonite composite coating and perhaps other stuff. Break the neck of the banjo from a bit of 2X4 wood. Break out the banjo collar end section, cutting it from around 2 inches (5.1 cm) to 3 in (7.6 cm) with a width of 1⁄2 to 1 inch, 4 to 41⁄2 inches high.
Extend the instrument’s materials over the front of the soundboard, and tackle or clamp the product to the edge. Connect the eye hooks to the edge of the collar with the number of cords you want to use. To polish and round the certain hard spots that may be visible, sand and use a block plane, then wrap up the wood with smudge and stain, polish, plastic paint jobs, or any tool you want.
You May Also Read – How To Make A Thumb Piano With Bobby Pins