
How to Make Cupcake Wrappers
Are you tired of buying cupcake wrappers for every occasion? Do you want to add a personal touch to your cupcakes? Look no further!
How to make cupcake wrappers is a fun and creative way to elevate your baking projects. These decorative holders not only enhance the visual appeal of your cupcakes but also help keep them intact and more manageable to serve. Whether preparing for a birthday party, a wedding, or a casual gathering, custom cupcake wrappers can reflect your theme and style. As a bonus, making your own cupcake wrappers is also cost-effective, eco-friendly, and allows for endless customization options.
In this guide, we’ll walk you through the simple steps needed to create beautiful and bespoke wrappers that are sure to impress your guests and make your treats look even more delicious!
What Will You Need?
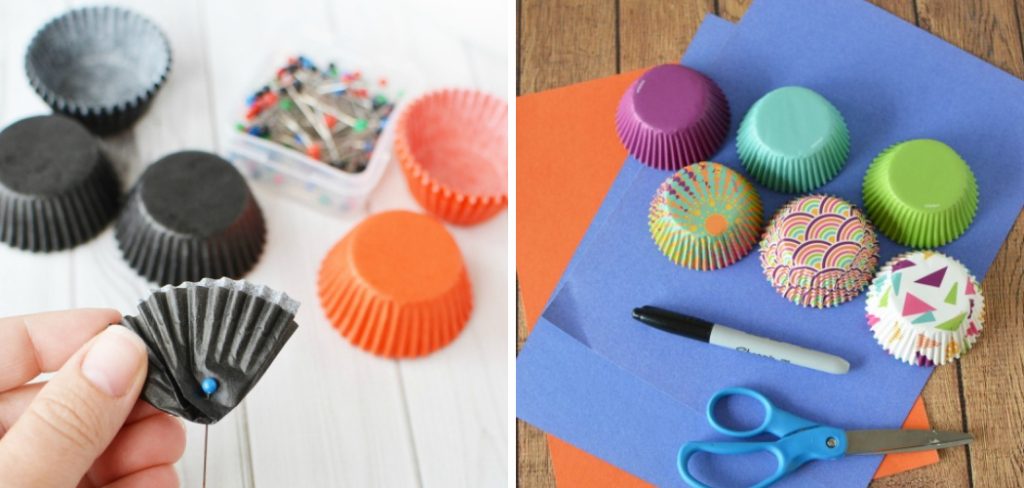
Before we dive into the process, let’s gather all the necessary materials. You’ll need:
- Cardstock paper or any thick decorative paper of your choice
- Scissors or a paper cutter
- Pencil and eraser
- Ruler or measuring tape
- Glue stick or double-sided tape
- Embellishments (optional)
Now that you have everything let’s get started!
10 Easy Steps on How to Make Cupcake Wrappers
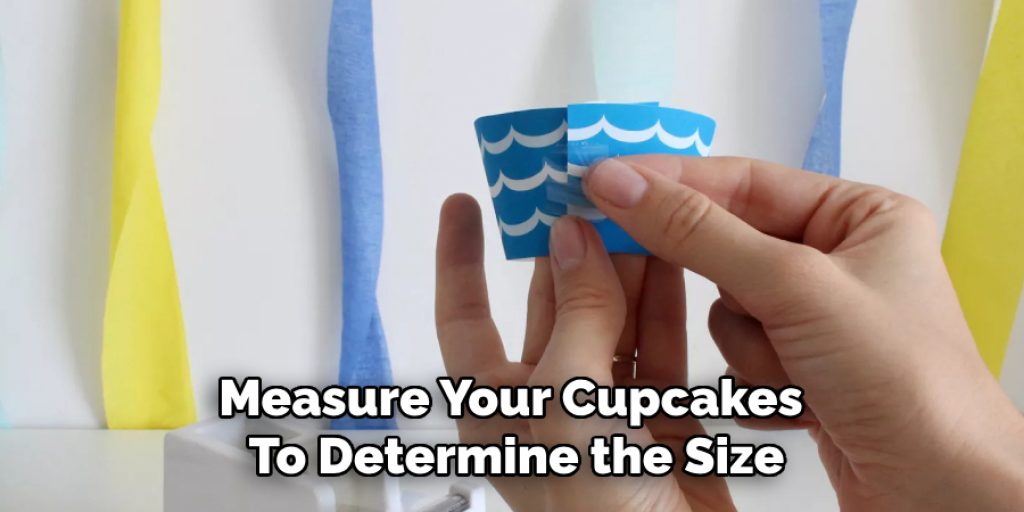
Step 1: Measure Your Cupcakes
The first step is to measure your cupcakes to determine the size of your wrappers. Place a cupcake liner on top of a piece of cardstock paper and trace around it with a pencil. Make sure to leave some extra space around the liner for folding and gluing.
Step 2: Cut Out Your Template
Carefully cut along the traced line to create your template. This will be the foundation for your cupcake wrappers. Ideally, create a uniform shape that will wrap around the cupcake without being too tight. To match your desired aesthetic, you may design your template in various shapes, such as scalloped edges or straight lines. After cutting out the basic shape, you can also add decorative elements to the edges using scissors or craft tools to give your wrappers a unique flair. Take your time with this step; precision will ensure your wrappers fit nicely around the cupcakes and contribute to their overall presentation.
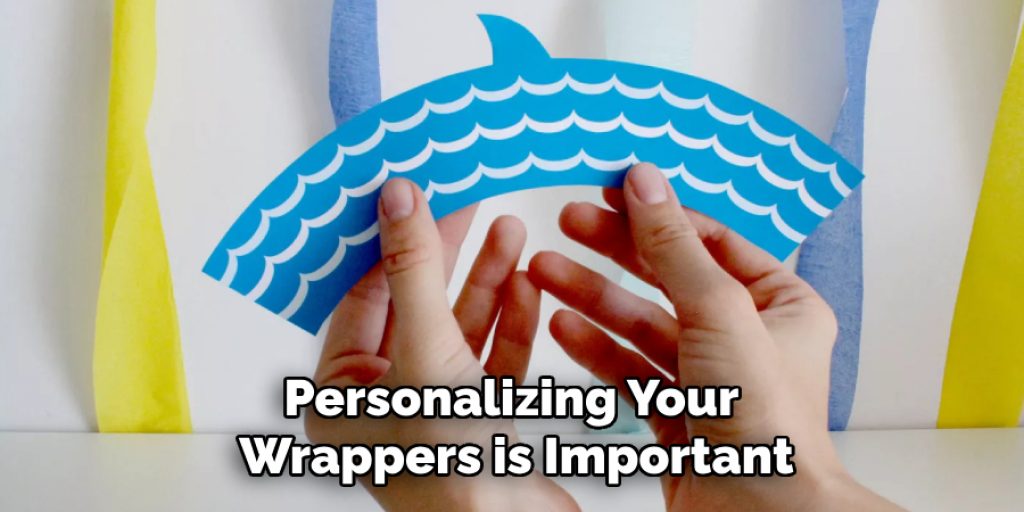
Step 3: Decorate Your Template
Once your basic wrapper shape is cut out, it’s time to personalize it! Use markers, stamps, or other embellishments to add color and design to your wrappers. You might incorporate patterns that complement your event themes, such as floral designs for a spring gathering or bright colors for a birthday celebration. If you prefer a more subdued look, consider sticking to a simple color palette with elegant finishes like glitter or ribbon. This is where you can let your creativity shine—just ensure that whatever decorations you add don’t interfere with the wrapper’s functionality.
Step 4: Score the Wrapper
To ensure your cupcake wrappers fold easily and maintain their shape, it’s essential to score the edges. Using a ruler and a dull knife or scoring tool, lightly run along the edges of the wrapper template where the folds will be made. This process creates indents that make folding smoother and more precise. Be careful not to press too hard; you only want to create a gentle groove, not cut through the paper.
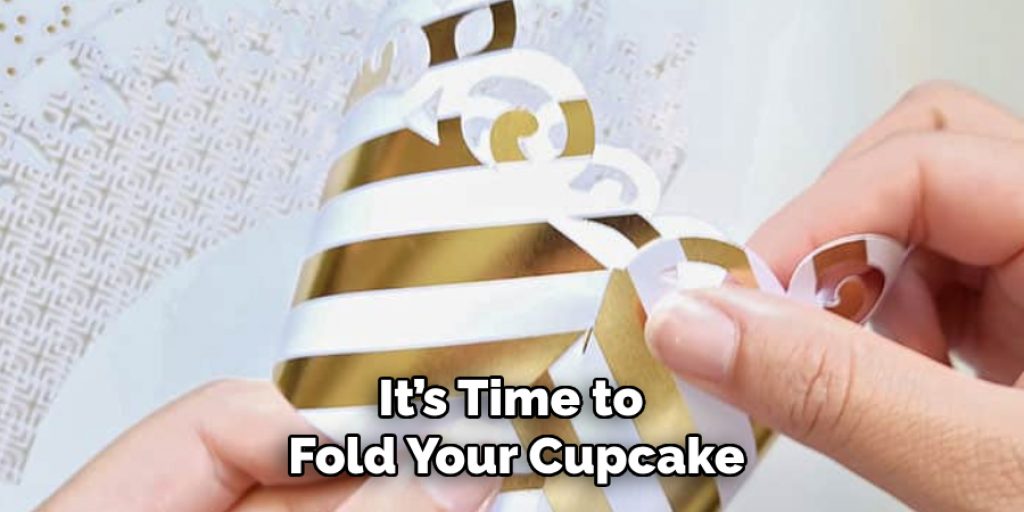
Step 5: Fold the Wrapper
After scoring the edges, it’s time to fold your cupcake wrapper along the scored lines. Gently pinch the sides of the wrapper inward to create a cylindrical shape, ensuring the edges align perfectly. This step is crucial for achieving a neat appearance, as well-fitted wrappers will hug the cupcakes snugly without collapsing. Take your time to ensure each fold is crisp and intentional, as this will elevate the overall look of your finished product.
Step 6: Secure the Edges
With the wrapper folded, use a glue stick or double-sided tape to secure the ends together. Apply a thin layer of glue or tape along the edge and press firmly to hold it in place. Depending on the thickness of your paper, you might prefer using hot glue for a stronger hold. Allow the adhesive to dry if required, ensuring the wrapper maintains its shape and stays intact during serving. As an added tip, if you’re creating wrappers for a more significant event, doing a test run with a few cupcakes might be helpful before gluing all the wrappers together. This will give you a sense of how your finished product will look and allow you to make any necessary adjustments.
Step 7: Final Adjustments
Once the edges are securely glued, take a moment to inspect your cupcake wrappers for any imperfections. It’s essential to ensure that the seams are aligned and the wrapper holds its shape well. If you notice any uneven wrapper areas, you can trim them gently with scissors for a cleaner look. You might also want to test the fit of the wrapper around a cupcake, ensuring it sits properly and securely. If the wrapper feels too loose, consider using a slightly smaller template for future projects. Additionally, this is the perfect time to add final touches, such as additional decorations like stickers or bows, which can enhance the overall presentation. Remember, the goal is not only functionality but also to create a delightful aesthetic that complements your cupcakes and the occasion they are intended for!
Step 8: Add Your Cupcakes
Now that your wrappers are beautifully crafted and ready, it’s time to place your cupcakes inside. Carefully insert each cupcake into its wrapper, ensuring it fits snugly. This step is about the presentation and ensuring that the wrapper holds up under the cupcake’s weight and maintains its shape. If your wrappers are designed to be more ornamental, consider placing each cupcake on a serving platter to show off the lovely designs. Make any slight adjustments as needed to ensure each cupcake is displayed perfectly, creating an enticing arrangement for your guests to admire.
Step 9: Display and Serve
Once you’ve wrapped and arranged all your cupcakes, think about how you’ll present them. You can showcase your creations using tiered cake stands, decorative trays, or even individual cupcake boxes. If you’re hosting a party, adding a few coordinating decorations, such as matching tablecloths or centerpieces, can enhance the overall ambiance. Remember to have fun with this final presentation—it’s your moment to shine as the cupcake artist!

Step 10: Enjoy the Compliments
With your custom cupcake wrappers complete and the delicious treats at the forefront, remember to relish the moment. As guests admire your beautiful creations and savor the flavours, enjoy the compliments that come your way. The effort you put into making bespoke cupcake wrappers elevates the look of your dessert and adds a personal touch that makes your gatherings all the more special. Celebrate your success in crafting delightful treats that are as pleasing to the eye as they are to the palate!
By following these simple steps, you can design and create your own custom cupcake wrappers that will impress and delight your guests. Whether for a birthday party, baby shower, or any other special occasion, these wrappers are sure to make a lasting impression.
5 Things You Should Avoid
- Skipping the Template: Avoid the temptation to freehand cut the wrappers without a template. This can lead to uneven shapes and sizes. Always use a printed template to ensure consistency and professionalism in your wrappers.
- Using Low-Quality Paper: Keep the quality of the paper you use. Thin or flimsy paper may not hold up well, especially when moist from the cupcakes. Opt for thicker cardstock or decorative paper that can support the weight of the treats without collapsing.
- Overloading on Decorations: While personalizing your wrappers is important, avoid cluttering them with too many decorations. Excessive embellishments can distract from the design and affect the wrapper’s functionality. Keep it simple and focused for a more elegant result.
- Neglecting the Fit: Ensure that the wrappers fit snugly around the cupcakes. Avoid making too loose or tight wrappers, as this can lead to a messy presentation. Testing the fit before securing the edges is crucial.
- Ignoring Drying Time: Don’t rush the drying time of any glue or adhesive you use. Securing the edges too soon can result in a weak bond, causing the wrapper to come apart when handled. Always allow adhesives to dry completely before serving your cupcakes.
By avoiding these common mistakes, you can create professional-looking custom cupcake wrappers that will impress your guests and elevate the overall presentation of your cupcakes.
Conclusion
Creating custom cupcake wrappers is a straightforward yet rewarding process that adds a personal touch to your baked goods.
By following the provided steps on how to make cupcake wrappers—from selecting the suitable materials and using a proper template to securing, fitting, and decorating your wrappers—you can achieve a polished and professional appearance for your cupcakes. The key is to take your time, ensuring that each detail is attended to, which ultimately enhances both the presentation and the enjoyment of your delicious creations. With your crafted wrappers, you’ll elevate the visual appeal and impress your guests, making every occasion that much more special.
So gather your supplies, unleash your creativity, and enjoy the fun of making delightful cupcake wrappers that will leave a lasting impression!
Elizabeth Davis
Elizabeth is a creative writer and digital editor based in the United States. She has a passion for the arts and crafts, which she developed from a young age. Elizabeth has always loved experimenting with new mediums and sharing her work with others. When she started blogging, she knew that DIYquickly would be the perfect platform to share her tutorials and tips. She's been writing for the blog from the beginning, and her readers love her helpful advice and easy-to-follow instructions. When she's not writing or editing, Elizabeth enjoys spending time with her family and friends.


