
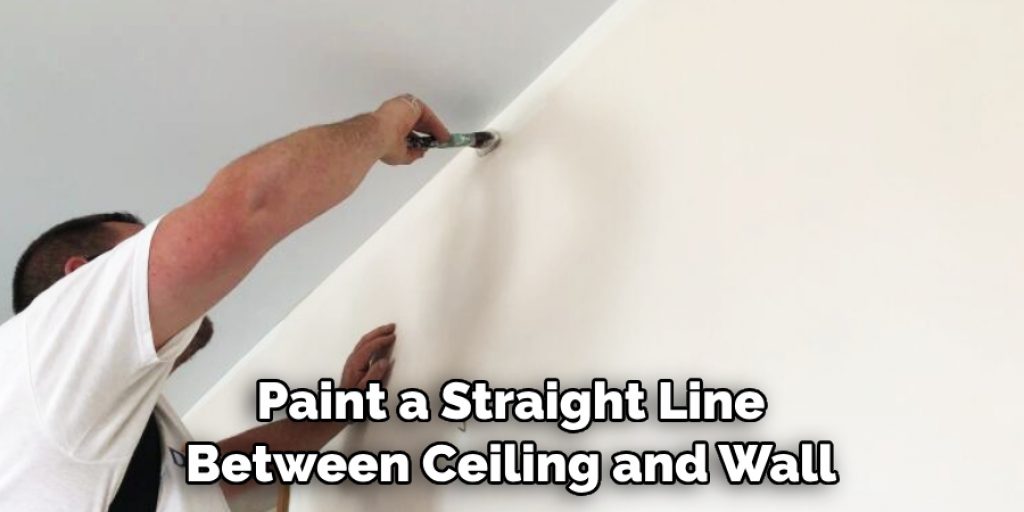
How to Paint a Straight Line Between Ceiling and Wall
Do you want your room to look more professional and polished? Painting a straight line between the ceiling and wall can be an easy way to instantly give any space a more sleek and sophisticated aesthetic. If you’re lacking confidence in your painting skills, don’t worry – we have all the tips and tricks you need to get that perfect, crisp line!
In this blog post, we’ll walk through everything from picking out the right paintbrush for the job to best practices for applying paint along difficult angles. Armed with these helpful strategies, you’ll be able to achieve a clean-cut edge every time. Read on for guidance on how to paint a straight line between ceiling and wall like an expert!
Needed Materials
Below is a list of materials that you’ll need to get started:
- Paintbrush (Angled or Straight)
- Painter’s Tape
- Drop Cloths (to Protect the Floor)
- Ladder or Step Stool
- Primer (if Necessary)
- Paint (in Your Desired Color)
11 Step-by-step Guidelines on How to Paint a Straight Line Between Ceiling and Wall
Step 1: Prepare the Room
Before you get started, it’s essential to properly prepare your room for painting. This includes moving furniture away from walls and covering any remaining items with drop cloths to protect them from potential paint splatters. You should also use painter’s tape to secure the edges of your drop cloths to the floor. It’s also a good idea to use painter’s tape to protect any fixtures or trim that you don’t want to get paint on.
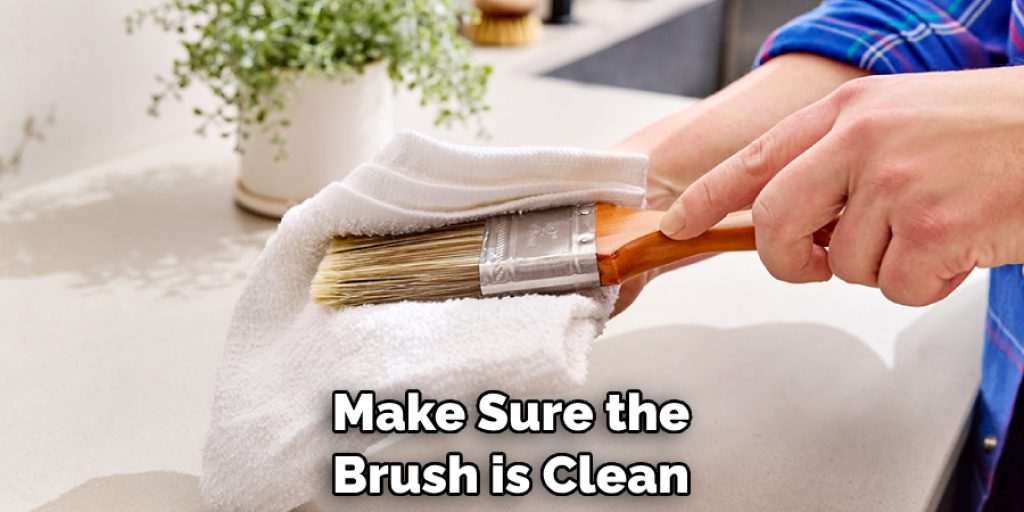
Step 2: Choose the Right Paintbrush
The type of paintbrush you choose can make all the difference in achieving a straight line. For painting along ceilings and walls, it’s best to use an angled brush as it allows for better control and easier access to corners. However, if you’re more comfortable with a straight brush, that can also work. You’ll want to make sure the brush is clean and free of any dried paint before you begin.
Step 3: Prepare the Paint
If you’re using a new can of paint, make sure to stir it thoroughly before use. If you’re using an old can of paint, you may also need to strain it through a mesh strainer to remove any lumps or debris. This will ensure a smooth application and clean lines. But before you start painting, make sure to prime the walls if necessary. You can easily tell if your walls need to be primed by doing a small test patch – if the paint doesn’t adhere well, then you’ll need to prime.
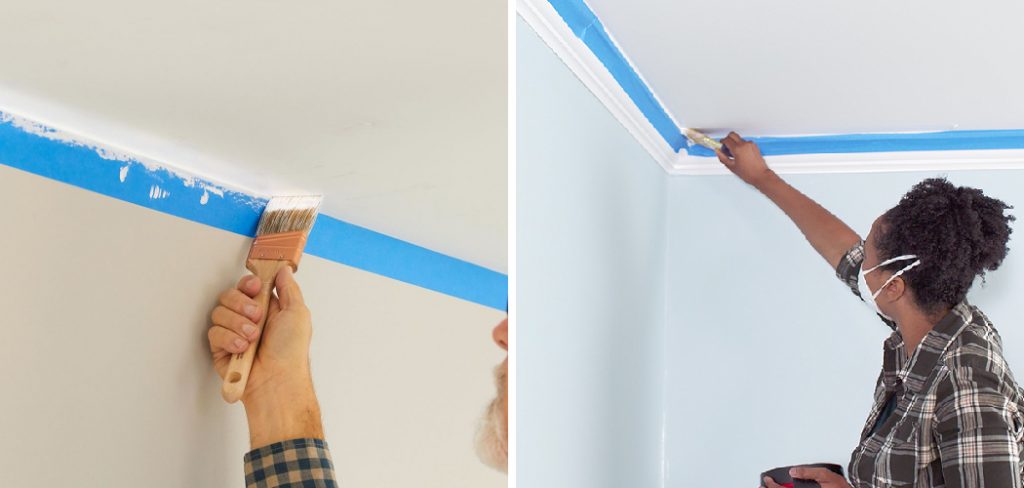
Step 4: Start with the Corners
The key to painting a straight line is starting in the corners. Begin by using your brush to paint along the corner where the ceiling and wall meet. This will create a clean and crisp edge, making it easier to fill in the rest of the space. But before you do any painting, make sure that the walls are completely dry and clean. You can use a damp cloth to wipe down the walls and remove any dust or debris.
Step 5: Use Painter’s Tape
Painter’s tape is an essential tool for achieving a straight line. Use the tape to mark off the line where you want your paint to end on both the ceiling and wall. This will create a straight edge that you can use as a guide while painting.
It’s crucial to ensure that the tape is straight and firmly adhered to the wall and ceiling for a clean result. You can also use a credit card or putty knife to press down on the edges of the tape for a secure hold. It’s best to use painter’s tape specifically designed for delicate surfaces, as it will be easier to remove without damaging your walls or ceiling.
Step 6: Load Your Brush
Once your tape is in place, load your paintbrush with the desired amount of paint. Make sure to lightly tap off any excess before beginning to paint. This will prevent dripping and ensure a smooth application. You can also use a paint tray to help evenly distribute the paint on your brush. It’s always best to start with a smaller amount of paint and add more as needed. But remember, less is more – too much paint can cause drips and uneven lines.
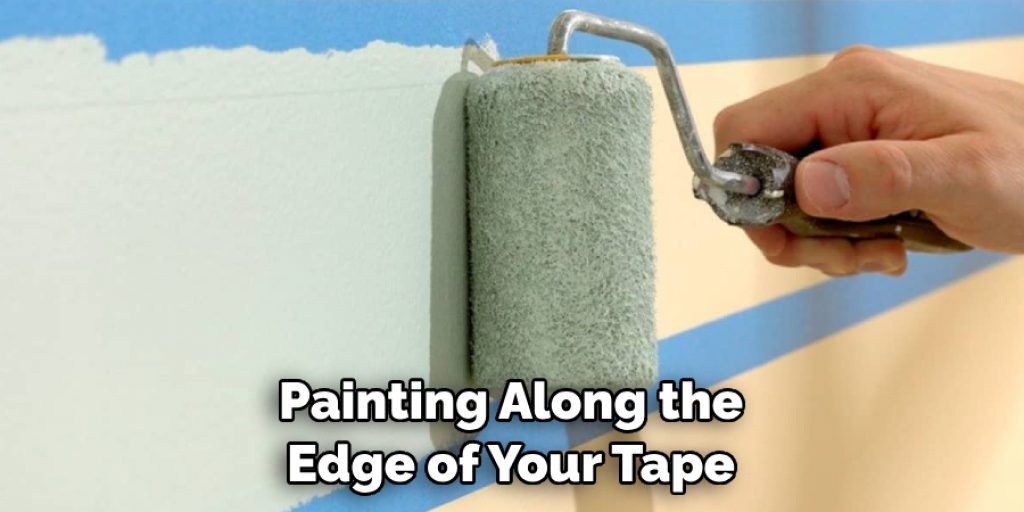
Step 7: Paint Away from the Tape
When painting along the edge of your tape, make sure to paint away from it. This will prevent any paint from seeping under the tape and creating a messy line. Use long, smooth strokes to apply the paint, and try not to go over the same spot multiple times. This will help keep the paint even and prevent any buildup that could cause drips or unevenness.
Step 8: Use a Steady Hand
It’s essential to have a steady hand while painting along ceilings and walls. If you feel like your hand is shaking, try bracing your arm on a nearby wall or furniture piece for added stability. You can also take breaks between strokes to give your hand a rest and prevent any mistakes. It’s better to take your time and have a steady hand than rush and end up with an uneven line.
Step 9: Remove the Tape
Once you’ve finished painting, carefully remove the painter’s tape while the paint is still wet. This will help create a smooth edge and prevent any peeling or damage to your walls or ceiling. If there are any areas where the tape has pulled up paint, you can use a small brush to touch up those spots. It’s also helpful to remove the tape at an angle, pulling it back towards the painted area instead of straight out.
Step 10: Touch-up as Needed
After removing the tape, you may notice some areas that need a touch-up. Use a small brush and a steady hand to fix any imperfections along your line. You can also use this time to clean up any paint splatters or drips on the walls or ceiling. If you’re using multiple coats of paint, make sure to wait for the first coat to dry completely before applying a second.
Step 11: Admire Your Straight Line
Congratulations, you’ve successfully painted a straight line between your ceiling and wall! Take a step back and admire your work. A well-painted line can make a room look more finished and polished.
With these tips on how to paint a straight line between ceiling and wall, you’ll be able to achieve straight lines every time you paint. Remember to always take your time, have a steady hand, and use the proper tools for a professional-looking result. So go ahead and give it a try – you’ll be surprised at how simple it can be to create clean and crisp lines in your home! Happy painting!
Frequently Asked Questions
Q1: Can I Use Regular Tape for Painting?
A: It’s best to use painter’s tape specifically designed for delicate surfaces when painting a straight line between ceiling and wall. Regular tape may not provide a clean edge and can damage your walls or ceiling when removed.
Q2: How Do I Fix Bleeding Paint?
A: If you notice any bleeding or uneven lines while painting, quickly wipe it away with a damp cloth and then use a small brush to touch up the area. It’s also helpful to check that your tape is secure and straight before painting.
Q3: Can I Use a Roller for Painting Straight Lines?
A: Using a roller for painting straight lines can be challenging, especially when working along edges. It’s best to use a paintbrush for more control and precision when creating straight lines between the ceiling and the wall.
Q4: Do I Need to Prime Before Painting?
A: If your walls are painted with a similar color, you may not need to prime them before painting. However, if you’re using a different color or painting over bare walls or patches, it’s best to prime for better adhesion and coverage. So be sure to test a small area before starting your project.
Conclusion
In conclusion, painting a straight line between the ceiling and the wall doesn’t have to be difficult — it just requires a few simple steps. By consistently marking your reference points with painter’s tape, taking your time to use caution when cutting in, and double-checking that the line is level and even once complete, you can achieve a crisp dividing line suitable for any interior or exterior painted decor.
Don’t forget that even remedy locks offer great options to remove any blemishes resulting from housework. So don’t wait; get your paint brush ready, take out your painter’s tape, and embark on this exciting task of painting a straight line between ceiling and wall! Thanks for reading this article on how to paint a straight line between ceiling and wall.
Angela Ervin
Angela is the executive editor of DIY quickly. She began her career as an interior designer before applying her strategic and creative passion to lifestyle and home. She has close to 15 years of experience in creative writing and online content strategy for housekeeping, home decorations as well as other niche efforts. She loves her job and has the privilege of working with an extraordinary team. She lives with her husband, two sons, and daughter in Petersburg. When she's not busy working she spent time with her family.


