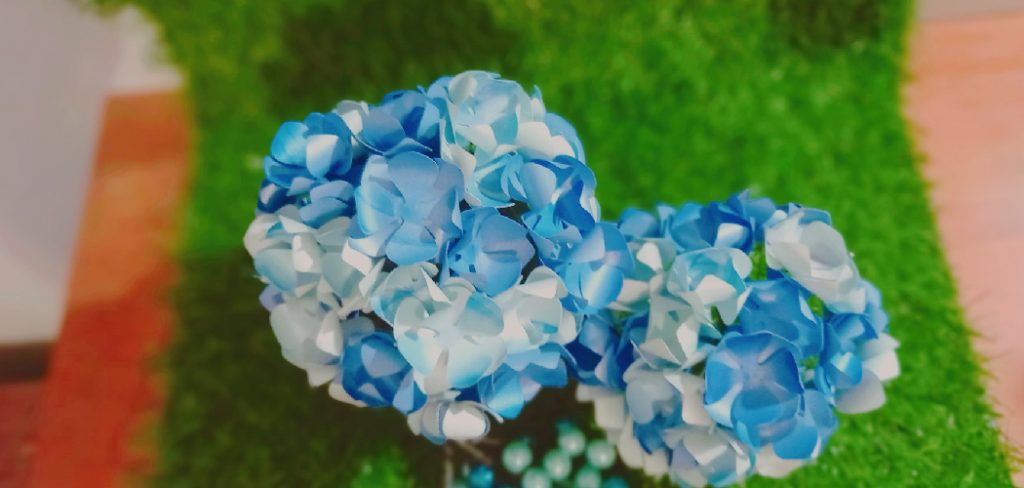
How to Make Paper Hydrangeas
Creating paper hydrangeas is a delightful and artistic way to add a touch of elegance to your home décor or special events. This charming craft not only allows you to express your creativity but also offers a lasting alternative to fresh flowers. Whether you are a seasoned crafter or a beginner, making paper hydrangeas can be a rewarding experience that enhances your skills and provides beautiful results.
In this guide on how to make paper hydrangeas, we will explore the materials needed, step-by-step instructions, and tips to help you craft stunning paper hydrangeas that mimic the delicate beauty of the real thing.
Why Choose Paper Hydrangeas?
While fresh flowers are lovely, they have a limited lifespan and can be expensive. Paper hydrangeas, on the other hand, offer durability and cost-effectiveness without sacrificing beauty. You can customize them to match any color scheme or event theme, making them perfect for weddings, parties, or home décor. Additionally, paper hydrangeas are easy to transport and can be used as decorations for multiple occasions.
It’s also a great way to repurpose old papers and create something beautiful out of them. So not only are you saving money, but you’re also contributing to sustainability by reducing waste.
Materials Needed
To make paper hydrangeas, you will need the following materials:
- Crepe Paper or Tissue Paper in Various Colors (Choose Colors That Mimic the Shades of Real Hydrangeas)
- Floral Wire or Pipe Cleaners
- Scissors
- Green Floral Tape
- Hot Glue Gun and Glue Sticks
- Pencil
- Ruler
- Floral Foam or Styrofoam Ball (Optional for Arrangement)
8 Step-by-step Guidelines on How to Make Paper Hydrangeas
Step 1: Prepare the Template
Begin by creating a template for the hydrangea petals. Using a pencil and ruler, draw petal shapes on a piece of cardstock or thin cardboard. The petals should be oval with a slightly pointed tip, approximately 2 to 3 inches in length.
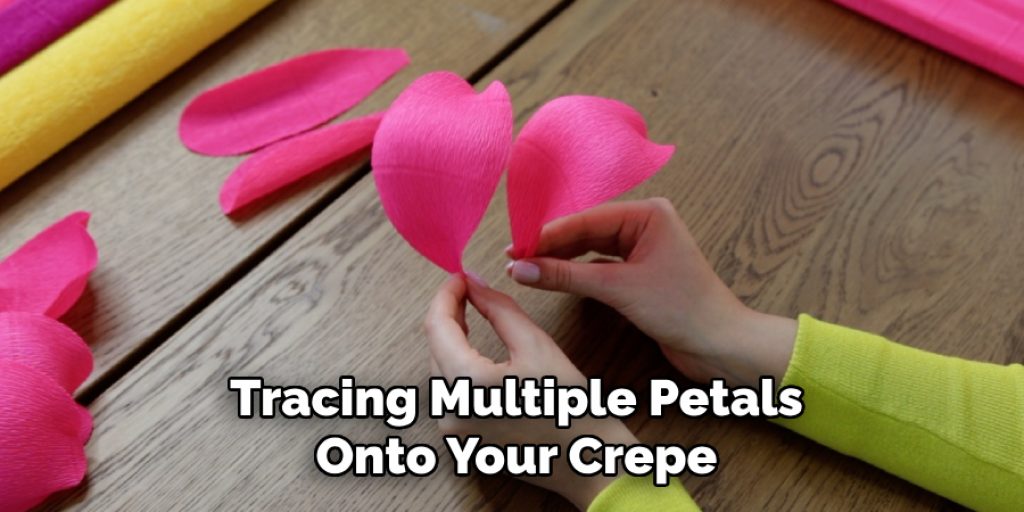
Once you have a satisfactory petal shape, carefully cut it out to use as your template. This will guide you in tracing multiple petals onto your crepe or tissue paper, allowing for uniformity in your flower design. Aim for around 10 to 15 petals per bloom for a fuller appearance.
Step 2: Cut the Petals
Using the template you created in Step 1, trace the petal shapes onto your crepe or tissue paper. Make sure to use a light touch with your pencil to avoid leaving marks on the final petals. Once you’ve traced enough petals, carefully cut them out with scissors, ensuring that you maintain the shape and avoid any jagged edges.
To create a more natural look, consider varying the sizes of some petals slightly; this will add dimension and realism to your hydrangeas. After cutting, gently stretch and shape each petal to give it a more organic appearance, readying them for assembly into beautiful blooms.
Step 3: Form the Stem
To create the stem for your paper hydrangeas, take a piece of floral wire or a pipe cleaner approximately 12 inches long. If you’re using floral wire, you may want to double it for added strength. Starting at one end of the wire, wrap it with green floral tape, covering it completely to give it a realistic stem appearance.
As you wrap, stretch the tape slightly to ensure it adheres well and conforms to the shape of the wire. Once the entire length is covered, leave about 2 to 3 inches at the bottom unwrapped, which will serve as the base to secure your flower. This will provide sturdy support for your paper blooms when assembled.
Step 4: Create the Center of the Flower
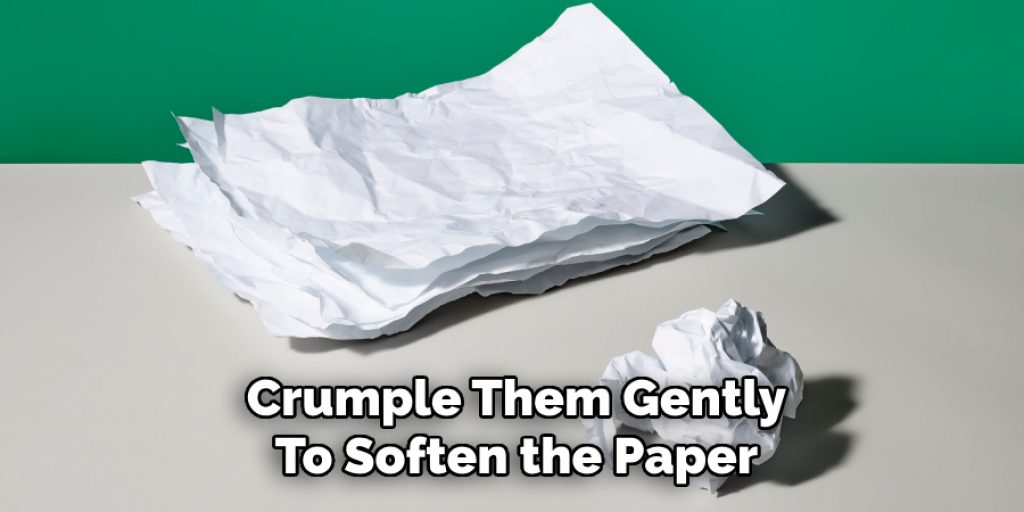
To create the center of your paper hydrangea, begin by taking a small piece of crepe paper in a contrasting color to your petals. Cut it into thin strips, approximately 1 inch wide and about 3 to 4 inches long. Once you have your strips, crumple them gently to soften the paper, then twist them together tightly to form a small cluster that will represent the flower’s center.
Secure this cluster using hot glue, attaching it to the top of the wrapped stem you formed in Step 3. Make sure it is firmly in place, as it will provide a base for the petals to layer around. After the center is glued on, you can adjust its shape slightly to create a more natural look, ensuring it is rounded and visually appealing before proceeding to the next step of assembling your hydrangea.
Step 5: Assemble the Petals
Using a hot glue gun, start attaching your petals to the flower’s center, working in layers and slightly overlapping each petal as you go. Begin by placing larger petals at the bottom of the cluster and gradually filling in with smaller ones towards the top. This will give your hydrangea a more natural and layered look.
As you attach each petal, ensure it is secured firmly but also leave some room for movement so that you can adjust them if needed to create a fuller or more organic appearance. Continue until all petals are attached, making sure to cover the entire cluster of paper strips while still maintaining an open center reminiscent of real hydrangeas.
Step 6: Add Details
To add more realism to your hydrangea, you can use a pencil or the back of your scissors to score lines onto each petal. This will create the appearance of veins and texture, adding depth to your flower. You can also gently bend and shape the petals in various directions to give them a lifelike appearance.
It’s also a good idea to add some variation in color by using different shades of crepe or tissue paper for the petals. This will create a more realistic look, similar to the natural variations found in real hydrangeas.
Step 7: Repeat and Arrange
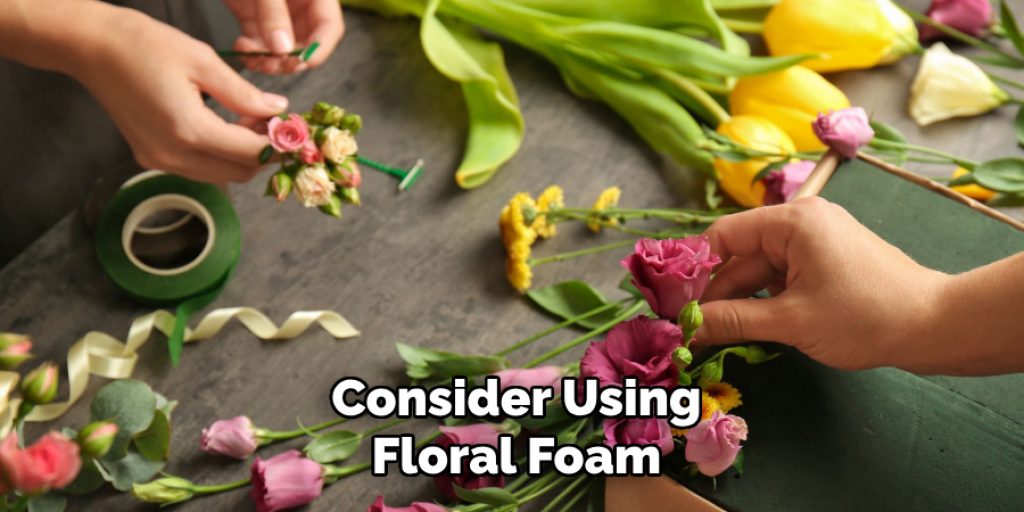
Repeat Steps 4-6 until you have enough paper hydrangeas to form a bouquet or arrangement. You can vary the sizes and colors of each flower for added visual interest. If you’re creating an arrangement, consider using floral foam or a styrofoam ball as a base and sticking the stems of your paper hydrangeas into it for stability.
The great thing about paper hydrangeas is that they don’t wilt, so you can enjoy your beautiful handmade blooms for a long time. They also make lovely gifts or decorations for special occasions like weddings, birthdays, or home decor.
Step 8: Enjoy Your Beautiful Paper Hydrangeas!
Congratulations! You have successfully created your very own paper hydrangeas using simple materials and minimal tools. Now it’s time to admire and enjoy your handiwork. These delicate and realistic flowers are sure to brighten up any room or occasion with their vibrant colors and lifelike appearance.
Following these simple steps on how to make paper hydrangeas, you can easily create a beautiful bouquet or arrangement of paper hydrangeas that will add a touch of charm and elegance to any space. Have fun experimenting with different colors and sizes to create unique and personalized flowers that will last for a long time.
Frequently Asked Questions
Q: What Type of Paper is Best for Making Paper Hydrangeas?
A: Crepe paper or tissue paper works well for creating realistic-looking hydrangeas. However, you can also use other types of thin and pliable papers such a mulberry paper or even scrapbook paper for a more whimsical look.
Q: Do I Need Any Special Tools to Make Paper Hydrangeas?
A: No, you don’t need any special tools. Scissors, a pencil, and a hot glue gun are sufficient for creating beautiful paper hydrangeas. However, you may find that having floral wire and tape can make the process easier and give your flowers more stability.
Q: Can I Use Real Floral Wire Instead of Pipe Cleaners?
A: Yes, you can use real floral wire instead of pipe cleaners for the stem; just make sure it is sturdy enough to hold the weight of the paper flowers. You may also want to double or reinforce the wire for added strength.
Q: How Long Will My Paper Hydrangeas Last?
A: Unlike real flowers, paper hydrangeas can last for a long time if properly cared for. Avoid getting them wet and store them in a dry and dust-free place when not in use. With proper care, they can be enjoyed for months or even years.

Conclusion
Creating paper hydrangeas is a fun and rewarding craft that allows you to express your creativity while producing beautiful, long-lasting decorations. With just a few materials and simple steps, you can replicate the intricate beauty of real hydrangeas, adding a personal touch to your home or special events.
These handmade blooms not only provide a vibrant pop of color but also offer a unique artistic outlet. Whether used as a centerpiece, gift or simply to brighten up a space, your paper hydrangeas will surely be cherished for their charm and elegance. Embrace the art of crafting, and enjoy the satisfaction of seeing your stunning creations come to life! Thanks for reading this article on how to make paper hydrangeas.
Elizabeth Davis
Elizabeth is a creative writer and digital editor based in the United States. She has a passion for the arts and crafts, which she developed from a young age. Elizabeth has always loved experimenting with new mediums and sharing her work with others. When she started blogging, she knew that DIYquickly would be the perfect platform to share her tutorials and tips. She's been writing for the blog from the beginning, and her readers love her helpful advice and easy-to-follow instructions. When she's not writing or editing, Elizabeth enjoys spending time with her family and friends.