
How to Hold Knitting Needles and Yarn
Are you new to knitting and struggling to hold your needles and yarn? Don’t worry—you are not alone.
Knitting is a delightful craft that produces beautiful garments and accessories and provides a sense of calm and accomplishment. To begin your knitting journey, it is essential to understand the basic techniques for holding your knitting needles and yarn. Proper grip and control are fundamental to creating even stitches and maintaining an enjoyable experience.
In this guide, we will explore the various ways how to hold knitting needles and yarn, ensuring you develop a comfortable technique that suits your style and enhances your creative process. Whether you’re a beginner picking up your first pair of needles or an experienced knitter looking to refine your skills, mastering these fundamentals will set the stage for a successful knitting practice.
What Will You Need?
Before we dive into the different methods of holding knitting needles and yarn, let’s make sure you have all the necessary tools. Here are some essential items to have before starting your knitting journey:
- Knitting Needles: There is a vast variety of knitting needles available in the market, including straight, circular, double-pointed, and interchangeable needles. Depending on your project and personal preference, choose a pair of needles that feel comfortable in your hands.
- Yarn: Like needles, there is an overwhelming selection of yarns, such as wool, cotton, acrylic, or blends. As a beginner, it’s best to start with medium-weight yarn (worsted or aran weight) and a light color to see your stitches.
- A Knitting Pattern: This is a set of instructions that guide you through creating a specific project, such as a scarf or hat. It includes information on the yarn weight and needle size required for the project, along with the stitch pattern and techniques needed.
- Scissors: You will need scissors to cut your yarn when starting a new skein or finishing your project.
- Tapestry Needle: This is a large-eyed blunt needle used for weaving in ends of yarn and sewing pieces together.
Now that you have all the necessary tools let’s explore some common ways of holding knitting needles and yarn.
10 Easy Steps on How to Hold Knitting Needles and Yarn
Step 1: Positioning Your Needles
Start by holding one knitting needle in your dominant hand. The needle should rest comfortably between your thumb and index finger, with the body of the needle resting against your palm. This grip allows for easy manipulation as you work through each stitch. Hold the other needle in your non-dominant hand, ready to engage in the knitting process.

Step 2: Holding the Yarn
With your dominant hand, grasp the yarn so that it flows naturally between your fingers. A common method is to wrap the yarn around your pinky finger, then pass it over your ring finger and under your middle finger before it reaches your index finger. This setup creates the tension needed for the stitches while allowing for easy access to control the yarn as you knit.
Step 3: Creating Tension
Maintaining the right amount of tension is crucial for even stitches. Gently pull the yarn to find a comfortable tension that works for you—too tight will make it hard to knit, while too loose will lead to uneven stitches. Practice adjusting your grip until you find a natural balance that allows for smooth movement.
Step 4: Positioning the Yarn
As you prepare to make your first stitch, position the working yarn (the yarn connected to your ball or skein) in front of the needles if you’re knitting in English or behind the needles for the Continental style. This minor adjustment is essential for effectively executing knit and purl stitches.
Step 5: Executing the Knit Stitch
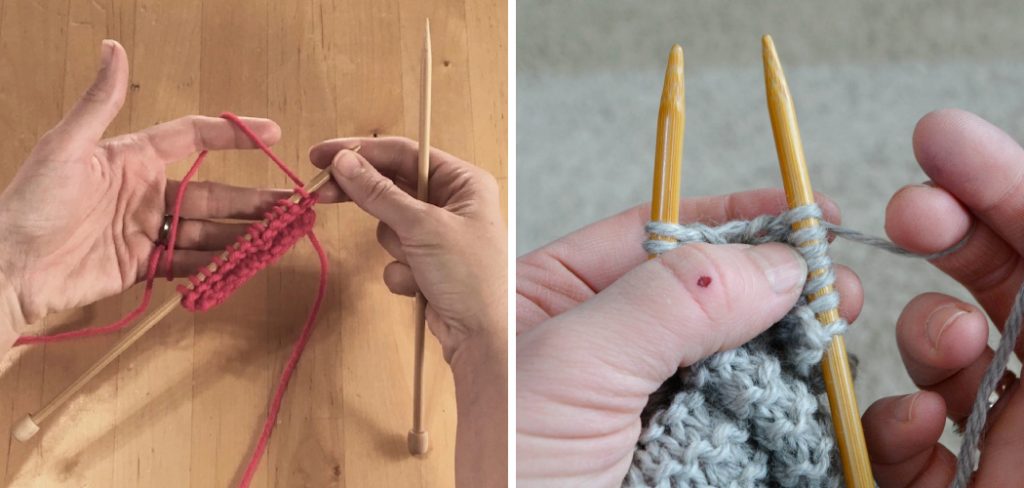
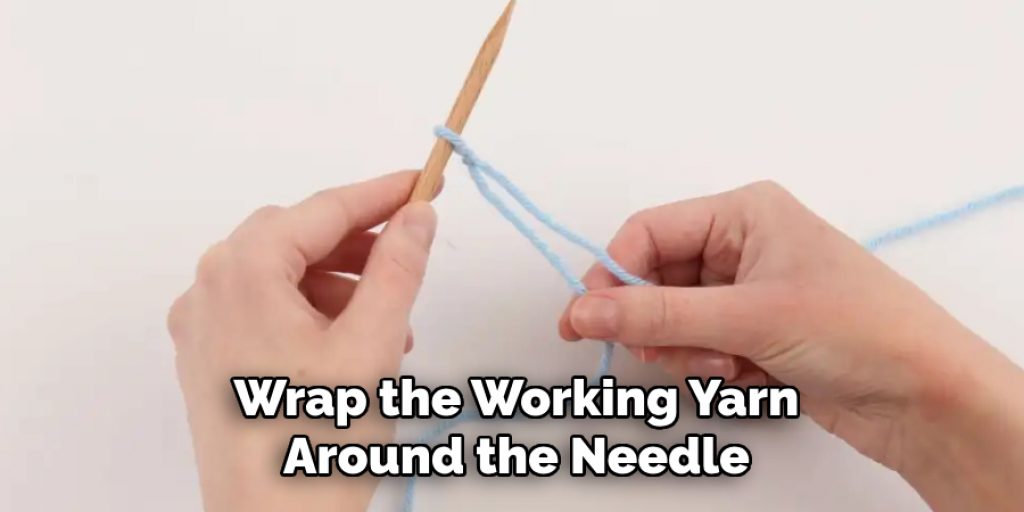
To execute the knit stitch, begin with your working yarn positioned in the correct place as discussed in Step 4. Insert the tip of the needle held in your dominant hand into the front of the stitch on the needle in your non-dominant hand, moving from left to right. While keeping this needle steady, use your dominant hand to wrap the working yarn around the needle, ensuring that the yarn goes clockwise. This wrap is crucial as it sets the foundation for forming the new stitch.
Next, gently pull the wrapped yarn through the stitch on the non-dominant needle, creating a new loop on your dominant needle. Be cautious not to pull the yarn too tightly; maintaining the correct tension will help keep your stitches uniform. After the new stitch has formed on the dominant needle, slide the old stitch off the non-dominant needle, allowing it to fall away. This sequence can be repeated for each stitch across the row.
As you practice, you will develop a comfortable rhythm, enhancing your knitting experience and allowing your creativity to flourish. Remember, each stitch you create is a step towards your beautiful project, so take your time and enjoy the process.
Step 6: Executing the Purl Stitch
To perform a purl stitch, start with the working yarn in front of your needles. Insert the tip of the needle held in your dominant hand into the front of the stitch on the non-dominant needle, moving from right to left. Use your dominant hand to wrap the yarn around the needle counterclockwise to stabilize this needle.
Pull the wrapped yarn through the stitch on the non-dominant needle to form a new loop on the dominant needle while ensuring you maintain an even tension. Slide the old stitch off the non-dominant needle, letting it drop. This method is crucial when transitioning between knit and purl stitches in various patterns.
Step 7: Practicing Common Stitches
Now that you have performed both knit and purl stitches, it’s time to practice combining them. Many knitting patterns combine these two stitches to create texture and designs, such as garter stitch (knit every row) or stockinette stitch (alternate between knit and purl rows). Spend time working on swatches incorporating these techniques to build familiarity and confidence.
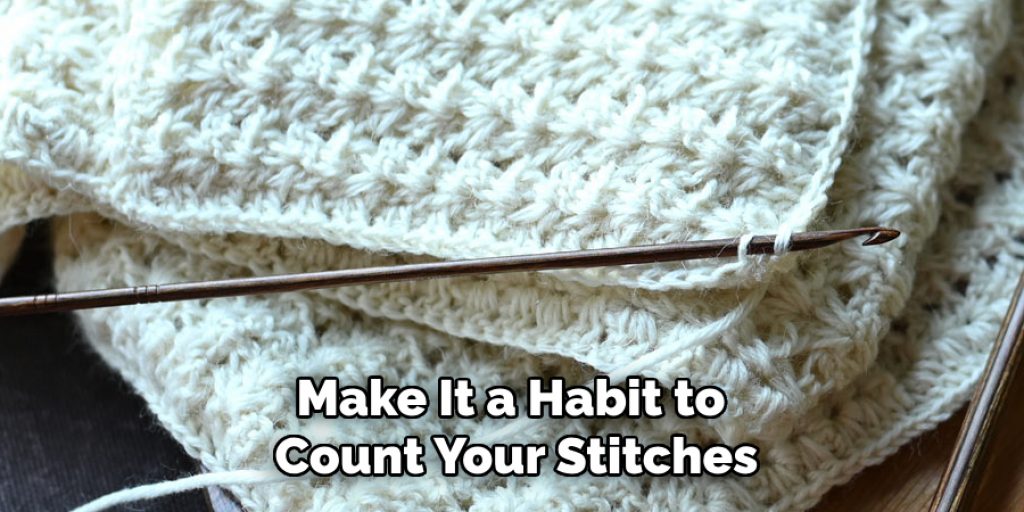
Step 8: Understanding Stitch Counting
As you knit, it’s essential to keep track of your stitches. Counting stitches allows you to maintain your project’s intended size and shape. Make it a habit to count your stitches at the end of each row, especially when you’re starting a new pattern, to ensure your work aligns with the instructions provided in your knitting pattern.
Step 9: Finishing Techniques
Once you’ve completed your project, it’s essential to understand how to finish your work neatly. This involves techniques such as binding off, which secures the stitches and prevents unraveling. To bind off, knit two stitches, then use the left needle to lift the first stitch over the second and off the needle. Continue this process until all stitches are bound off, leaving a tail to weave in later for a polished look.
Step 10: Weaving in Ends
After binding off, you’ll have yarn tails that must be expertly woven to finish your project. Using a tapestry needle, thread the tail through the stitches at the edge of your work, crossing through both the front and back to secure the yarn. This will not only tidy up your project but also ensure durability for long-lasting wear and enjoyment.
By following these steps, you’ll be on your way to becoming a skilled knitter. Remember to take your time and practice regularly to improve your skills and expand your creativity. With each project, you’ll gain experience and confidence in your knitting abilities, making it a fulfilling hobby for years to come.

5 Things You Should Avoid
- Holding Needles Too Tightly: Gripping your needles excessively can strain your hands and wrists. Instead, maintain a relaxed grip to promote comfort and flexibility during your knitting session.
- Using Improper Needle Size: Choosing needles that are either too large or too small for your yarn can create tension issues and affect the overall appearance of your work. Always match the needle size to the recommended specifications for your yarn.
- Neglecting Yarn Tension: Failing to maintain consistent tension can result in uneven stitches. Adjust your grip and yarn positioning frequently to ensure uniform stitches throughout your project.
- Crossing Your Yarn Incorrectly: Twisting the yarn around your fingers in a way that causes it to tangle can slow down your knitting and create frustration. To avoid this issue, practice wrapping the yarn smoothly and following the tension guidelines.
- Ignoring Your Posture: Knitting with poor posture can lead to discomfort and fatigue. To promote better overall comfort during your knitting sessions, ensure that you sit in a supportive position, keeping your back straight and your wrists in a neutral position.
Conclusion
How to hold knitting needles and yarn is fundamental to developing a smooth and enjoyable knitting experience.
Maintaining a relaxed grip on the needles allows for greater agility and control as you create your stitches. The dominant hand should deftly manipulate the working yarn while the non-dominant hand holds the stitches steady. Adjusting how the yarn flows through your fingers ensures consistency in tension, ensuring that each stitch is even and uniform.
Remember to frequently check your posture, which contributes to comfort and reduces the risk of strain during extended knitting sessions. As you refine your technique and find what feels most comfortable for you, knitting will not only become more accessible but also a more fulfilling and creative outlet.
Elizabeth Davis
Elizabeth is a creative writer and digital editor based in the United States. She has a passion for the arts and crafts, which she developed from a young age. Elizabeth has always loved experimenting with new mediums and sharing her work with others. When she started blogging, she knew that DIYquickly would be the perfect platform to share her tutorials and tips. She's been writing for the blog from the beginning, and her readers love her helpful advice and easy-to-follow instructions. When she's not writing or editing, Elizabeth enjoys spending time with her family and friends.


