
How to Prepare Yarn for Crocheting
Preparing yarn for crocheting is a crucial step that can greatly enhance your crafting experience and the quality of your finished project. Whether you are working with a new skein or repurposing yarn from an old project, proper preparation helps to prevent tangles, identify any imperfections, and ensure that your yarn is in the best possible condition.
In this guide on how to prepare yarn for crocheting, we will explore the essential steps, including washing, winding, and managing hanks or skeins, setting you up for a smooth and enjoyable crocheting journey.
What is Yarn?
Before diving into the preparation process, let us first understand what yarn is.
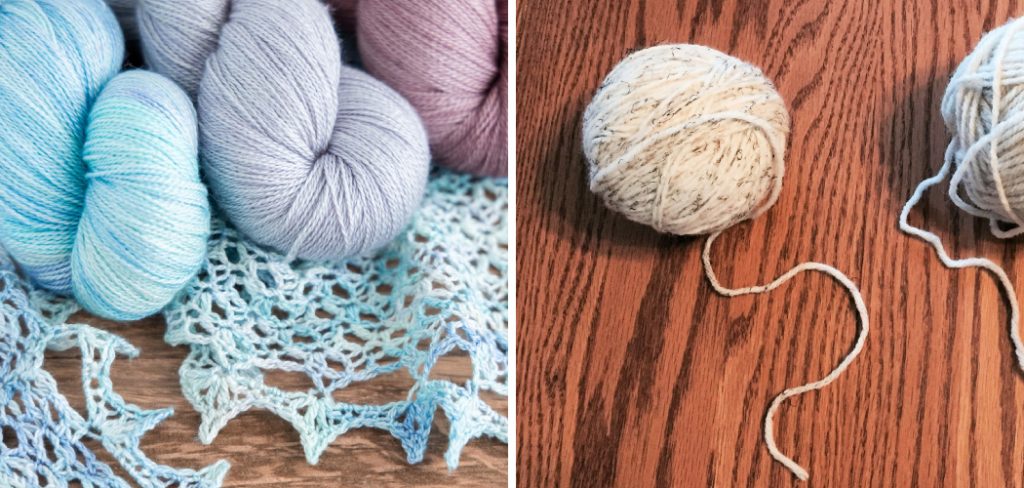
Yarn is a continuous strand of fibers that are used to make textiles and fabrics. It can be made from various materials such as wool, cotton, silk, or synthetic fibers like acrylic or polyester. Each type of yarn has its unique qualities and properties which affect its appearance, texture, and durability.
It is essential to choose the right yarn for your crochet project, depending on your desired outcome and the recommended material. Once you have selected your yarn, it is time to prepare it for crocheting.
Why is it Important to Prepare Yarn?
Preparing yarn before crocheting has several benefits that can greatly impact the quality of your project.
Prevent Tangles:
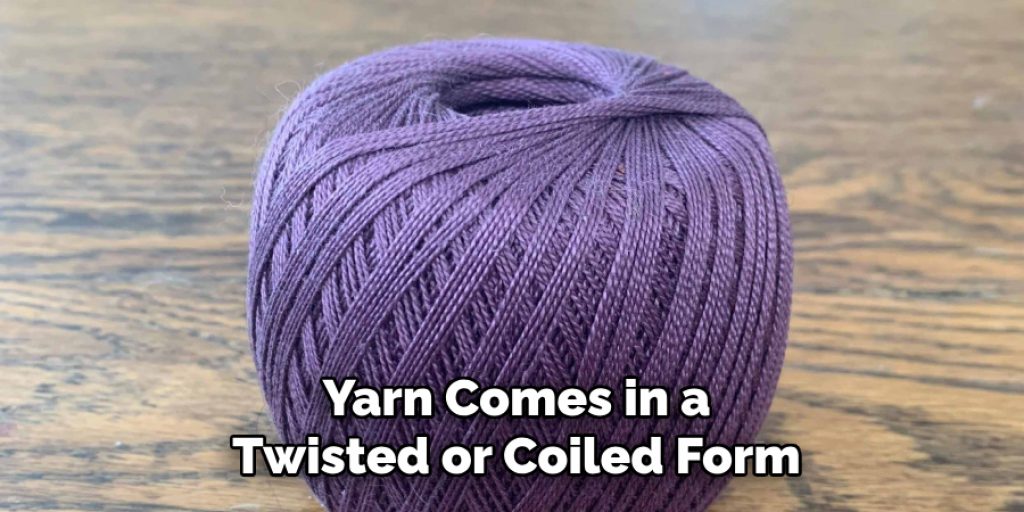
Most yarn comes in a twisted or coiled form, which can easily tangle if not prepared properly. By preparing your yarn, you can untwist and straighten it, making it easier to work with and reducing the chances of tangling.
Identify Imperfections:
Preparing your yarn also allows you to inspect it for any knots, breaks, or other imperfections that could affect your project. It is better to identify and address these issues before starting your project rather than having to deal with them while crocheting.
Improve Texture:
Some yarn may benefit from soaking or stretching, which can improve its texture, softness, and drape. This step is especially crucial for natural fibers such as wool, which can be stiff or scratchy when unwashed.
Manage Hanks or Skeins:
If you are working with hanks or skeins of yarn, preparing them will ensure they are in the best condition for use. These types of yarn need to be wound into balls before crocheting, making the process smoother and more organized.
7 Steps on How to Prepare Yarn for Crocheting
Step 1: Washing
Washing your yarn is an essential step, especially if you are using natural fibers. It helps to remove any dirt, oils, or chemicals that may have accumulated during the manufacturing process. Additionally, washing can soften the yarn and improve its texture. Here is how to wash your yarn:
- Fill a sink or basin with lukewarm water and add a few drops of gentle detergent.
- Submerge your skein or hank of yarn in the water and gently squeeze it to ensure all parts are thoroughly soaked.
- Let it soak for 15-20 minutes.
- Drain the soapy water and rinse the yarn with clean water until the water runs clear.
- Gently squeeze out excess water, being careful not to wring or twist the yarn.
- Lay the yarn flat on a towel and roll it up to remove more water.
- Hang the yarn to dry, or lay it flat in a well-ventilated area to air dry completely.

Step 2: Winding
If your yarn comes in a skein or hank, you will need to wind it into a ball before crocheting. This step helps to prevent tangles and allows for easier use of the yarn. You can either use a swift ball winder or hand-wind your yarn into a ball. Here’s how to hand-wind your yarn:
- Start by making a slip knot at one end of the yarn.
- Hold the knot between your thumb and index finger, leaving a tail of about 6 inches.
- Wrap the yarn around your two fingers (index and middle) in a figure-eight motion, creating a small loop on top of your fingers.
- Continue wrapping until you have used all the yarn or reached your desired size for the ball.
- Slide the loops off your fingers and pull the tail through the center of the loops.
- Gently tug on both ends to secure the center and shape your ball.
Step 3: Check for Imperfections
After winding your yarn into a ball, it’s important to inspect it for any imperfections that could impact your crocheting experience. This step involves carefully examining the yarn for knots, breaks, and uneven thickness, as these issues can lead to frustration while working on your project.
To check for imperfections:
- Unravel a small section of your wound ball and run your fingers along the length of the yarn. Pay attention to any irregularities in texture or thickness.
- Look for knots that may not have been visible until now. If you find a knot, determine if it can be worked into your pattern or if it needs to be cut and rejoined.
- Examine the ends of the yarn as well; broken fibers can weaken the structure and should be trimmed if necessary.
By taking the time to address these imperfections upfront, you’ll ensure a smoother crocheting process and a more polished final project.
Step 4: De-Tangling
If your yarn is coiled or tangled, you’ll need to untangle it before starting your project. This step will prevent frustration and time wasted trying to separate the strands while crocheting. Here’s how to de-tangle your yarn:
- Start by loosely unwinding the ball of yarn.
- Gently shake out any tangles or knots.
- Lay the yarn flat and use your fingers to gently pull apart any sections that are stuck together.
- You can also use a crochet hook or knitting needle to help loosen tight knots or snags.
Once your yarn is free from tangles, rewind it into a ball using the same method as in Step 2.

Step 5: Stretching
Some yarn, particularly natural fibers like wool or cotton, may benefit from stretching before crocheting. This step will help improve the drape and softness of the yarn. To stretch your yarn:
- Fill a basin or bucket with lukewarm water.
- Submerge your skein or hank of yarn in the water and let it soak for 15-20 minutes.
- After soaking, gently squeeze out excess water without wringing or twisting the yarn.
- Lay the wet yarn flat on a towel and gently pull at both ends to stretch it slightly. The amount you stretch depends on personal preference and the type of project you’re making.
- Roll the towel and let it sit for a few minutes to absorb more water.
- Hang the yarn to dry or lay it flat in a well-ventilated area until completely dry.
Step 6: Balling
Once your yarn is washed and prepared, it’s time to create a yarn ball that is easy to work with. Balling your yarn is crucial for maintaining its shape and preventing tangles while crocheting. Here’s how to properly ball your yarn:
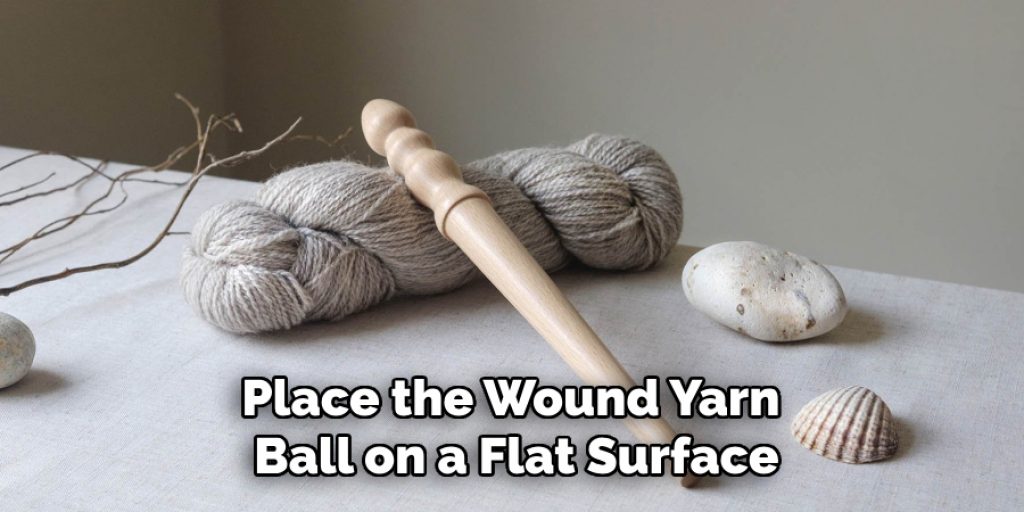
- Place the wound yarn ball on a flat surface, ensuring it is stable and secure.
- If you have a yarn swift, position it so that the skein or hank can easily rotate as you wind. Alternatively, you can hold the yarn with one hand and use the other to create the ball.
- Gently start wrapping the yarn around itself, being mindful to build a consistent shape as you go. When you reach the halfway point, turn the ball slightly to alternate the direction of the wraps; this will help keep it balanced.
- Continue wrapping until all the yarn is wound into a neat ball, ensuring that it is neither too tight nor too loose.
- Finally, secure the working end of the yarn by tucking it into the ball. This will prevent it from unraveling and becoming tangled during your crocheting sessions. Having a well-prepared yarn ball will streamline your crafting experience, allowing you to focus fully on creating your project.
Step 7: Start Crocheting!
After completing these steps, you are now ready to start your crochet project with a well-prepared yarn. With proper washing, winding, and preparation, your yarn will be easier to work with and create a more polished final product. Remember to take care of your yarn throughout the crocheting process by storing it properly and avoiding any potential tangling or damage. Now it’s time to let your creativity flow and enjoy the therapeutic and rewarding experience of crocheting!
Following these steps on how to prepare yarn for crocheting will ensure a positive crocheting experience and help you create beautiful projects with your yarn. Happy crafting!
Additional Tips for Working with Yarn
- When selecting yarn for a project, consider the weight (thickness), fiber content, and color of the yarn to best suit your needs.
- To prevent tangling, us e a yarn holder or yarn bowl to keep your ball of yarn in one place as you work.
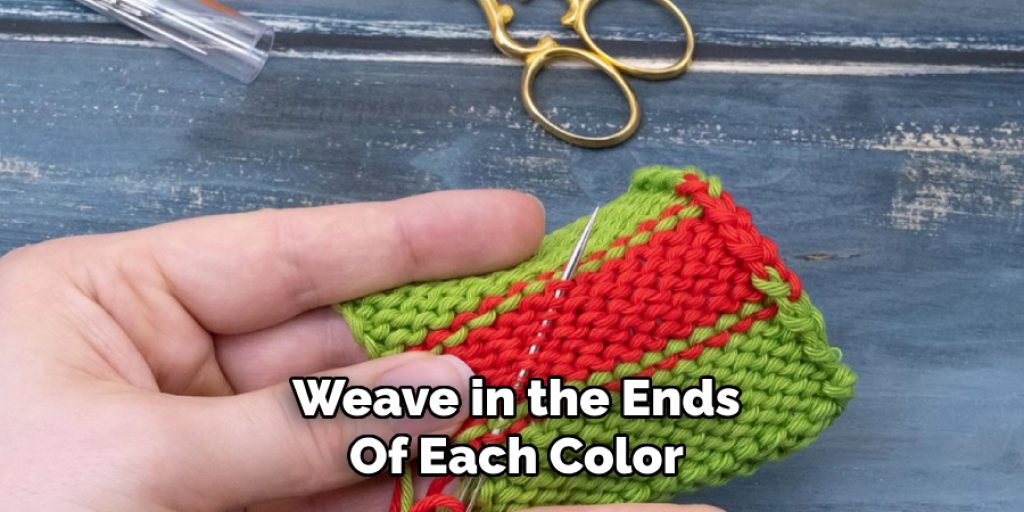
- If using multiple colors, weave in the ends of each color as you go to avoid having to do it all at once at the end.
- Take breaks and stretch your hands and wrists frequently while crocheting to prevent strain or injury.
- Experiment with different types of stitches and crochet techniques to add texture and interest to your projects.
- Lastly, have fun and don’t be afraid to try new things; there are endless possibilities when it comes to creating with yarn! So whether you’re making a cozy blanket, a cute amigurumi toy, or a trendy sweater, taking the time to properly prepare your yarn will enhance your crocheting experience and help you create something truly special. Happy crocheting!
Conclusion
Preparing your yarn for crocheting is an essential step that can greatly enhance your crafting experience. By following the outlined steps on how to prepare yarn for crocheting — from checking for imperfections to balling your yarn — you set a solid foundation for your project. Properly prepared yarn not only prevents tangling and frustration but also allows your creativity to shine through, aiding in the production of high-quality, beautiful pieces.
Remember that each project is an opportunity to learn and grow as a crocheter. So embrace the process, enjoy the meditative nature of crocheting, and celebrate the unique creations you bring to life with your carefully prepared yarn. Happy crocheting!
Elizabeth Davis
Elizabeth is a creative writer and digital editor based in the United States. She has a passion for the arts and crafts, which she developed from a young age. Elizabeth has always loved experimenting with new mediums and sharing her work with others. When she started blogging, she knew that DIYquickly would be the perfect platform to share her tutorials and tips. She's been writing for the blog from the beginning, and her readers love her helpful advice and easy-to-follow instructions. When she's not writing or editing, Elizabeth enjoys spending time with her family and friends.


