How to Crochet Cat
Are you a big fan of cats? Do you have basic crochet skills and want to create something adorable and cuddly? Then crocheting a cat is the perfect project for you! Not only is it a fun and creative activity, but it also makes for a great gift or decoration.
How to crochet cat is a delightful and creative project that allows crafters to combine their love for animals with the art of crochet. Whether you’re an experienced crocheter or a beginner looking to expand your skills, creating a cute cat figure can be both enjoyable and rewarding.
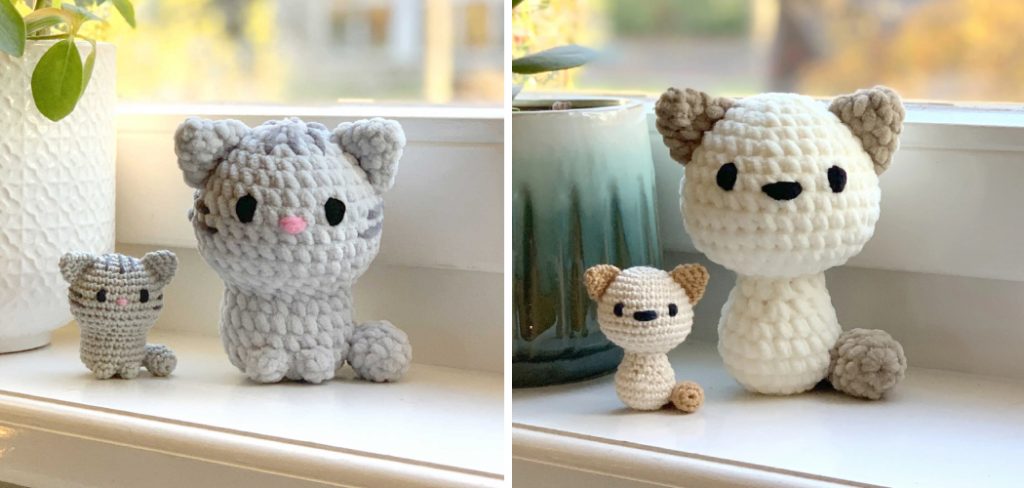
In this guide, we’ll explain the essential materials, techniques, and step-by-step instructions needed to crochet your very own adorable feline companion. Get ready to unleash your creativity and bring a charming cat to life with just a few simple stitches!
What Will You Need?
Before you get started on your crochet cat project, it’s essential to gather all the necessary materials. Here are some items that you will need:
- Yarn: Choose a color that resembles the fur of your favorite type of cat. You can also mix and match different colors for a unique look.
- Crochet Hook: The size of the hook will depend on the thickness of your yarn. Generally, a 3.5mm or 4mm hook works well for amigurumi projects.
- Stuffing Material: This will fill your crocheted cat and give it its shape.
- Scissors: For cutting yarn and trimming any excess.
- Yarn Needle: This will be used to sew any parts of the cat together.
- Stitch Markers: These can come in handy for keeping track of your stitches and rounds.
Once you have all these materials, you’re ready to start crocheting your very own cat!
10 Easy Steps on How to Crochet Cat
Step 1. Create the Magic Ring:
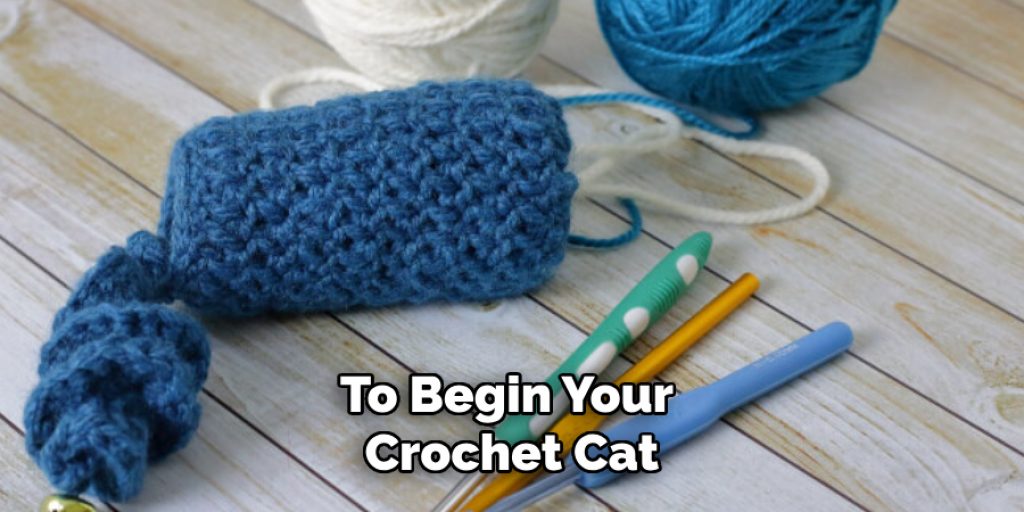
To begin your crochet cat, the first crucial step is to create a magic ring, also known as an adjustable loop. This technique allows you to start your project in the round without leaving a gap in the centre, which is essential for amigurumi. To create the magic ring, take your yarn and form a loop, ensuring that the working yarn is on top of the loop. With your crochet hook, grab the working yarn and pull it through the loop, creating a chain stitch. This initial pull forms your magic ring. Make sure to leave a tail long enough to weave in later. By tightening the magic ring after working your stitches into it, you’ll ensure that your cat has a snug and tidy base to build upon.
Step 2. Single Crochet into the Magic Ring:
Once your magic ring is secure, it’s time to begin crocheting your cat’s body. Insert your crochet hook into the magic ring and make a single crochet (sc) stitch. Continue to crochet more single crochet stitches into the ring; for this project, you will need a total of six single crochets. After completing your six stitches, gently pull on the tail of the magic ring to close the gap in the centre. This forms the foundation of your cat. Make sure to mark the first stitch of each round with a stitch marker to keep track of your rounds as you continue crocheting.
Step 3. Increase Stitches:
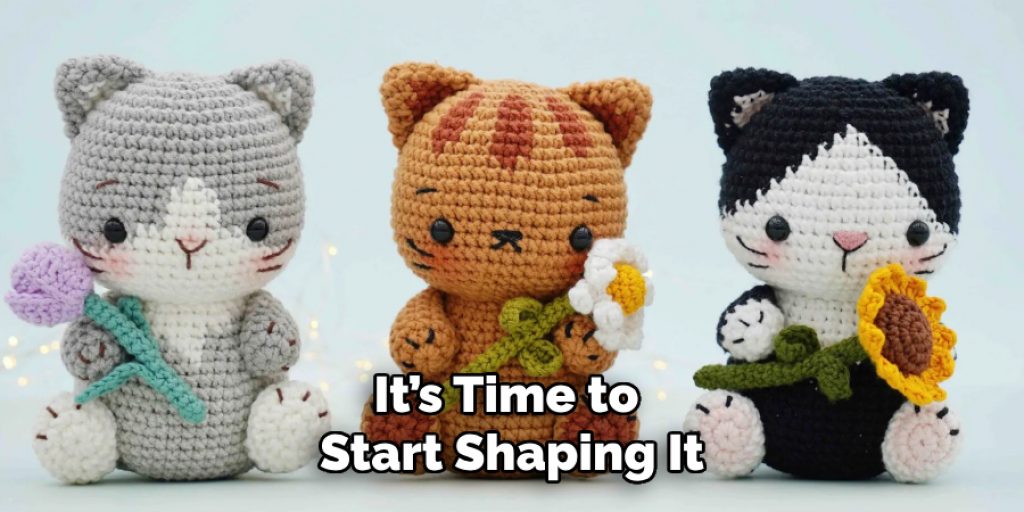
Now that you have the foundation of your cat’s body, it’s time to start shaping it. In this step, you will increase the number of stitches to give your cat a rounder shape. Start by placing two single crochet stitches into each of the six stitches from the previous round. This will double the number of stitches from 6 to 12. Continue crocheting this way until you have completed the third round, increasing your stitches by six in each round.
Step 4. Start Working on the Head:
After completing three rounds of increased stitches, it’s time to start shaping the head of your cat. To do this, continue to crochet single crochet stitches without any increases for four rounds. This will give your cat a flat top and start forming its head. Make sure to stuff your cat with filling as you go along; this will help maintain its shape.
Step 5. Begin Shaping the Ears:
To create the adorable ears of your crocheted cat, you’ll want to position them correctly and shape them to stand out naturally from the head. For this step, you’ll create the ear flaps by working in rows instead of rounds. Begin by crocheting a chain of five stitches, as this will form the base of the first ear. Next, turn your work and crochet back along the chain using single crochet stitches. On the return row, you can start increasing the size of the ear by placing two single crochet stitches into the last stitch of the row. Continue this way for a total of three rows, gradually adding more stitches until you have a triangular shape that resembles a cat ear.
After forming the first ear, cut the yarn, leaving a long tail for securing it to the head. Repeat the same process to create the second ear.
Step 6. Attach the Ears to the Head:
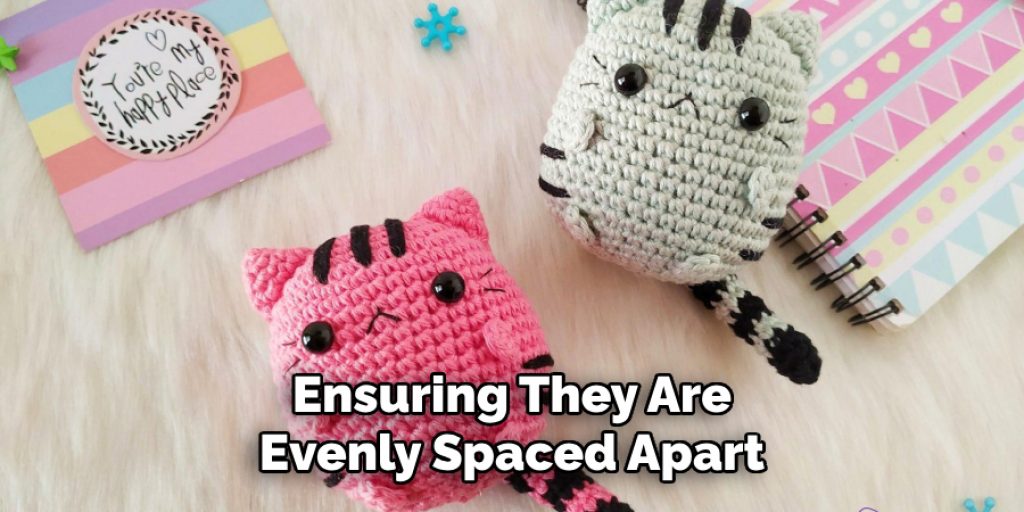
Now that you have both ears ready, it’s time to attach them to your cat’s head. Begin by positioning the ears on the top of the head, ensuring they are evenly spaced apart. Using your yarn needle and the long tail from each ear, sew them securely into place. While attaching, make sure to fold the base of each ear slightly downwards to give them a natural look.
Step 7. Create the Eyes:
Adding the eyes is a delightful way to bring your cat to life! For this step, you can either use safety eyes or crochet little balls. If using safety eyes, choose a pair that fits the size of your cat. Position them about two rounds below the ears and evenly spaced apart for a cute look. If you prefer to crochet the eyes, use a contrasting color of yarn and create two small circles using single crochet stitches. Each eye can be made by starting with a magic ring and working in the round until it fits within a diameter of around one inch.
Step 8. Embroider the Nose and Mouth:
To add those final, charming details to your crocheted cat, you’ll want to embroider the nose and mouth. Using a contrasting yarn, thread your yarn needle and tie a knot at one end. Start by placing the needle where you want the nose to be, typically between the eyes and slightly below them. Create a slight “V” shape for the nose by stitching two diagonal lines that meet at a point. Next, for the mouth, stitch a small line extending downward from the bottom of the nose and create a gentle curve to form the mouth. You can adjust the size and style of the mouth to give your cat its unique expression.
Step 9. Add Whiskers:
To give your crocheted cat an extra touch of charm, adding whiskers is a delightful final detail. For this step, you can use embroidery thread or thin yarn in a contrasting color to make the whiskers stand out. Cut several lengths of the thread, each about six inches long. Position the whiskers on either side of the nose, spreading them out evenly. Using your yarn needle, stitch each piece securely to the fabric, ensuring they have a natural flare. You can adjust the number of whiskers depending on your desired look—more whiskers can add a playful appearance, while fewer can create a sleek style.
Step 10. Final Touches and Finishing:
With all the features of your crocheted cat in place, it’s time to add some final touches to ensure it looks its best. Begin by giving your cat a gentle shake to distribute the stuffing evenly and ensure everything is secure. If you notice any loose yarn ends, weave them using your yarn needle to maintain a neat appearance. You can also take this opportunity to adjust the positioning of the eyes and ears if needed, ensuring they are aligned properly. To enhance its character, consider adding a little collar made from a contrasting color of yarn or ribbon, which can be tied around the neck. Finally, give your creation a light steam press using a towel to help smooth out any uneven stitches, and your crocheted cat will be a delightful finished piece ready for display or gifting!
Conclusion
How to crochet cat is not just a fulfilling project but also a wonderful way to express creativity and craftsmanship.
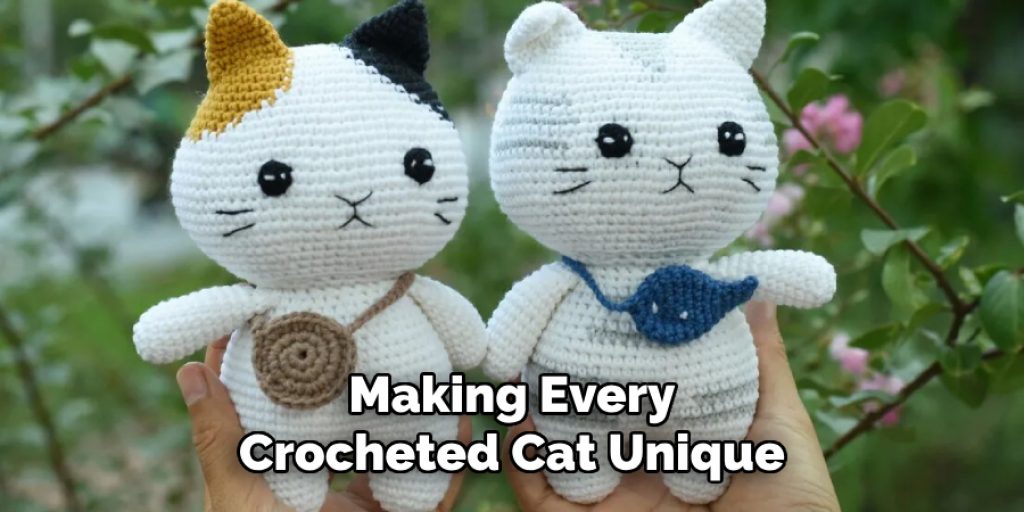
By following the outlined steps—starting with the body and carefully shaping the head, ears, eyes, nose, mouth, and whiskers—you’ll create an adorable feline companion that is sure to bring joy to yourself or someone special. Each detail, from the choice of yarn to the final touches, allows for personalization, making every crocheted cat unique.
Remember, practice makes perfect; don’t hesitate to experiment with colors and styles. Enjoy the process and happy crocheting!


