
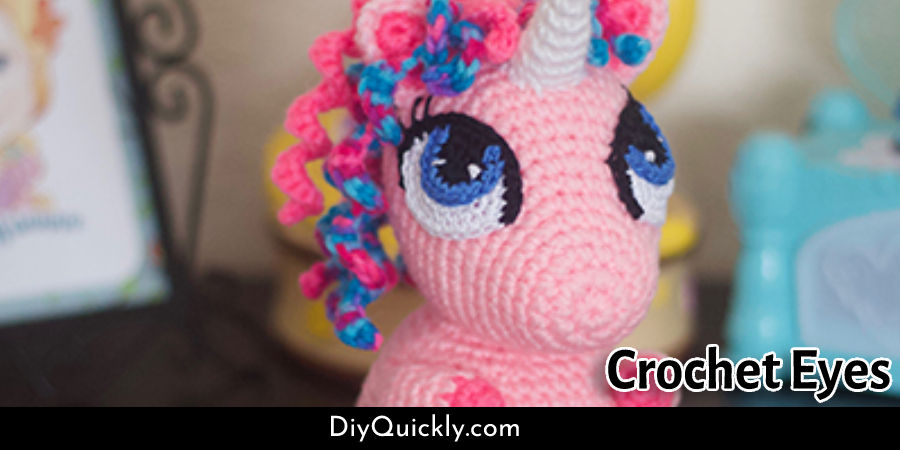
How to Crochet Eyes for Stuffed Animals
There are tons of times when a child will pull out the plastic eyes of their dolls. But the worse is that there are chances of them swallowing the plastic eye, and you will never want to witness that. The only way you can ensure the safety of a child from those plastic eyes is by replacing them, and to do that, you can always use the crochet eyes, which will be the best option for sure. So, if you want to learn how to crochet eyes for stuffed animals, keep reading ahead.
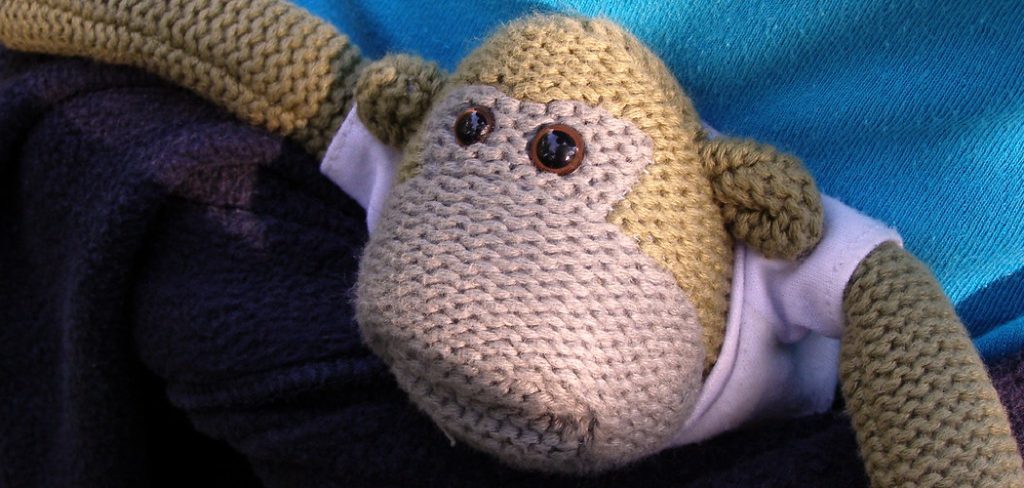
In Japan, people are very famous for crocheting dolls. These dolls are called amigurumi, which means crochet dolls. They are very soft and cuddly, and children love them because they look smooth and detailed. If you like crocheting, you might want to try making one of these amigurumi dolls.
Even if you don’t want to learn how to crochet the whole doll, you can always start with the eye part. It’s quite easy to make, and you can replace those plastic eyes with the crochet made ones to make it safer for your child.
A lot of people want to learn this method is that because they love crocheting, and also the crochet eyes will stitch better to the doll. There will be less tension in the eyes coming out. If you want to learn how to crochet eyes for stuffed animals, we will teach you all about it.
Learn: How to Crochet Eyes for Stuffed Animals
In order to make a crocheted eye for a doll, you will need some basic crocheting supplies. Make sure you have everything you need before you begin.
So, the things you will need to finish this whole project are-
- Black thread
- White thread
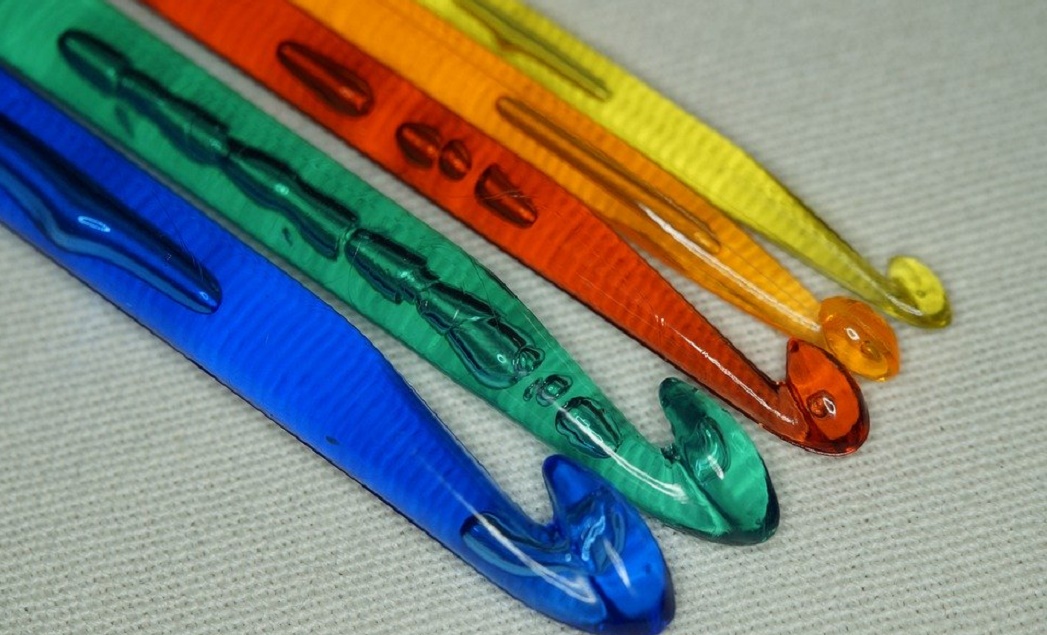
- Crochet hook
- Scissors
- Needles
Steps to Follow
To get started with our tutorial on how to crochet eyes for stuffed animals, you will need to work with the black thread.
The first thing you will do is form a magic ring. The item you need to do to create the magic is that take the black yarn on your hand and wrap it around you two fingers.
When you wrap it, one part should have an X on it, and the other portion should have a parallel strand.
After that, you have to take the hook and go through the other strands that are next to it. Take one of those strands and pull it through the hole of the X strands. Lastly, you have to pull it through the entire thing.
By doing this, you have your magic ring.
Now, you are going to start with the essential part of the project, which is creating the eyes. To do that, you will have to create six crochet in the first line of the eye.
To start, you will have to put the hook through the magic loop and yarn over it. By pulling it through, you are going to have the first crochet.
Keep repeating the same thing until you reach the seventh crochet, and you will have your first round of six crochet.
Now, pull the initial thread tight, and you will have the first circle.
To start the next row of crochet, work through the hole of the previous stitch and repeat the process. This will create your second row.
If you are by now concern about the hole forming in the middle of the circle, you can just pull the initial thread tight, and everything will be perfect once again.
After you reach the final row and get the desired length of the eye, you will have to do a slip stitch and cut off the thread.
Now, you have to give some details to the eye, which is one of the most important things about the whole project.
In order to give the details, you will need to use the white thread with a needle. The detail with white thread is made by doing a regular stitch on the crochet that you just created and giving the proper information you want.
Check it out to learn to make a stuffed mole.
Final Thoughts
That was all you need to know on how to crochet eyes for stuffed animals. Now you will be able to replace any eyes with safe crochet eyes and make your toddlers’ dolls better.
Elizabeth Davis
Elizabeth is a creative writer and digital editor based in the United States. She has a passion for the arts and crafts, which she developed from a young age. Elizabeth has always loved experimenting with new mediums and sharing her work with others. When she started blogging, she knew that DIYquickly would be the perfect platform to share her tutorials and tips. She's been writing for the blog from the beginning, and her readers love her helpful advice and easy-to-follow instructions. When she's not writing or editing, Elizabeth enjoys spending time with her family and friends.


