How to Make Ghosts to Hang in Trees
Creating ghosts to hang in trees is a fun and spooky project that can add an eerie touch to your outdoor decor, especially around Halloween. These whimsical decorations are not only easy to make but also allow for a creative outlet as you personalize their appearance to suit your style.
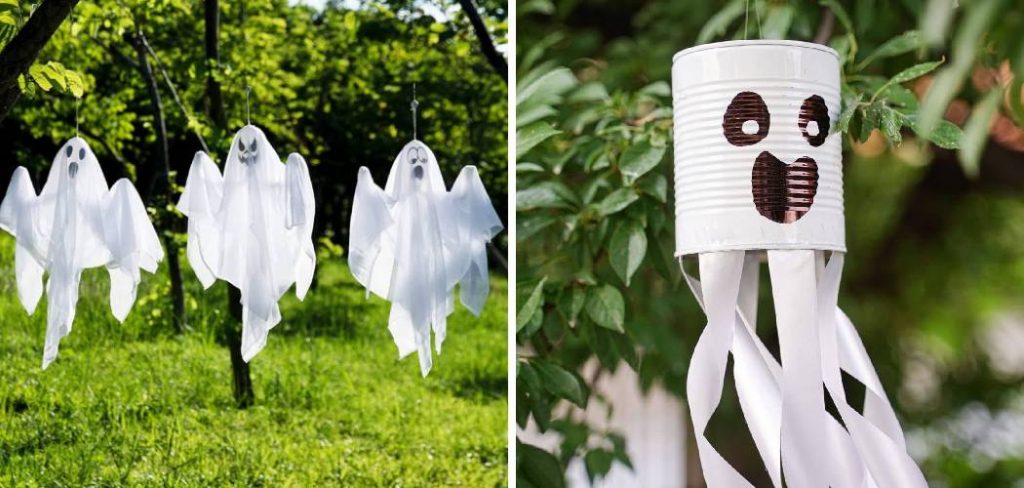
In this guide on how to make ghosts to hang in trees, we will walk you through the materials needed and the step-by-step process to craft these ghostly figures, ensuring that they float gracefully among the branches for all to see. Whether you’re looking to frighten trick-or-treaters or simply enhance the festive atmosphere, these ghost decorations are sure to delight and entertain!
Why Hang Ghosts in Trees?
Before we dive into the tutorial, let’s first explore why hanging ghosts in trees can be a great addition to your outdoor decor.
Firstly, they create an eerie and ghostly atmosphere that adds to the Halloween spirit. Breezy evenings will make these ghosts sway gently, giving the illusion of floating and creating a hauntingly beautiful sight.
Secondly, it’s an easy and affordable DIY project that requires minimal materials and time. You can get creative with different fabrics, colors, and designs to personalize your ghosts and make them stand out in your neighborhood.
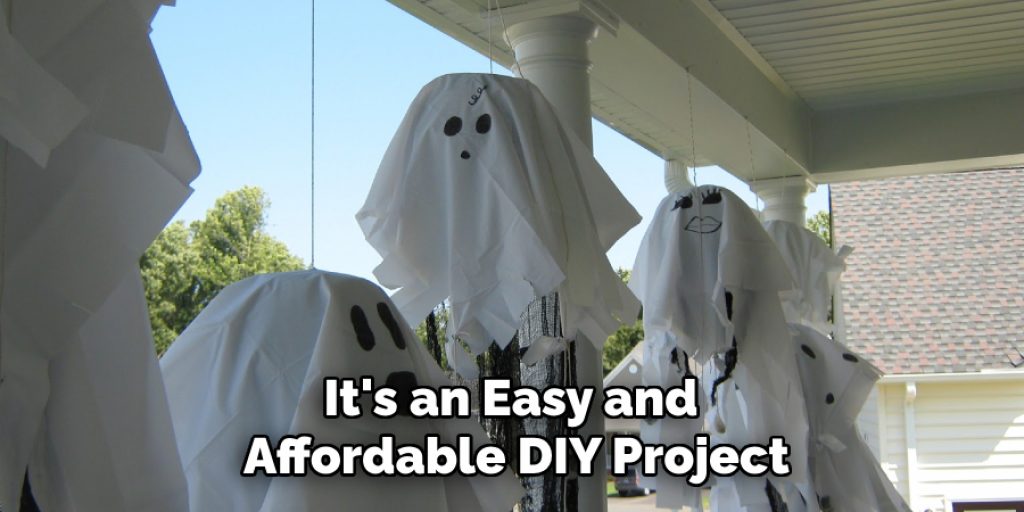
Lastly, hanging ghosts in trees is a versatile decoration that can be used for various occasions. They can add a spooky touch to Halloween but also bring a whimsical charm to outdoor weddings or other events.
Materials Needed
To make these ghost decorations, you will need the following materials:
White Fabric:
The fabric you choose will be the main body of your ghost. You can use any white fabric, such as cheesecloth, cotton sheets, or even an old bedsheet.
Fabric Stiffener:
This will help give your ghosts a stiff and durable form. You can purchase this at any craft store or make your own using equal parts white glue and water.
String or Fishing Line:
This will be used to hang the ghosts in trees, so it’s essential to have enough for each ghost.
Scissors:
To cut and shape the fabric.
Permanent Marker:
For drawing or tracing features on your ghosts’ faces.
8 Step-by-step Guidelines on How to Make Ghosts to Hang in Trees
Step 1: Cut the Fabric
Start by cutting your fabric into a square or rectangular shape, depending on how large you want your ghost to be. The size can vary from small hand-sized ghosts to larger ones that cover most of the tree branches.
It’s better to cut the fabric bigger than you think you’ll need as it can always be trimmed later. You can also cut multiple layers of fabric to create a thicker and more opaque ghost.
Step 2: Create the Ghost’s Frame
Using your string or fishing line, tie a knot at one end and thread it through the center of the fabric. Pull it tightly to gather the fabric together, creating a head for your ghost. Then, tie another knot to secure it in place.
Next, tie another length of string around the gathered section, about halfway down from the top knot. This will form the neck and define where the head ends and the body begins.
Step 3: Apply Fabric Stiffener
Once you have created the ghost’s frame, it’s time to apply the fabric stiffener. Lay the ghost’s body flat on a surface covered with plastic or newspaper to prevent mess. Use a brush or spray bottle to evenly coat the fabric with the fabric stiffener, making sure to cover all areas for a consistent hold. Be generous with the application, but avoid soaking the fabric excessively.
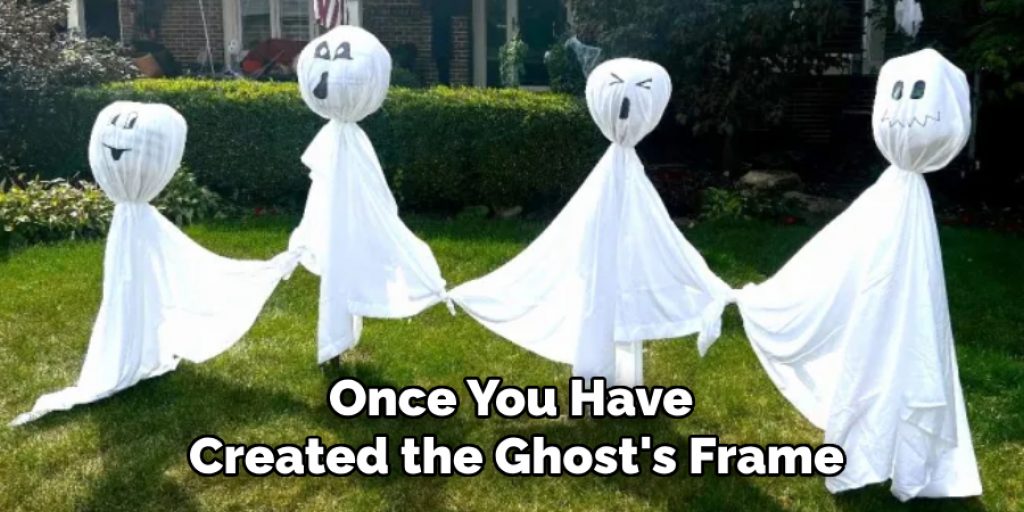
The stiffener will help the ghost maintain its shape when it dries, giving it that iconic floating appearance. Allow the fabric to dry completely, following the manufacturer’s instructions, to ensure durability and longevity for your ghostly décor.
Step 4: Cut and Shape the Ghost’s Body
Once the fabric is completely dry, remove it from the surface and gently peel off any excess stiffener. You may notice that your ghost has a slightly rigid texture, but don’t worry; this will soften once hung in the tree.
Using your scissors, trim any excess fabric to smooth out the edges and give your ghost a more defined shape. You can also cut small pieces of fabric near the bottom to create a tattered or flowing effect for a spookier look.
Step 5: Draw or Trace on Features
Now it’s time to add personality to your ghosts by drawing or tracing on their faces. Use a permanent marker to create spooky or friendly expressions, depending on your preference.
If you’re not confident in your drawing skills, you can print out a stencil or use an old Halloween mask to trace the eyes and mouth onto the ghost’s fabric.
Step 6: Create Additional Details (Optional)
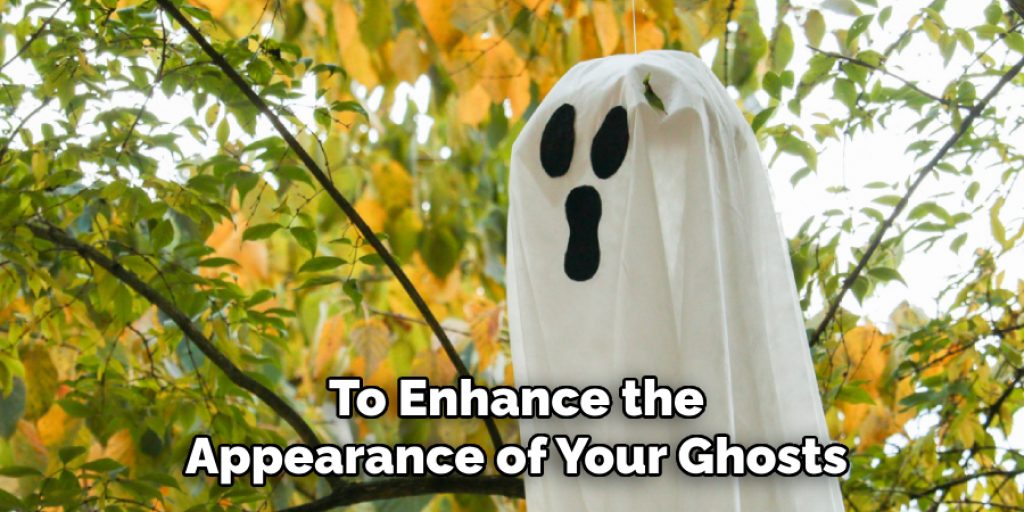
To enhance the appearance of your ghosts, you can add various details that make them more unique and eye-catching. Consider using lace or tulle for added texture, which can drape around the body, giving your ghost a more ethereal look. You might also want to attach small props, such as fake spiders or bats, to intensify the spooky effect.
Additional features like glow-in-the-dark paint can make your ghosts even more striking at night. If you’re feeling crafty, you can also add accessories like hats, bows, or capes made from scrap fabric to give each ghost its own personality. Get creative and let your imagination run wild—these personal touches will make your ghost decorations truly one-of-a-kind!
Step 7: Hang the Ghosts in Trees
Now it’s time to bring your ghosts to life by hanging them in trees! Use your string or fishing line to tie a loop around the ghost’s neck, making sure it’s secure. Then, find a sturdy branch and dangle your ghost from it. You can also use multiple strings for larger ghosts or tie them at different heights for added dimension.
It’s best to hang the ghosts when it’s windy so they can sway and create a hauntingly beautiful effect. However, if there is no wind, you can also use a fan to get a similar result.
Step 8: Admire Your Hauntingly Beautiful Decorations
Step back and admire your handiwork! You now have some spooktacular ghost decorations hanging in your trees, adding a touch of whimsy and mystery to your outdoor space. These ghosts will not only impress trick-or-treaters during Halloween but also make for stunning decorations for any outdoor event.
Following these guidelines on how to make ghosts to hang in trees, you can create multiple ghosts to hang in trees and make a ghostly forest or scatter them throughout your yard for a spooky surprise. Get creative with different sizes, shapes, and facial expressions to add variety to your designs. Have fun making these ghost decorations, and happy haunting!
Personalization Ideas
- Instead of using white fabric, try different colors like black or grey for a ghostly effect.
- Use different types of fabric, like sheer or gauzy material, to create a more transparent look.
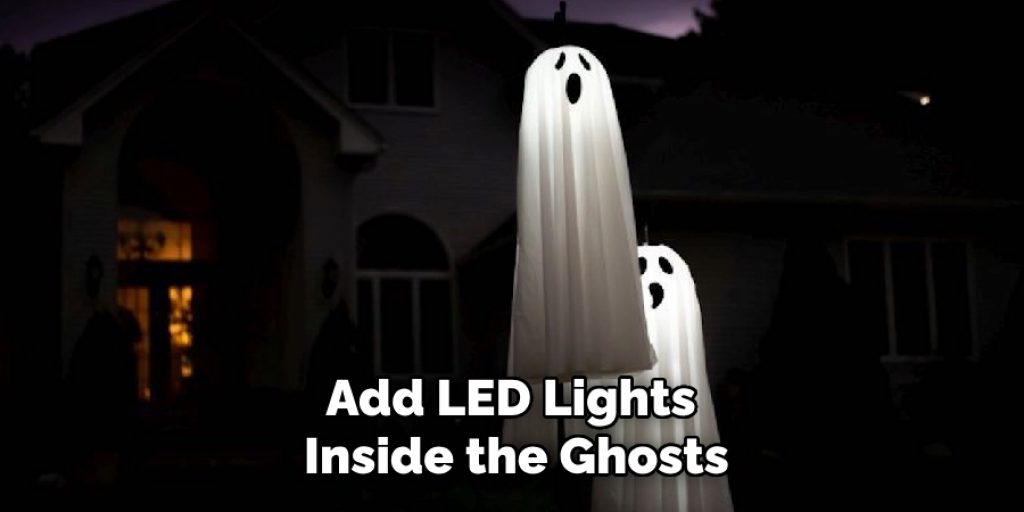
- Add LED lights inside the ghosts to make them glow at night.
- Hang the ghosts in unexpected places, such as from a porch or balcony railing.
- Instead of drawing faces, use googly eyes and felt to create fun and playful expressions on your ghosts.
- Incorporate other Halloween-themed elements into your ghost decorations, such as pumpkins or bats.
- Personalize each ghost by using different patterns or fabrics for their “outfits.”
- Create a family of ghosts with varying heights and sizes to represent different family members.
- Experiment with different hanging techniques, such as using a clear fishing line to give the illusion of floating ghosts.
- Use a scented fabric stiffener to add a spooky scent to your decorations.
- Get creative with accessories by adding things like witch hats or skeleton hands to your ghosts’ bodies for added flair. Overall, have fun and let your imagination run wild when it comes to personalizing your ghost decorations! The possibilities are endless, making them the perfect addition to any Halloween décor. Happy haunting!
Frequently Asked Questions
Q: Can I Use Any Type of Fabric for a Ghost Decoration?
A: Yes, you can use any lightweight fabric for this project. Some recommended options include cheesecloth, tulle, or sheer curtain material.
Q: How Long Will the Fabric Stiffener Take to Dry?
A: The drying time will depend on the type of fabric stiffener used and the humidity level in your area. Typically, it can take anywhere from a few hours to overnight for the fabric to completely dry.
Q: Can I Hang Ghost Decorations Indoors?
A: Absolutely! These ghost decorations are versatile and can be hung both indoors and outdoors. Just make sure you have enough space for them to sway or dangle for maximum effect.
Conclusion
Creating ghost decorations to hang on trees is a delightful way to embrace the spirit of Halloween while showcasing your creativity. By following the simple steps on how to make ghosts to hang in trees outlined and adding your unique personal touches, you can make enchanting and spooky displays that capture the festive atmosphere of the season.
Whether you opt for traditional white fabric or experiment with different colors and materials, each ghost can reflect your individual style. Enjoy the process, share your creations with family and friends, and let your haunting decorations bring joy and a little fright to all who behold them! Happy haunting!


