How to Use Transfer Tape With Paper
Transfer tape, also known as transfer paper, is an invaluable tool for anyone working with paper crafts, vinyl designs, or adhesive materials. It allows for the effortless transfer of intricate designs from one surface to another, ensuring precision and ease of application.
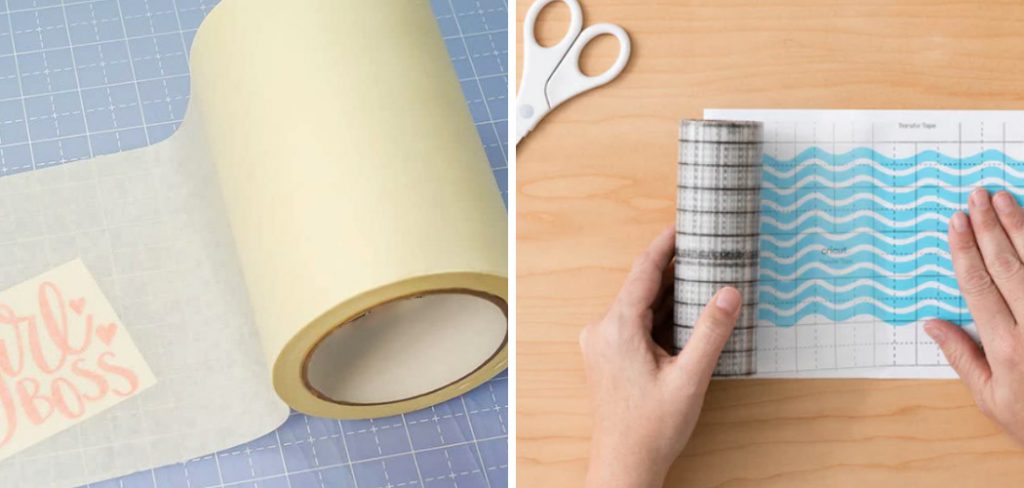
This guide on how to use transfer tape with paper will explore the best practices for using transfer tape with paper, highlighting techniques that enhance accuracy and reduce the likelihood of errors. Whether you’re a seasoned crafter or just starting out, understanding how to effectively use transfer tape can elevate your projects and bring your creative visions to life.
Why Use Transfer Tape With Paper?
Before we delve into the steps of using transfer tape with paper, let’s first understand why this tool is so important in the world of crafting. Transfer tape serves as a carrier for adhesive materials, allowing you to easily move designs from one surface to another without damaging or distorting them.
When working with intricate or delicate designs, trying to manually lift and position them onto your desired surface can be tricky and often leads to mistakes. Transfer tape eliminates this struggle by providing a smooth and stable surface for your design to adhere to. This also allows for precise placement and alignment, resulting in professional-looking results every time.
Needed Materials
To successfully use transfer tape with paper, you will need a few essential materials. These include:
Transfer Tape:
This can be purchased at most craft or office supply stores and comes in various sizes and brands. Choose a transfer tape that works best for your project and personal preference. Some popular brands include Cricut, Silhouette, and Oracle.
Paper:
Choose the type of paper that is most suitable for your specific project. This could be cardstock, scrapbook paper, or even printer paper depending on the design and final outcome you’re looking to achieve.
Adhesive Material:
This includes vinyl, adhesive foil, or any other material that requires transfer tape for application.
Scissors or Cutting Tool:
You will need these to cut out your design from the paper once it has been transferred onto the transfer tape.
8 Step-by-step Guidelines on How to Use Transfer Tape With Paper
Step 1: Prepare Your Materials
Before you begin the transfer process, it’s essential to gather and prepare all necessary materials. Ensure that your workspace is clean and free from clutter to allow for a smooth crafting experience. Start by laying out your transfer tape, chosen paper, adhesive material, and cutting tools within easy reach.
Cut a piece of transfer tape slightly larger than your design to ensure ample coverage. Additionally, make sure your paper is free from wrinkles or creases, as these can affect the final application. Taking the time to prepare your materials will set a solid foundation for a successful transfer.
Step 2: Cut Out Your Design
Once you have prepared your materials, the next step is to cut out your design from the paper. Using your scissors or cutting tool, carefully trace around the edges of your design, ensuring that you maintain clean and precise cuts. If you’re using a cutting machine, load your paper and follow the machine’s instructions for the specified cut settings to achieve the best results.
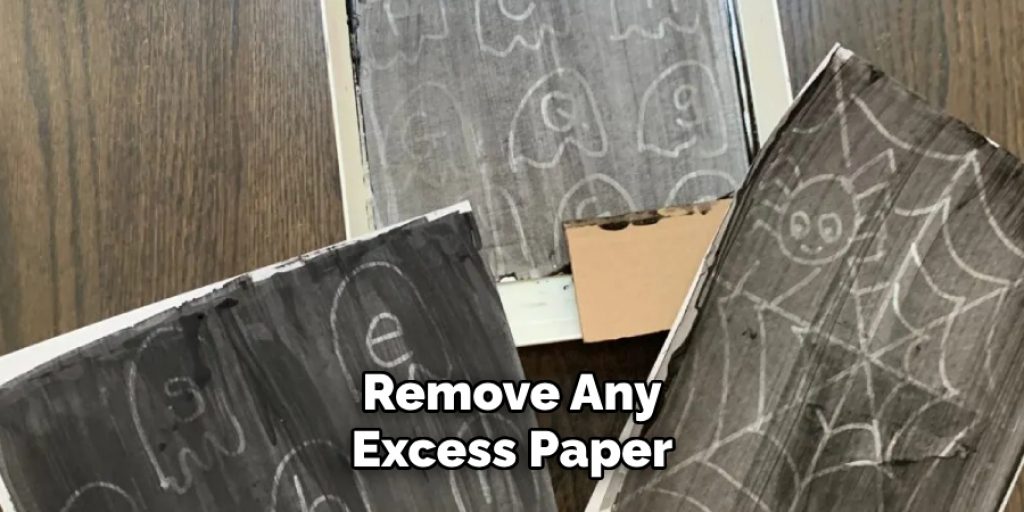
Take your time during this process, as accuracy is key to ensuring your design will transfer smoothly later on. After you have cut out your design, gently remove any excess paper to leave only the intended shape, ready for the application of transfer tape.
Step 3: Peel and Position Transfer Tape
After cutting out your design, it’s time to apply the transfer tape. Begin by carefully peeling the backing off your piece of transfer tape. Hold it at one corner and slowly lift it away, taking care not to touch the adhesive side too much, as this can reduce its stickiness. Once the transfer tape is free from its backing, position it over your design, ensuring that it completely covers the entire area.
Gently lower the transfer tape onto the design, starting from one edge and allowing it to lay down smoothly to avoid bubbles or creases. If you notice any air bubbles forming, use a scraper tool or your fingers to gently push them towards the edges. This ensures that the transfer tape maintains proper adhesion and that your design is ready for application to the final surface.
Step 4: Burnish the Design
After positioning the transfer tape, use a scraper tool or credit card to burnish or rub over the entire design. This ensures that the transfer tape firmly adheres to both the paper and your design, leaving no room for any mishaps during application. Take care not to press too hard as this can cause wrinkles or distortions in your design.
It’s also important to check that the transfer tape is securely adhered to your design by gently pulling at one corner. If it lifts easily, go over the area once more until you’re satisfied with its adhesion.
Step 5: Peel Away the Paper Backing
Once burnishing is complete, carefully peel away the paper backing from your design. Take care not to lift or damage any of the cut edges, as this can affect the final application.
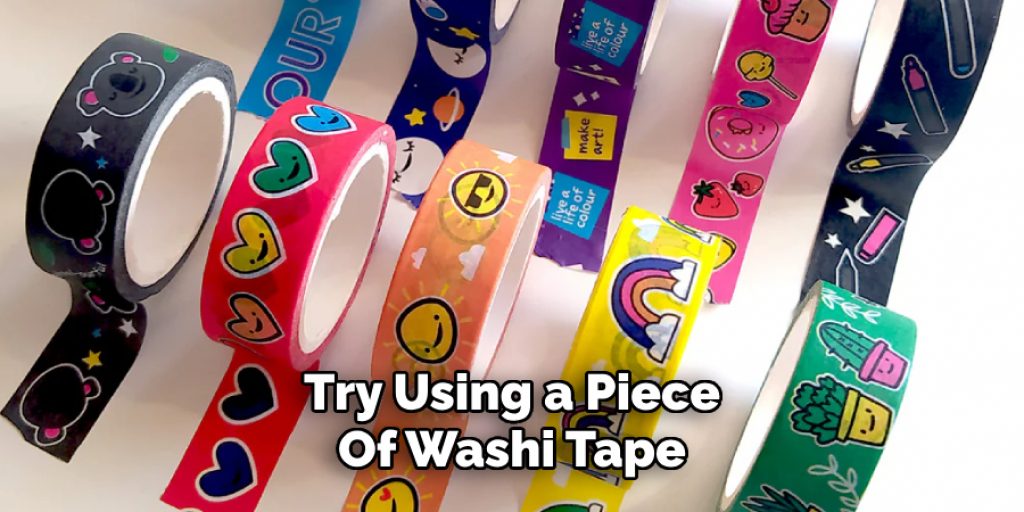
If you have any trouble removing the paper backing, try using a piece of washi tape or masking tape to create a tab and pull it away gently. This will help release any stubborn areas and leave you with a clean transfer on your transfer tape.
Step 6: Prepare the Final Surface
Before transferring your design onto the final surface, ensure that it is clean and free from any dust or debris. This will allow for better adhesion and a smoother application. If you’re working with a curved or uneven surface, consider using a masking tape hinge to hold your design in place while transferring. This will help prevent any shifting or misalignment during application.
The final surface can be anything from a wall, mug, notebook cover, or any other surface that you wish to decorate with your transferred design.
Step 7: Transfer Your Design
Now that everything is prepared, it’s time to transfer your design onto the final surface. Carefully position the transfer tape over the desired area and gently press down on one edge to secure it in place. Then, using your scraper tool or fingers, start from the center of your design and work your way outwards to remove any air bubbles. This process is referred to as “burnishing.”
Once you have burnished the entire design onto the final surface, slowly peel away the transfer tape at a 45-degree angle. Take care not to lift or pull on any parts of the design while peeling. If you notice any areas that are not transferring, place the transfer tape back over that area and burnish it again until it adheres.
Step 8: Remove Transfer Tape
After successfully transferring your design onto the final surface, gently remove the transfer tape by pulling it at a steady pace and maintaining a slight angle. This will ensure that the design remains intact and does not lift or tear during removal.
Once the transfer tape is completely removed, step back and admire your beautifully transferred design on its final surface. Congratulations, you have successfully used transfer tape with paper!
With these easy-to-follow steps on how to use transfer tape with paper, you can now confidently transfer any design onto paper using transfer tape. It may take some time and practice to perfect the technique, but with patience and attention to detail, you can create stunning designs to personalize all your paper crafts and projects.
Frequently Asked Questions
Q: What Types of Paper Can Be Used With Transfer Tape?
A: Transfer tape is suitable for use with a wide range of papers, including cardstock, construction paper, and adhesive-backed paper. However, it is important to note that thinner papers may be more difficult to work with and may require additional care during the transfer process.
Q: Can Transfer Tape Be Used With Any Cutting Machine?
A: Yes, transfer tape can be used with any cutting machine as long as it has a blade suitable for cutting paper. It’s always best to check the manufacturer’s instructions or online resources for recommended settings when using a cutting machine.
Q: Are There Different Types of Transfer Tape Available?
A: Yes, there are different types of transfer tape available on the market, each with its own unique properties and uses. Some common types include clear or transparent transfer tape, grid-lined transfer tape for precise alignment, and high-tack transfer tape for more difficult surfaces. It’s best to research and choose the type of transfer tape that best suits your needs.
Q: How Long Can Transfer Tape Be Stored?
A: Transfer tape can be stored for up to 2 years if stored in a cool, dry place away from direct sunlight. However, it’s always best to use fresh transfer tape for optimal results.
Conclusion
In conclusion, using transfer tape effectively is key to achieving a flawless design application. By following the outlined steps on how to use transfer tape with paper—from preparing your design and the final surface to transferring and removing the tape—you can ensure a smooth and professional-looking result.
Whether you’re personalizing home décor, creating custom gifts, or engaging in a crafting project, mastering the use of transfer tape opens up a world of creative possibilities. With practice, you’ll find that this technique not only enhances your projects but also brings your artistic visions to life. Happy crafting!

