How to Make Vinyl Letters Without a Machine
Creating vinyl letters without a machine may seem daunting, but it’s a rewarding craft that allows for customization and creativity. Whether you’re looking to personalize home decor, design signage, or add a unique touch to gifts, this guide on how to make vinyl letters without a machine will walk you through the process step by step.
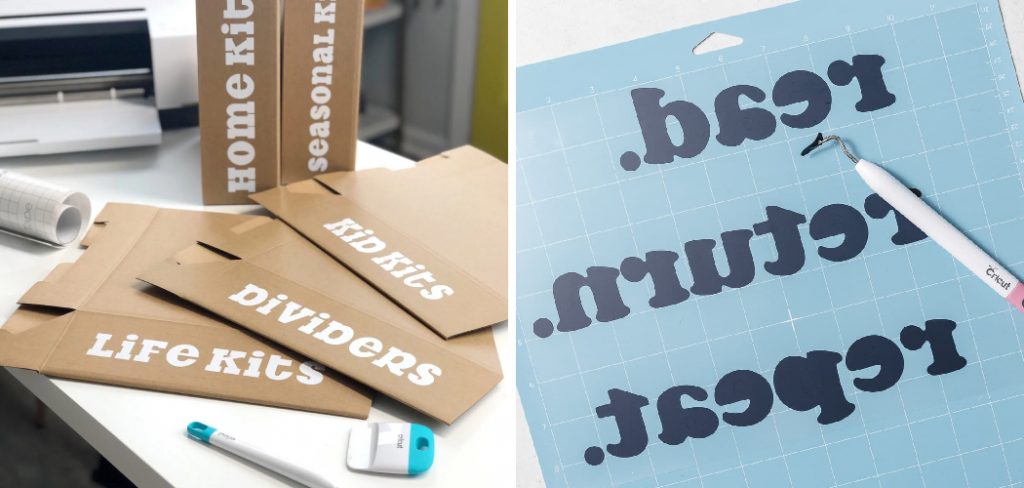
By using simple materials and techniques, you can achieve professional-looking results without the need for expensive equipment. Let’s dive into the essentials of making vinyl letters and unleash your artistic potential!
Why Make Vinyl Letters Without a Machine?
Before we get into the how-to, you may be wondering why you would want to make vinyl letters without a machine when there are plenty of vinyl-cutting machines available on the market.
Here are some reasons why creating vinyl letters by hand can be beneficial:
Cost-effective:
Vinyl-cutting machines can be expensive, so making letters by hand can save you a significant amount of money.
More Control and Customization:
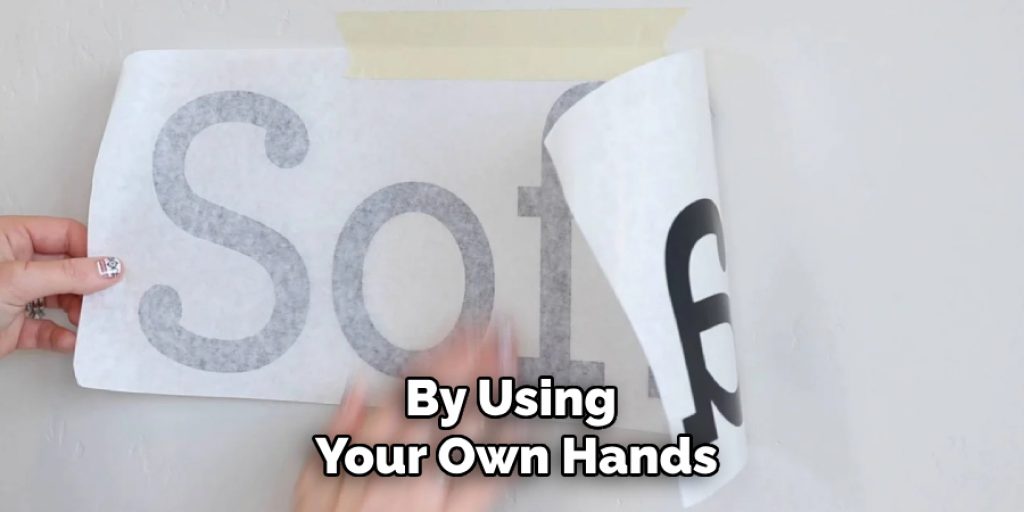
By using your own hands, you have complete control over the design and placement of the letters. This allows for more creativity and personalization in your projects.
Great for Small Projects:
If you only need a few vinyl letters for a specific project, it may not be worth investing in a machine. Making them by hand is a quick and easy solution.
Materials You’ll Need
To make vinyl letters without a machine, you’ll need some basic materials that are easily accessible at most craft stores or online:
- Adhesive Vinyl Sheets
- Transfer Paper or Tape
- Scissors or Craft Knife
- Cutting Mat (Optional but Recommended)
- Pencil and Ruler for Measuring and Marking
7 Step-by-step Guides on How to Make Vinyl Letters Without a Machine
Step 1: Design and Measure
The first step in creating vinyl letters without a machine is to conceptualize your design. Begin by determining the size of the letters you want to create. Use a pencil and ruler to measure the space where the letters will be applied, ensuring that they will fit perfectly within your desired area. Once you have the measurements, sketch your design on paper, or use design software to visualise how the letters will look.
This will help you decide on the font style, size, and spacing before you start cutting the vinyl. Remember to keep it simple, especially if you are new to this craft, as complex designs may be harder to execute by hand.
Step 2: Prepare the Vinyl Sheet
Once you have your design sketched out and measured, it’s time to prepare the vinyl sheet for cutting. Start by selecting the color of your adhesive vinyl that best suits your project. Lay the vinyl sheet on a clean, flat surface, ensuring that the glossy side is facing up; this side is the adhesive side that will bond to your chosen surface. If you’re using a cutting mat, place the vinyl sheet onto it, ensuring it is well adhered to prevent slipping while cutting.
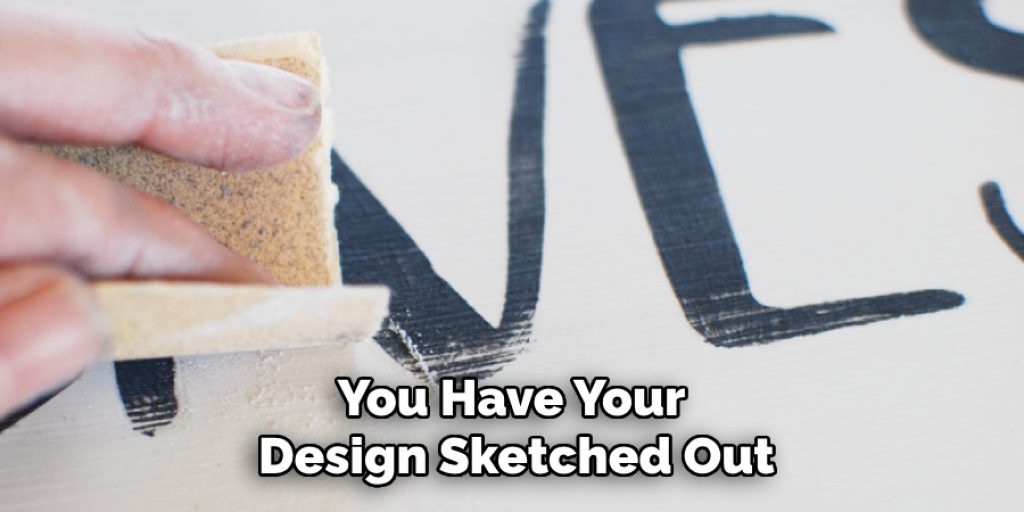
Next, use your ruler and pencil to lightly mark the dimensions of your letters on the vinyl sheet, referring to your design sketch. This will help guide your cutting and ensure accuracy. Once you’re satisfied with the layout, you’re ready to move on to cutting the vinyl.
Step 3: Cutting the Vinyl
Now that your vinyl sheet is prepared and your design is marked, it’s time to start cutting out your letters. Carefully use your scissors or craft knife to cut along the lines you’ve marked, ensuring you follow the contours of each letter accurately. If you’re using scissors, take your time to make smooth, even cuts, especially for curves and intricate parts of the design. For a craft knife, a steady hand is crucial; apply gentle pressure and move slowly to maintain precision.
If you encounter any difficult areas, you may want to adjust the angle of the knife or scissors for better access. Once you have cut out all the letters, carefully peel away the excess vinyl surrounding them, leaving only the letters themselves. If you have any small pieces or inner sections from letters like ‘A,’ ‘O’, or ‘D,’ remember to keep them safe as you’ll need them to ensure your letters look complete when applied. With your vinyl letters cut out, you’re now ready to move on to the next step: transferring them to your desired surface.
Step 4: Prepare the Transfer Paper or Tape
As with the vinyl sheet, it’s important to choose a transfer paper or tape that suits your project. This will help you easily move and apply your letters without any mishaps. Cut a piece of transfer paper slightly larger than your vinyl letters and place it onto the glossy side of the vinyl sheet. Be sure to smooth out any air bubbles with a ruler or squeegee so that the transfer paper firmly adheres to the vinyl.
You can also use clear packing tape as an alternative to transfer paper, which works just as well. Simply place a strip of tape over your letters and press down firmly before gently peeling it off the vinyl sheet. This will create a sticky surface that will allow you to transfer the letters onto your desired surface easily.
Step 5: Transfer Your Letters
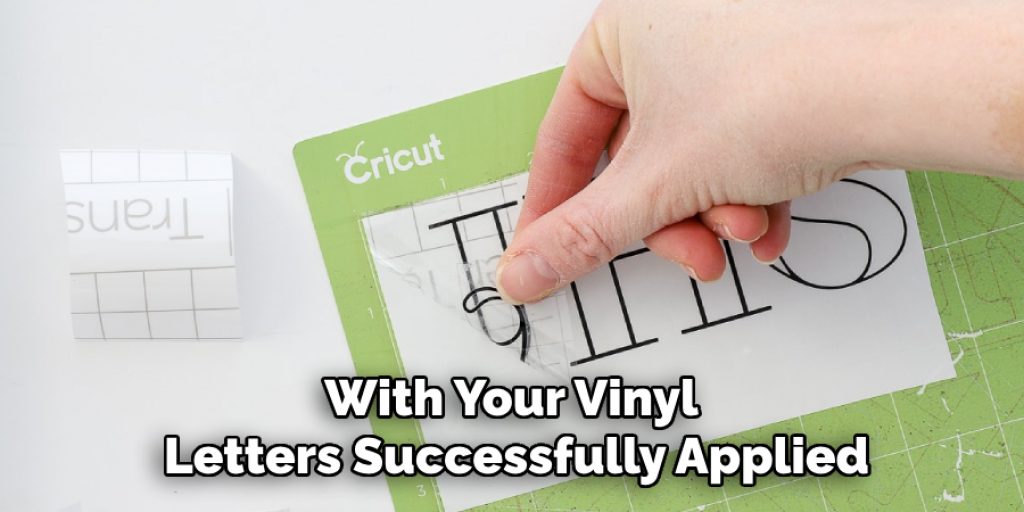
With your transfer paper or tape prepared, it’s time to move on to transferring your vinyl letters onto the desired surface. Start by removing the backing from your vinyl sheet exposing the adhesive side of the letters. With one hand holding the vinyl sheet in place, carefully remove and discard the excess backing with your other hand. Next, position the transfer paper or tape with the vinyl letters attached to your desired surface, making sure they are aligned correctly.
Using a ruler or squeegee, smooth out any air bubbles and press down firmly on the vinyl to ensure it adheres well to the surface. Slowly peel back the transfer paper or tape, leaving the vinyl letters in place on your chosen surface. If there are any small pieces of inner sections from certain letters, now is the time to carefully apply them using tweezers for better precision.
Step 6: Ensure Adhesion
To ensure that your vinyl letters have fully adhered to your chosen surface, use a clean cloth or even your fingers to rub over each letter firmly. This will help the adhesive bond properly and ensure that your letters stay in place for longer. If you notice any air bubbles or areas where the vinyl is not sticking, use your ruler or squeegee to press them down again firmly.
It’s also important to wait at least 24 hours before handling or applying any heat to the vinyl letters, as this will give them enough time to fully adhere.
Step 7: Finishing Touches
With your vinyl letters successfully applied, you may want to add some finishing touches to make them stand out even more. You can use a permanent marker or paint and a small brush to outline the edges of your letters for a bolder look. Additionally, adding glitter or other embellishments can add some fun and creativity to your design.
It’s also a good idea to seal your vinyl letters with a clear sealant to protect them from wear and tear. This is especially important if the letters will be exposed to harsh weather or handling. Once you’ve completed these final steps on how to make vinyl letters without a machine, your vinyl letter project is complete!
You can now proudly display your customized creations on various surfaces such as walls, windows, vehicles, and more. Keep in mind that this process can be applied to not just letters but also shapes and designs of all kinds. Let your imagination run wild and have fun creating unique and personalised projects using adhesive vinyl lettering!
Frequently Asked Questions
Q: Can I Use Adhesive Vinyl on Any Surface?
A: Yes, adhesive vinyl can be used on most surfaces such as walls, windows, cars, laptops, and more. However, it is important to choose the appropriate type of vinyl for the surface you are applying it to. For example, outdoor vinyl is better suited for surfaces that will be exposed to harsh weather conditions compared to indoor vinyl, which may not withstand those elements either.
Q: Is It Difficult to Cut Vinyl Letters Without a Machine?
A: Cutting vinyl letters without a machine can be more time-consuming and requires a steady hand, but it is definitely doable with the right tools and techniques. Just make sure to take your time and follow the steps carefully for the best results.
Q: Can I Remove Vinyl Letters Once Applied?
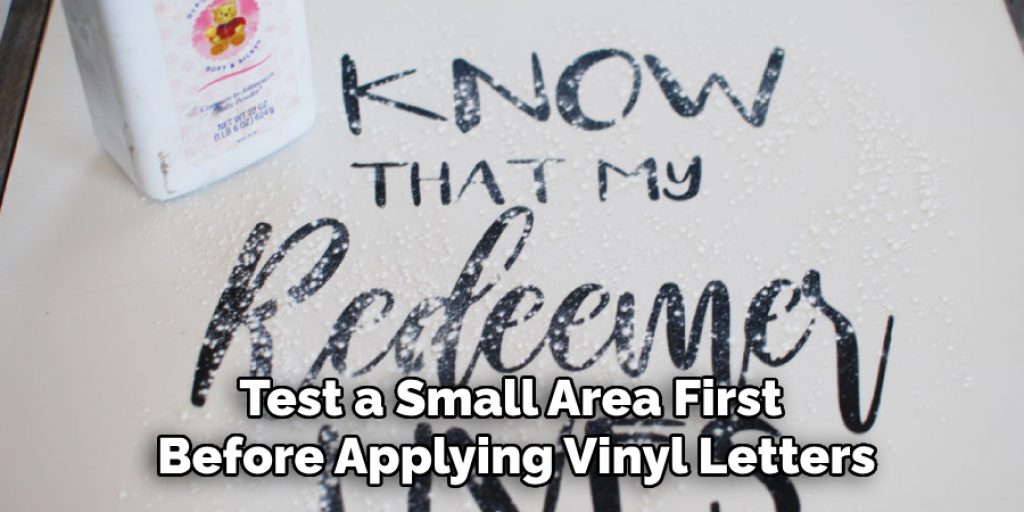
A: Yes, you can remove adhesive vinyl letters by gently peeling them off the surface. However, this may leave behind residue that can be difficult to remove. It’s always a good idea to test a small area first before applying vinyl letters permanently.
Conclusion
In conclusion, creating custom vinyl letters without the need for a machine is an enjoyable and rewarding project that opens up a realm of creative possibilities. By following these clear steps on how to make vinyl letters without a machine—from selecting the right vinyl to transferring and applying your letters—you can achieve professional-looking results.
The versatility of adhesive vinyl allows you to personalize a variety of surfaces, making it perfect for home decor, signage, and crafts. Embrace your creativity and let your imagination guide you as you explore new designs and applications for your vinyl lettering projects!


