
How to Transfer Drawing to Skin Without Transfer Paper
Introduction:
Skin drawing is a great way to express yourself and share your creativity with others. It’s also a fun activity for kids. Skin drawing can be done with different colors, brushes, and pens that will transfer onto the skin as you draw them on paper or a parchment sheet.
The best part about this type of drawing is that it doesn’t require special tools other than what you have in your home supply closet! In this article, I will discuss how to transfer drawing to skin without transfer paper.
A Detailed Stepwise Guide on How to Transfer Drawing to Skin Without Transfer Paper:
Required Material:
1) A Sharpie or other permanent marker. It must be a fiber-tipped pen because other types of ink smudge and won’t work for the transfer.
2) A color photocopy made from a laser printer onto good quality paper (I use 24lb bond). Do not use inkjet prints as they may run when you apply the alcohol. And do not use too heavy a weight copy paper because it may wrinkle easily when you draw on it, which can cause problems later on.
3) Paper toweling for blotting your skin after applying the alcohol washes. Don’t use tissue or anything else that will disintegrate or leave fibers in your skin…especially facial tissues.
4) You will need paper towels or facial tissue to protect your work surface from the transfer medium (i.e., the alcohol-based marker ink you are about to apply).
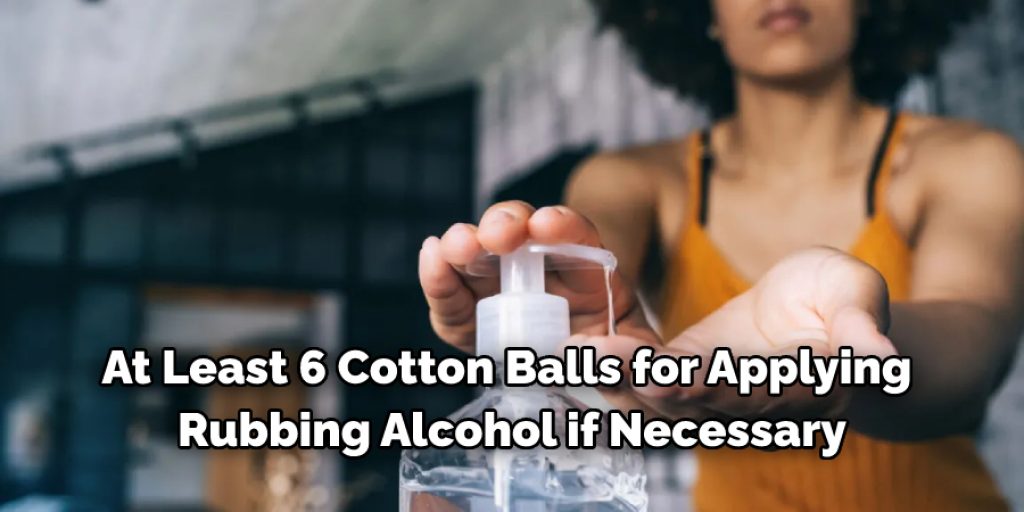
5) At least six cotton balls for applying rubbing alcohol if necessary, depending on how much the original drawing shows through after you’ve applied the marker ink. You may need more, so have some extras ready just in case.
6) Cotton swabs for applying acetone nail polish remover to problem spots will also be determined by how much of your original drawing shows through. If only a few small areas need correction, clean them up using the end of those cotton swabs that still have cottoned.
7) Rubbing alcohol in a little spray bottle. Another option is to soak paper towels with rubbing alcohol and use them like wipes, or you can apply it with cotton balls or swabs (see 6 & 7 above).
8) Acetone nail polish remover. This should be pure acetone without any moisturizers added. It’s available at most pharmacies, sometimes under another name such as Nail Polish Remover Plus Cuticle Conditioner. Ensure no other ingredients are listed beside “acetone” on the container.
9) Paper cup for mixing the transfer medium, if necessary.
10) Some white cardboard…something sturdy but not too thick. A cereal or cracker box will work just fine.
11) Q-tips for applying the transfer medium to problem areas, if necessary. The cotton ends can be used for applying acetone nail polish remover to problem spots (see 7 & 11 above).
Procedure:
STEP 1:
Make a photocopy of your drawing onto good-quality laser printer paper using a Sharpie or other permanent marker. If you are unfamiliar with this type of ink, it’s best to test it on some scrap paper before testing it out on your original drawing.
It may take several tries to get the desired results due to variables such as heat setting and chemical interaction between various types of paper stocks that are not always predictable.
STEP 2:
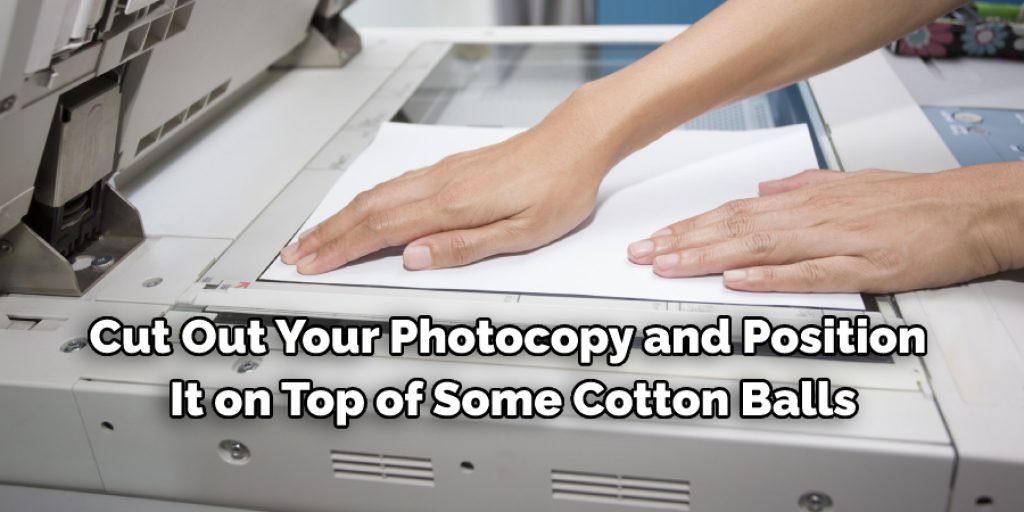
Cut out your photocopy and position it on top of some cotton balls or paper towels to protect your work surface from the marker ink. Don’t use too many layers, or else you will have difficulty transferring the image.
It’s best to use a paper towel under the photocopy itself because they aren’t very absorbent and may become damp and slippery while working on your project…which can cause problems later on if the drawing isn’t transferred properly (i.e., sliding around on your skin).
You will also need to leave room at the sides for folding back when you’re finished with this step; about 1/2 inch all around is usually sufficient.
STEP 3:
Using a cotton ball or paper towel, apply to rub alcohol to the photocopy. Blot it dry with another cotton ball or paper towel using firm strokes in one direction only (no circular rubbing). Otherwise, you will create an uneven surface that may cause the transfer ink not to stick properly. Allow time for the Alcohol to evaporate completely before proceeding.
STEP 4:
Spray some acetone nail polish remover onto a paper towel and fold it over onto itself several times to create a makeshift wipe. Apply it carefully to your drawing, then blot dry by pressing firmly with the cotton ball or paper towel in one direction only (see STEP 3 above).
NOTE:
You can substitute 100% pure acetone from a hardware store if you have problems finding it in a nearby pharmacy. It is expensive, though, and may cause skin irritation for some people because of its high chemical content.
STEP 5:
Using the cotton swabs (or you can substitute your already cut pieces of paper towel), apply acetone nail polish remover to problem areas only…being careful not to smudge the drawing ink with your fingers or hand while working on each area.
Whatever method you use, be sure that no cotton fibers get left behind anywhere on your drawing; otherwise, they will show up as white specks on your tattoo when it’s finished and ruin an otherwise perfect piece of artwork!
I’ve tried using Q-tips but found that they don’t hold enough acetone and tend to leave cotton fibers behind. Cotton balls are better, but they’re too big to get into tight areas. In my opinion, paper towels don’t have that problem but contain way too much acetone.
STEP 6:
When the entire drawing looks clean (i.e., no white specs of paper towel, etc.), it’s time for the next step…which is very important! Tape your photocopy down onto some cardboard with the sticky side up so you can easily peel it off after everything dries completely.
This will prevent it from curling up on you while applying the transfer medium. Otherwise, your tattoo may end up crooked or uneven!
STEP 7:
Applying the transfer medium of your choice (see “Options” below) evenly across the photocopy with a cheap paintbrush or plastic spoon. You can also use an old kitchen knife and spread it thinly on the back, but make sure to wipe off any excess before applying because it will soak through onto your skin and could cause chemical burns!
Also, make sure that it’s not too hot when you do this; otherwise, you’ll end up burning yourself (I know from personal experience!). Finally, you can always reheat it in the microwave if necessary.
Conclusion:
I hope this article has been beneficial for learning how to transfer drawing to skin without transfer paper. Thank you and have a nice day!
You May Also Read – How to Transfer Tattoo Stencil to Skin With Wax Paper
Elizabeth Davis
Elizabeth is a creative writer and digital editor based in the United States. She has a passion for the arts and crafts, which she developed from a young age. Elizabeth has always loved experimenting with new mediums and sharing her work with others. When she started blogging, she knew that DIYquickly would be the perfect platform to share her tutorials and tips. She's been writing for the blog from the beginning, and her readers love her helpful advice and easy-to-follow instructions. When she's not writing or editing, Elizabeth enjoys spending time with her family and friends.


