How to Sew a Head Wrap
Are you tired of your hair getting in the way while you’re working or playing sports? Or maybe you just want to add a stylish accessory to your outfit? A head wrap is the perfect solution!

How to sew a head wrap is a rewarding project that combines creativity and practicality, making it a popular choice for both beginners and experienced crafters. Head wraps not only serve as stylish accessories but also offer protection for hair and a way to express personal style.
In this guide, we will walk you through the essential materials needed, stitching techniques, and tips to create your very own head wrap. Whether you prefer bold prints or subtle patterns, crafting a head wrap allows you to customize your look while enjoying the therapeutic benefits of sewing. Let’s get started on this fun and fulfilling journey!
What Will You Need?
Before you begin sewing, gather all the necessary materials and tools. This will ensure a smooth and efficient sewing process.
Materials:
- Fabric of your choice (cotton is recommended for beginners)
- Sewing machine or needle and thread
- Measuring tape
- Scissors
- Pins
Optional Materials:
- Iron and ironing board (for better results)
- Elastic band (if desired for a snugger fit)
- Embellishments (such as buttons or beads) to decorate your head wrap
Once you have all your materials, it’s time to move on to the next step.
10 Easy Steps on How to Sew a Head Wrap
Step 1: Measure Your Head
To create a head wrap that fits comfortably, begin by measuring your head. Use a measuring tape and wrap it around the most significant part of your head, just above your ears and across your forehead. Note the measurement in inches or centimeters, whichever you prefer. This measurement will help you determine the length and width of the fabric you’ll need for your head wrap. It’s essential to ensure that the tape is snug but not too tight, as you want the head wrap to be comfortable to wear.
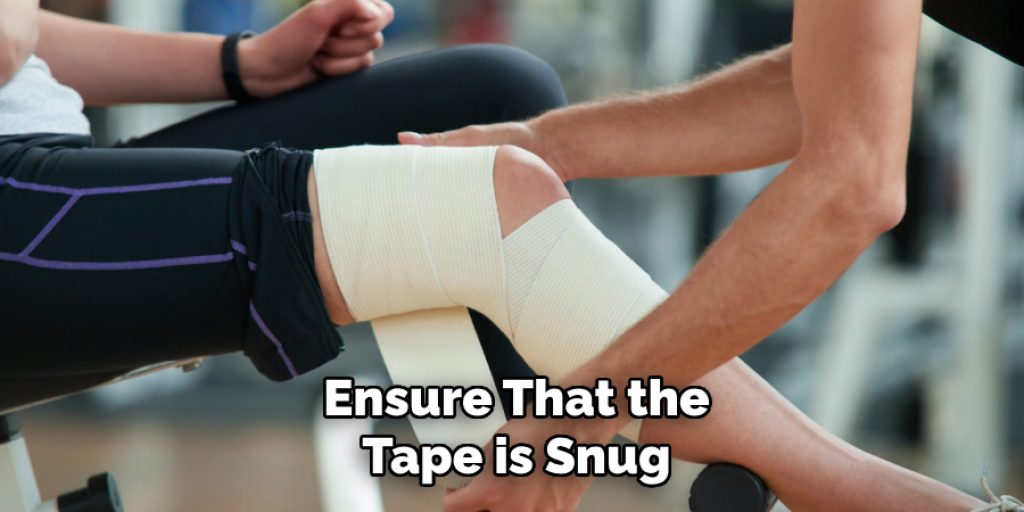
Once you have this measurement, you can decide how wide you want your head wrap to be, which can also be based on your style preference—typically, widths range from 4 to 10 inches. By taking accurate measurements, you set the foundation for a well-fitted and stylish head wrap.
Step 2: Cut Your Fabric
Now that you have your measurements, it’s time to cut your fabric. Use the measurement of your head to determine the length of the fabric, typically adding a few extra inches for seam allowances and tying. For the width, remember to choose a measurement based on your earlier decision (between 4 to 10 inches).
Lay your fabric on a flat surface and carefully cut out the desired piece using your measuring tape and scissors. Make sure to keep the edges straight for a tidy finish. If you’re using patterned fabric, pay attention to alignment so that your design looks cohesive when worn.
Step 3: Iron Your Fabric (Optional)
Before you start sewing, ironing your fabric’s a good idea, especially if it has been folded or crumpled. Ironing will help eliminate any wrinkles, ensuring a smooth surface that makes cutting and stitching easier. Lay your fabric flat on the ironing board, adjusting the temperature setting according to the fabric type to avoid damage.
A hot iron can be used for cotton fabric, while synthetic fabrics may require a lower temperature. As you iron, pay special attention to the edges, as this will help achieve straight, precise cutting lines. A well-pressed fabric looks more professional and facilitates accurate measuring and sewing, making your head wrap project come together beautifully.
Step 4: Pin the Fabric
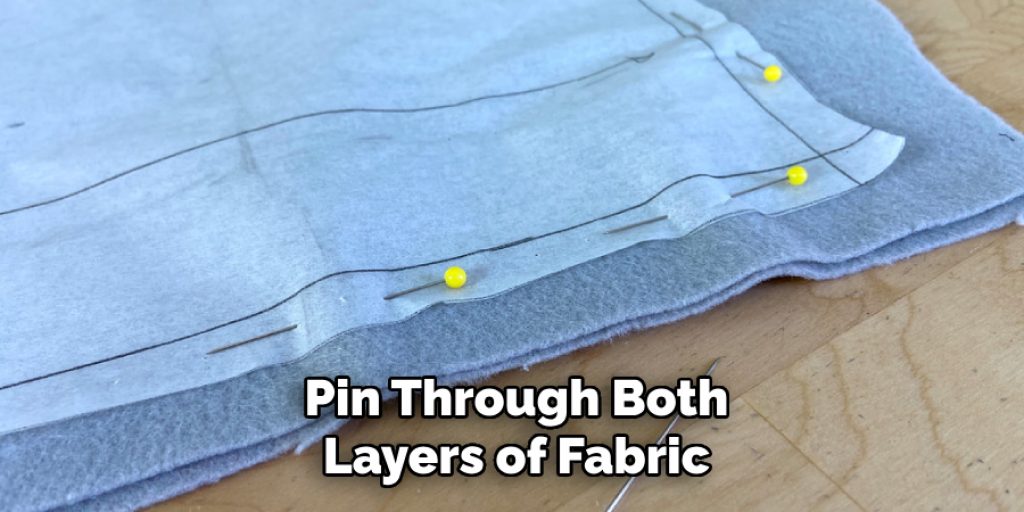
With your fabric cut and pressed, it’s time to prepare for sewing. Start by placing the right sides of the fabric together and aligning the edges. This ensures that the finished head wrap will have a neat appearance with the seams hidden inside. Once aligned, use pins to secure the fabric in place, spacing them approximately every 3 to 4 inches along the edges.
Be sure to pin through both layers of fabric to prevent any shifting while you sew. If you’ve opted to include embellishments or an elastic band, make any necessary adjustments before securing the fabric with pins to incorporate these elements seamlessly into your head wrap design.
Step 5: Sew the Fabric
Now, it’s time to sew your head wrap! Begin by setting your sewing machine to a straight stitch and selecting a suitable thread that matches your fabric. Start sewing along the pinned edges, keeping a consistent seam allowance—typically around 1/4 to 1/2 inch from the edge. As you sew, backstitch at the beginning and end of your seam to secure the stitches in place. If you’re sewing by hand, use a running stitch or a whip stitch, ensuring that your stitches are evenly spaced.
Continue sewing around the edges, leaving about a 4 to 6-inch opening on one side for turning the fabric right side out. This opening is crucial, so take your time, and when you reach it, secure your stitches before cutting the thread.
Step 6: Turn the Fabric Right Side Out
Once you’ve finished sewing, it’s time to turn your head wrap on the right side out. Carefully reach into the opening you left and pull the fabric through. This requires gentle tugging to get the corners out entirely, so be patient. To help push out the corners more effectively, you can use a blunt tool, like the end of a pencil or a chopstick, being careful not to poke through the fabric. Once the fabric is fully turned, shake it well to ensure it falls into shape. You should now have a beautiful fabric tube, and it’s time to move on to the next step—giving it a neat and polished appearance.
Step 7: Press the Head Wrap
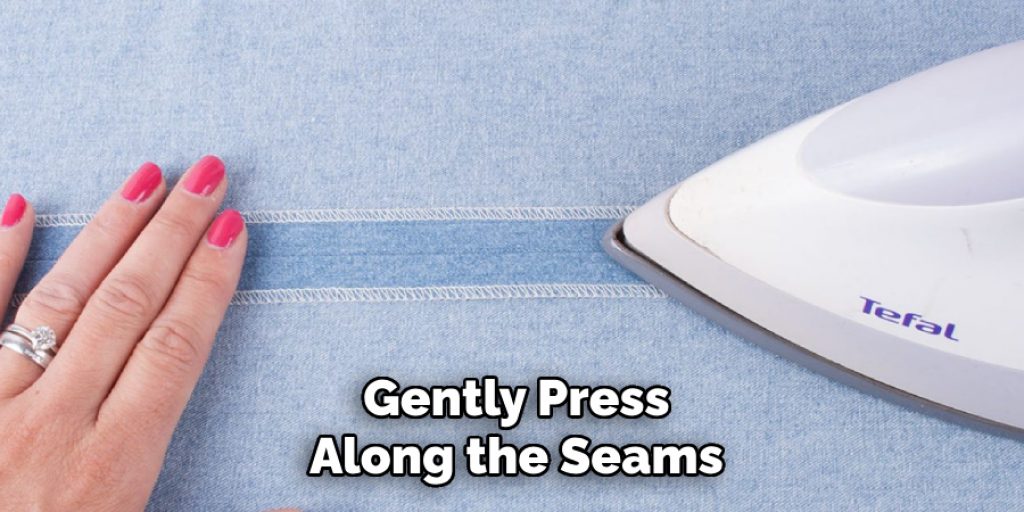
After turning the fabric right side out, it’s essential to press the head wrap again to achieve a polished look. Lay your head wrap flat on the ironing board, aligning the seams and ensuring no twists. Use the appropriate temperature setting for your fabric type, and gently press along the seams and openings. This step will help structure your head wrap and make it easier to work within the following steps. Be thorough, and pay special attention to the area around the opening, as this will be visible when finished. A well-pressed head wrap enhances its overall appearance and contributes to a more comfortable fit when worn.
Step 8: Close the Opening
It’s time to finish the head wrap by closing the opening you left for turning. Start by folding in the raw edges of the opening so they align with the seam. Pin the edges in place to keep them secure. Sew the opening shut using a needle and thread with a slip stitch or by hand, matching the thread to your fabric for a seamless finish.
Alternatively, if you prefer a more prominent look, sew it with a straight stitch on the machine, but keep a close eye on your edge alignment. This final step ensures that your head wrap is complete and ready to wear, giving it a professional touch that showcases your sewing skills.
Step 9: Final Press
Give your head wrap one last press to smooth out any wrinkles caused during the sewing process. This final step will ensure that your creation is neat and presentable. Lay the head wrap flat on the ironing board and lightly press, being cautious not to pull or stretch the fabric. Focus on the seams and edges to achieve a crisp finish.
Step 10: Enjoy Your Head Wrap!
Your head wrap is now complete! Take a moment to admire your handiwork and try it on. Experiment with different styles and ways to wear your head wrap, whether for a casual day out, a workout, or dressing up an outfit. The possibilities are endless! Not only have you created a fashionable accessory, but you’ve also gained valuable sewing skills. Share your creations with friends and family, and consider making more of them in various fabrics and patterns to expand your collection.
Following these steps, you can create a custom head wrap showcasing your style.
5 Things You Should Avoid
- Rushing the Cutting Process: Take your time when cutting the fabric. Rushing can lead to uneven edges or inaccurate measurements, which can affect the overall look and fit of your head wrap.
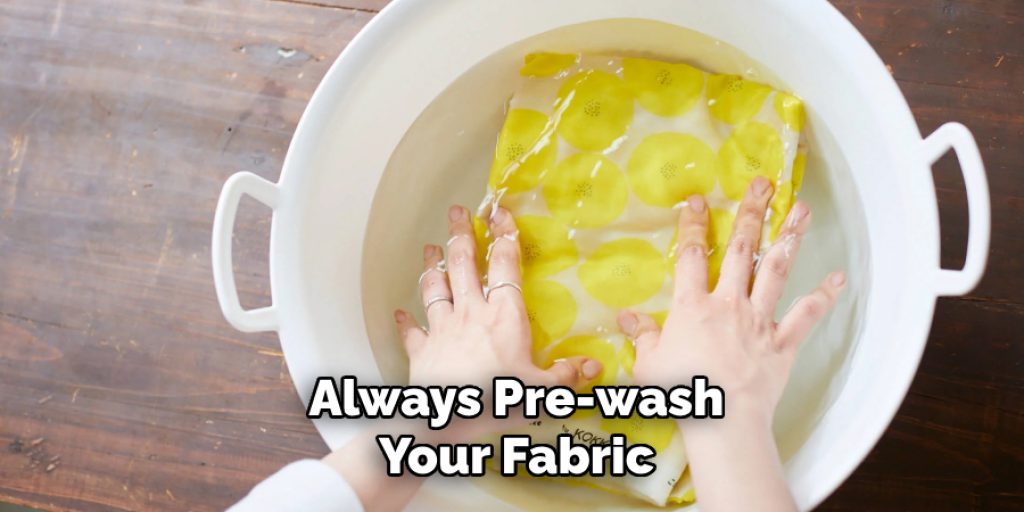
- Neglecting Fabric Pre-Washing: Always pre-wash your fabric before starting the project. This helps prevent shrinkage after the head wrap is finished, ensuring that it maintains its shape and size when worn.
- Overlooking Seam Allowance: Be mindful of the seam allowance you choose. Cutting too close to the edge may result in unraveled seams or frayed fabric, while too large a seam can make the head wrap bulky and uncomfortable.
- Ignoring the Fabric Type: Not all fabrics behave the same way when sewn. Be cautious of the stretch and drape of your chosen material; using inappropriate fabric for your design can lead to a head wrap that doesn’t hold its shape or fit properly.
- Skipping the Final Press: Many crafters overlook the final pressing step. This crucial moment not only smooths out the fabric but also gives your head wrap a professional finish, enhancing its appearance and making it more aesthetically pleasing.
Conclusion
How to sew a head wrap is a rewarding and creative endeavor that allows you to express your personal style while honing your sewing skills.
You’ll have a unique accessory that you can wear with pride by following the steps outlined— from cutting and sewing the fabric to pressing and finishing the seams. Remember to pay attention to details, such as choosing the suitable fabric and ensuring precise measurements. With practice, you can experiment with different fabrics, patterns, and techniques, creating a diverse collection of head wraps for various occasions.
Enjoy the process, and don’t hesitate to share your beautiful creations with others!

