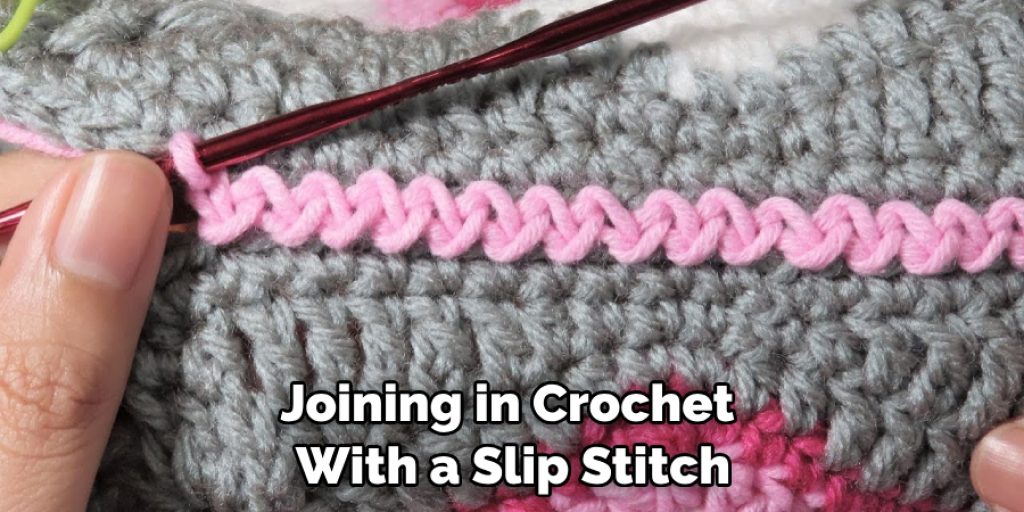
How to Join Yarn in Crochet With Slip Stitch
Joining yarn in crochet with slip stitch is one of the easiest ways to start a project. It can be used for making new projects, adding length, or changing colors when working on existing projects. With this simple technique, you can achieve an almost invisible connection between your two pieces of yarn. This makes it ideal for delicate stitches and intricate designs, as any bulky knots or jumbled yarn ends will be hidden away.
The advantages of joining yarn in crochet with a slip stitch are that it’s quick and easy and provides a secure stitch. The slip stitch also does not create any added bulk to your project. This makes it especially useful when working with thinner or lightweight yarns, where bulky joins can make the finished piece look uneven. In this blog article, you can find step-by-step instructions how to join yarn in crochet with slip stitch.
Step-by-step Instructions for How to Join Yarn in Crochet With Slip Stitch
Step 1: Inspect the Yarn
Before joining yarn in crochet, it’s important to ensure the yarn is in good condition and free of knots or tangles. When joining a new skein of yarn to an existing piece of work, you’ll need to determine where the starting point for your slip stitch should be. Generally, this will be at the end of a row or round.
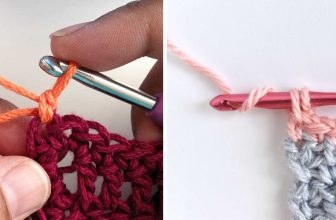
Step 2: Add a Slip Knot
To begin, place a slip knot on your crochet hook. Ensure the tail is long enough to weave in at the end of your project. Insert your hook from front to back into the stitch at your chosen starting point.
Step 3: Grab the New Yarn
With the new yarn, create a loop by pulling it up and around your crochet hook. This should leave two loops on your hook. Now you must gently pull through the first loop with your crochet hook. Ensure that this loop and the yarn tail of your new skein are secured.
Step 4: Pull-Through Second Loop
You’ll need to pull through the second loop using your crochet hook. This will create a slip stitch and secure the tails of both yarns together. Once you have created the slip stitch, ensure it is secure by gently pulling on both yarn tails.
Step 5: Continue Crocheting
You are now ready to continue crocheting with your new yarn. Once you have finished your project, be sure to weave in the ends of the joined yarns for a neat finish.
Following these steps, you should be confident to join yarn in crochet using the slip stitch method.
Safety Tips for How to Join Yarn in Crochet With Slip Stitch
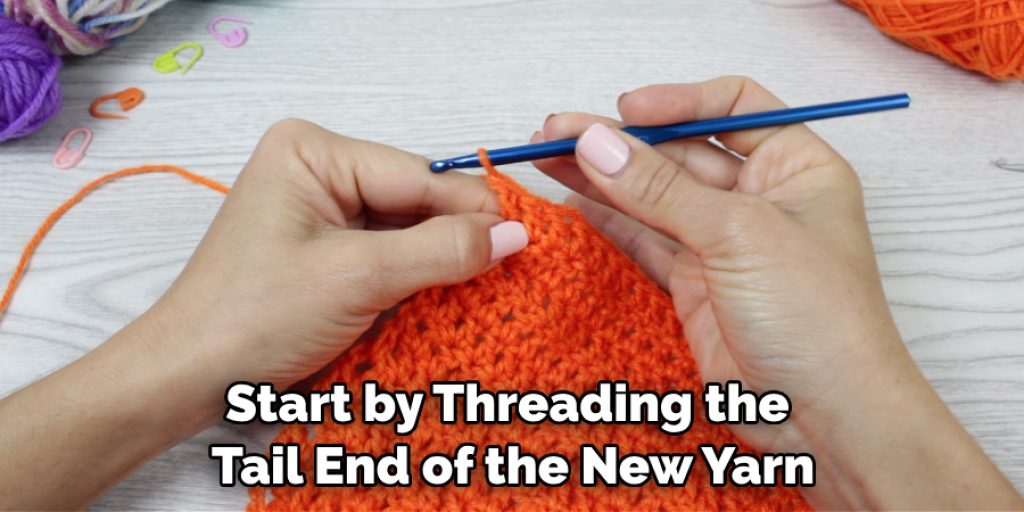
- Always begin a slip stitch with the tail end of the yarn, as this will prevent any tangles or knots from forming further in your project.
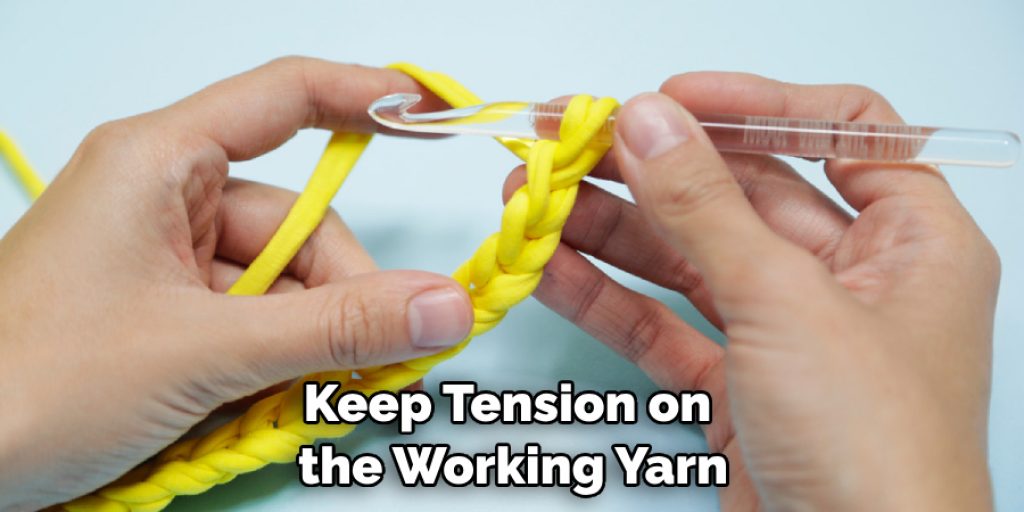
- Ensure you keep tension on the working yarn while joining it to the new color, as this will result in a secure slip-stitch join.
- Use an appropriately-sized crochet hook for the yarn you are working with.
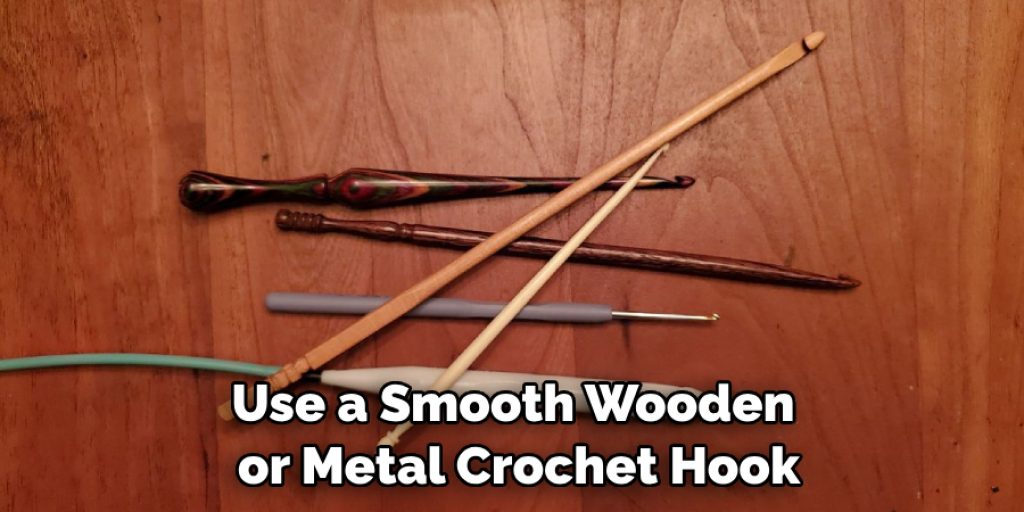
- To avoid strain on your hands, use a smooth wooden or metal crochet hook rather than one made from plastic.
- When joining different colors together in slip stitch, ensure that all strands are completely secure so that they do not become loose and snag easily when crocheting.
- When changing colors, always ensure that the tail ends of both colors are securely tucked away in the middle of your work so that they do not unravel while you crochet.
- Finally, use a sharp-pointed pair of scissors to trim off any excess yarn from your project before or after joining new colors with slip stitches. This will help to keep your work neat.
These seven safety tips will help you join yarn in crochet with slip stitch easily and successfully.
How Do You Start a New Yarn Strand in Crochet With a Slip Stitch?
The process is simple to join a new yarn strand in crochet with a slip stitch. First, cut your current yarn from the project and tie off any excess ends so they are not left loose. Next, thread the end of your new yarn through the same loop as your previous yarn. Make sure to leave at least three inches of extra slack. Then, make a slip stitch using the new yarn in the next stitch of your pattern. After completing this step, you can continue your crochet project as normal.
The slip stitch method is especially useful for joining two colors of yarn together when working on striped projects or changing colors and joining new strands. It is a simple and efficient technique for joining yarn that will help you keep your projects looking neat.
With this method, it’s important to remember to tie off ends securely so they do not unravel or come loose while working on your project. Taking the time to properly join two different strands of yarn with a slip stitch can make all the difference in the look and feel of your finished product.
What Type of Yarn is Best for Joining in Crochet With a Slip Stitch?
For joining yarn in crochet with a slip stitch, the best type of yarn to use is something lightweight and smooth. It should also have a good drape so it won’t be too bulky or difficult to manage when you are crocheting. A classic choice is cotton yarn or light acrylics because they combine easily and provide a neat result.
Remember to match your yarn weight and size with the pattern you are stitching so that you don’t have a bulky, uneven appearance in your work. If you need help determining which yarn is best for joining in crochet with a slip stitch, it’s always best to consult the pattern designer or ask an experienced crocheter for advice. If you’re using a lightweight, smooth yarn with a good drape, joining in crochet with a slip stitch should be straightforward.
How Do You Create a Continuous Look When Joining in Crochet With a Slip Stitch?
To create a continuous look when joining in crochet with a slip stitch, it is important to ensure that the tension of the yarn remains consistent throughout. Start by picking up the new yarn strand and ensuring its end is tucked under your left thumb. Hold it against your work as you would for any other crochet stitch. Next, insert your hook into the next stitch, yarn over with the new strand, and pull through a loop. Then, yarn over with both strands of yarn and pull through all loops on the hook.
To finish off this stitch, tighten up the tail end of the new strand by pulling slightly on it while you complete your joining slip stitch. This will create a firm joint to help maintain tension throughout your work. Now that you have joined in your yarn, you can continue with your project as normal. Creating a continuous look when joining in crochet with a slip stitch helps keep the work’s overall appearance neat and tidy. It also ensures that the fabric remains strong and durable.
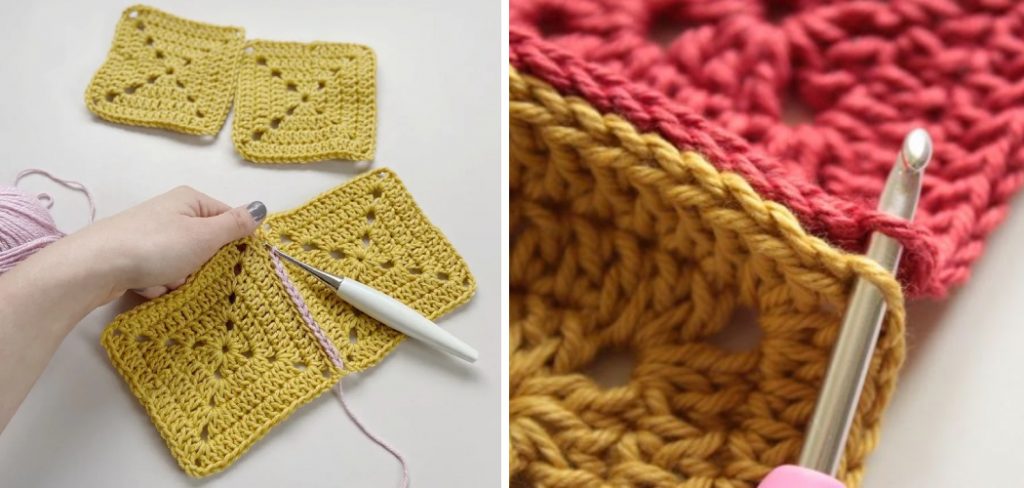
What is the Difference Between a Regular and an Invisible Join When Using a Slip Stitch?
When joining yarn in crochet with a slip stitch, there are two types of joins: regular and invisible. A regular join involves crocheting over the tails of the two pieces of yarn to join them together. This type of join is quite visible when finished. An invisible join involves joining two strands of yarn together without leaving any extra tail-ends or loops visible. This type of join is much less noticeable and can create a seamless transition between colors or stitches.
When making a regular join, start by threading the tail-end of the new yarn onto a tapestry needle. Then, pass the tapestry needle through both strands of yarn from the backside to the front side. Finally, crochet a slip stitch over both strands of yarn to join them together. Make sure to pull the tail-end tight so it is not visible on the backside.
Conclusion
One major disadvantage of joining yarn in crochet with a slip stitch is that it can create an irregular and bumpy surface. The slip stitch also takes up more yarn than other methods, so you may be unable to use the same amount of yarn as you would with other methods. Additionally, if the stitches are worked too tightly, they may cause strain on your wrists and hands.
In conclusion, joining yarn in crochet with slip stitch is a great way to add color and texture to your projects. It’s an easy technique that doesn’t require special tools or time. With practice, you can create beautiful designs with this versatile stitch. Reading this post has helped you learn how to join yarn in crochet with slip stitch. Make sure the safety precautions are carried out in the order listed.
Nancy Behan
Nancy is an embroidery artist, fashion blogger and a full time editor at DIY quickly. Nancy edits the fashion section on DIY quickly, focusing on the embroidery and cross stitch articles, alongside with fabric and other costume design elements. She graduated from the University of Michigan with a Bachelor of Arts in Art History. She loves to work on her own projects, read books and watch romantic movies in her spare time.