How to Make Straw Ornaments
Straw ornaments have a rich tradition that dates back centuries, captivating crafters with their charming simplicity and rustic appeal. These handmade decorations, often associated with festive celebrations, evoke a sense of nostalgia and warmth, serving as a reminder of the creativity found in using natural materials. Making straw ornaments involves selecting and preparing quality straws, utilizing various crafting techniques, and combining decorative elements to produce unique pieces.
Across cultures, straw ornaments play a significant role in holiday traditions, symbolizing abundance, prosperity, and connection to nature. Learning how to make straw ornaments allows individuals to express their artistic flair and connects them to a global heritage of crafting and celebration. Whether adorning a festive tree or gracing a mantelpiece, these ornaments bring joy and a personal touch to any home.
Materials and Tools Needed
You’ll need a selection of materials and tools to create beautiful straw ornaments. The primary material required is straw, which can be sourced from craft stores or local farms. Additionally, you will need thread or string to secure your creations, as well as scissors and a needle for cutting and sewing. Other useful components include beads to add decorative flair, which can enhance the charm of your ornaments.
For those looking to embellish their creations further, consider using optional decorative elements such as ribbons, paint, or glitter. These additions can bring a unique touch to your ornaments. Essential tools for your crafting process include the aforementioned scissors and needle, along with glue for securing parts that require additional stability. These materials and tools will ensure a smooth crafting experience as you learn how to make straw ornaments.
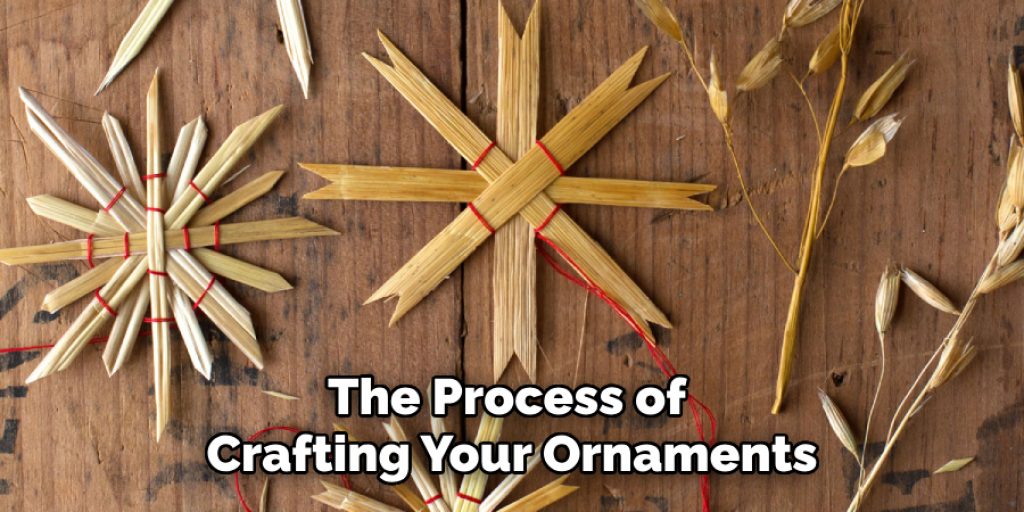
Preparing the Straw
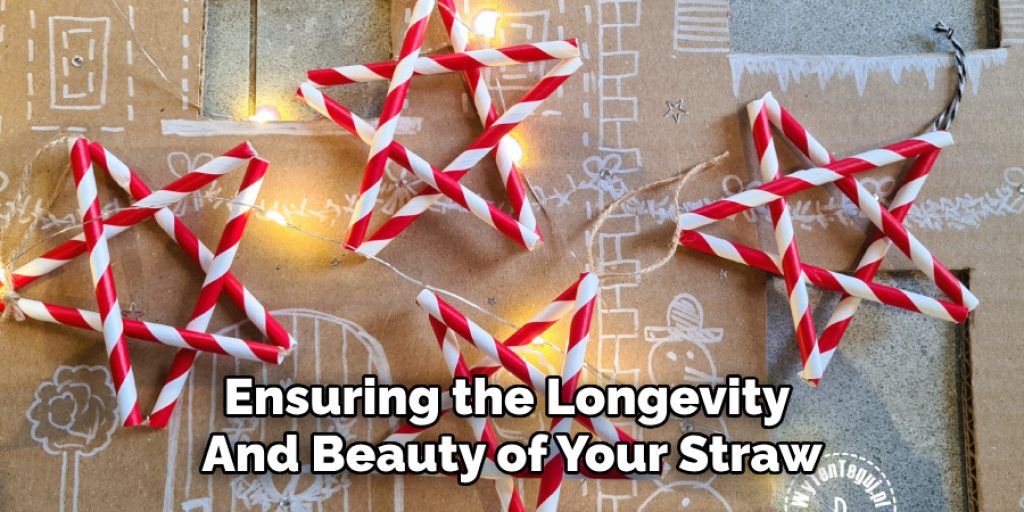
Preparing the straw is an essential step in the process of crafting your ornaments. Start by selecting high-quality straw that is flexible and robust, ensuring your finished products are durable and visually appealing. Once you’ve sourced your straw, soak it in warm water for about 30 minutes. This soaking process makes the straw pliable, allowing you to manipulate it easily into various shapes and designs. After soaking, gently dry the straw by laying it flat or hanging it up, ensuring it retains the right consistency for your crafting needs—too wet, and it may become mushy while being too dry will make it brittle. Proper preparation of the straw enhances the crafting experience and is crucial in ensuring the longevity and beauty of your straw ornaments.
How to Make Straw Ornaments: Basic Techniques for Straw Ornaments
Straightening and Splitting Straw
To begin crafting straw ornaments, it’s important to ensure that the straw is straightened for better handling and aesthetics. You can straighten a straw by hand, gently pulling it between your fingers or by using a specialized tool like a straw straightener. Once straightened, you may need to split the straw into thinner strips, which allows for more detailed and intricate work. This technique is especially useful for creating delicate designs or finely detailed elements in your ornaments. Splitting the straw can enhance the versatility of your crafting as it enables you to experiment with various shapes and patterns.
Braiding and Weaving
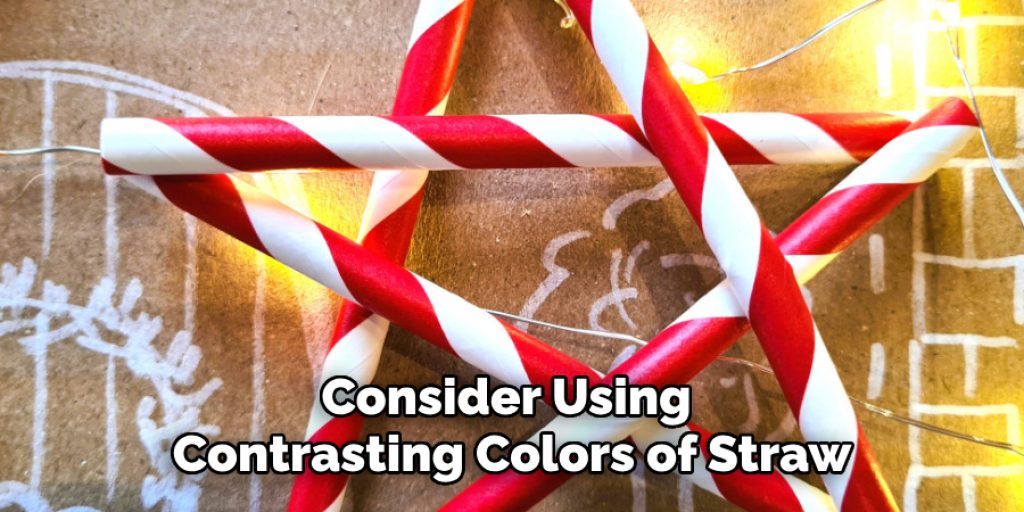
Braiding straw is a fundamental technique used to create structural elements in ornaments. To braid, gather three equal lengths of straw and secure one end together. Braid the strands alternately, ensuring they remain tight and uniform. This technique can be used to make bases for ornaments or to create decorative borders on various shapes. Weaving offers another layer of creativity, allowing you to interlace strands of straw to form intricate designs. By combining different weaving patterns, such as simple over-and-under techniques, you can produce unique textures and forms, enhancing the visual appeal of your crafts. Consider using contrasting colors of straw or adding beads into the weave for added depth and interest.
Forming Shapes
Once the straw is prepped and techniques such as braiding and weaving are mastered, you can start bending and shaping straw into various ornaments, including stars, hearts, and other festive figures. To form shapes, carefully manipulate the straw while it’s still damp for maximum flexibility. For instance, to create a star, form points by connecting multiple straw segments at angles and securing them at the base using thread or glue.
For rounded shapes like hearts, bend the straw into the desired curves and hold them together with secure stitching or adhesive. It is essential to work gently to avoid breakage. Experimenting with different shapes can lead to creative designs, allowing you to produce a variety of ornaments that reflect personal style and festive spirit. Once shapes are formed, let the ornaments dry fully to retain their structure before adding any decorative elements.
Creating Simple Straw Ornaments
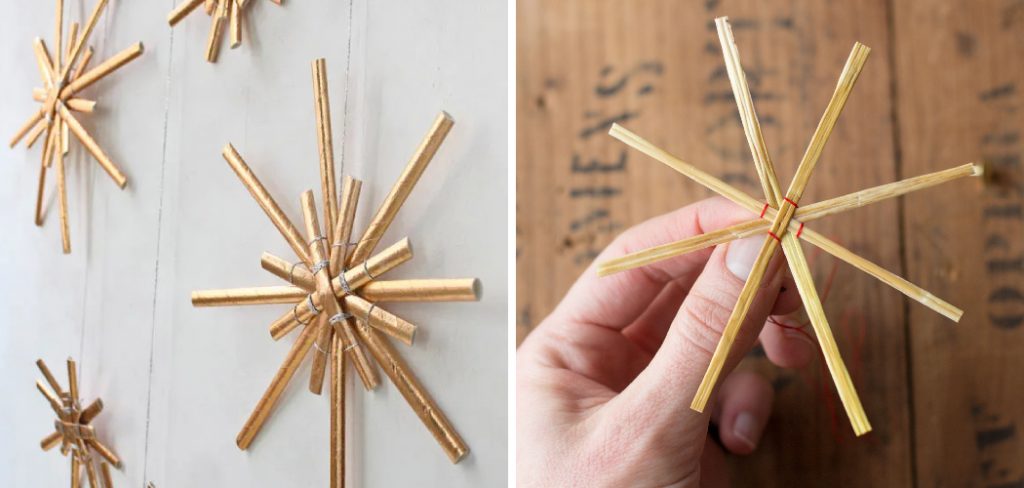
Straw Stars
Crafting straw stars is a delightful and straightforward project that showcases the beauty of straw and your artistic flair.
Step-by-step Instructions for Making a Basic Straw Star
- Preparation: Start with the prepared straw, ensuring it is pliable. Cut six pieces of straw, each about 6 inches long.
- Creating the Points: Take three pieces of straw and form them into a triangle by overlapping the ends and tying them securely with thread. Repeat this step to create another triangle with the remaining three pieces.
- Assembling the Star: Position the two triangles together, aligning their bases. Secure the points where the triangles overlap with the thread to form a star shape.
- Stabilizing: To ensure the star is sturdy, reinforce the connections at the overlapping points with glue and allow it to dry completely.
Tips for Ensuring Symmetry and Stability
Cut your straw pieces to the same length to achieve a balanced star. When assembling, check that each point is evenly spaced and aligned. This attention to detail will enhance the star’s aesthetic appeal.
Adding Decorative Elements
Once the star structure is secured, consider embellishing it with beads or ribbons. Thread small beads onto each tip or tie a decorative ribbon at the center to add color and charm.
Straw Angels
Creating straw angels adds a whimsical touch to your holiday decorations and allows for beautiful artistic expression.
Detailed Guide to Crafting a Straw Angel Ornament
- Body Formation: For the angel’s body, cut a piece of straw about 8 inches long. Create a skirt shape by bending the straw in half and tying it together with string at the midpoint.
- Wings Construction: Cut two pieces of straw, each 5 inches long, and form a V-shape. Secure them to the back of the body with thread.
- Halo Creation: For the halo, take a shorter piece of straw (around 3 inches), bend it into a circle, and attach it to the top of the angel’s head.
Enhancing with Decorative Touches
Embellish your angel with decorative touches such as glitter along the wings or a small ribbon tied around the waist. These details will bring your angel to life, adding character and sparkle to your festive decorations.
Advanced Straw Ornaments
Straw Snowflakes
Crafting straw snowflakes allows you to get creative and explore intricate designs that mimic the uniqueness of real snowflakes.
Instructions for Creating Complex Snowflake Designs
- Materials: Using prepared straw, cut several pieces in varying lengths (from 2 to 6 inches).
- Layering: Start by making a central star shape with four equal straws. Attach additional pieces radiating outwards at different angles, forming a snowflake pattern.
- Securing: Use glue to reinforce the intersecting points where the straw pieces meet. Ensure that the snowflake retains its shape as it dries.
Tips for Achieving a Delicate, Intricate Appearance
Experiment with layering different lengths of straw to vary the snowflake’s design. Incorporate twisting or weaving techniques between the straw segments for an even more intricate look.
Straw Animals
Making straw animals is a fun way to explore creativity while crafting festive decorations.
Guide to Making Straw Animal Ornaments (e.g., Reindeer, Birds)
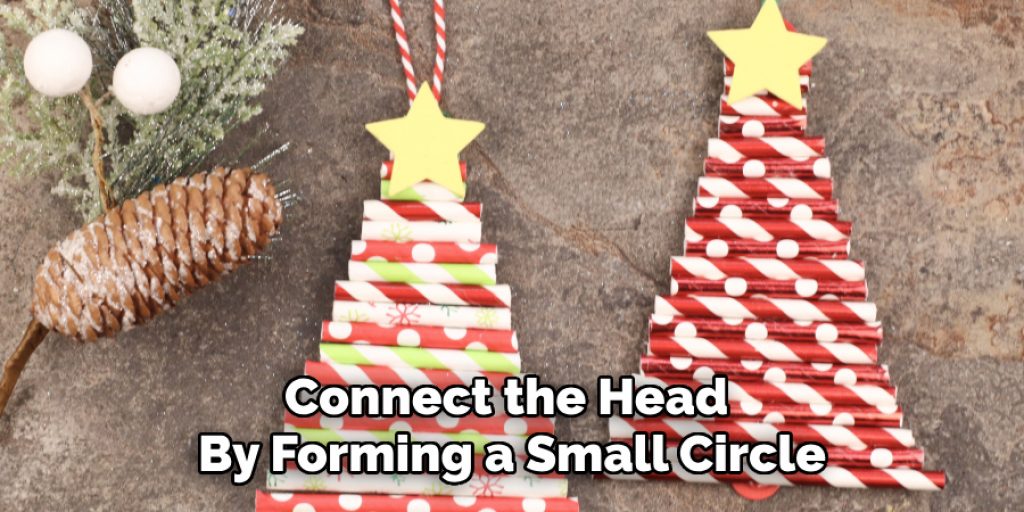
- Shaping the Parts: For a straw reindeer, create the body by tying two pieces of straw together to form a cross shape. For the legs, attach four shorter pieces extending downward.
- Assembling: Connect the head by forming a small circle from the straw and attaching it to the front of the body. Use smaller cuts of straw for the ears and antlers, securing them with thread.
Adding Finishing Touches for a Polished Look
Complete your straw animal with decorative elements like painted eyes, painted fur patterns, or small ribbons to create a festive spirit. These finishing touches will enhance your straw animal’s personality, making it a charming addition to any holiday setting.
Finishing and Preserving Straw Ornaments
To ensure that your straw ornaments withstand the test of time, applying a protective coating is essential. Using a clear varnish can effectively seal the straw, enhancing its natural colors while providing a barrier against humidity and dust. After applying the varnish, allow the ornaments to dry completely before handling them further. Proper storage also plays a crucial role in preserving their beauty; store your ornaments in a cool, dry place, using padded boxes or containers to prevent crushing. To maintain the appearance of straw over time, avoid exposing your ornaments to direct sunlight, which can cause fading. Regular dusting with a soft cloth will help keep them looking pristine.
Conclusion
In summary, mastering how to make straw ornaments can lead to a delightful array of unique and personal decorations. By following the steps outlined, you can create beautiful pieces that reflect your creativity. Handmade holiday decorations not only add warmth to your home but also bring a sense of joy and accomplishment in crafting something truly special. Embrace your artistic spirit and enjoy the process of creating these festive treasures!
Elizabeth Davis
Elizabeth is a creative writer and digital editor based in the United States. She has a passion for the arts and crafts, which she developed from a young age. Elizabeth has always loved experimenting with new mediums and sharing her work with others. When she started blogging, she knew that DIYquickly would be the perfect platform to share her tutorials and tips. She's been writing for the blog from the beginning, and her readers love her helpful advice and easy-to-follow instructions. When she's not writing or editing, Elizabeth enjoys spending time with her family and friends.