
How to Paint Fur Texture
Fur is a complex texture and can be difficult to replicate convincingly. However, you can achieve stunning results with the right techniques and some practice! When it comes to painting furry textures, there are a few things you need to keep in mind.
This article will show you how to paint fur texture using various brush strokes and techniques. You’ll also learn some tips and tricks for adding highlights and shadows so that your furry texture looks as natural as possible. So let’s get started!
10 Ways on How to Paint Fur Texture
1. Prepare your Canvas:
Make sure your canvas is clean and free of dust and other particles. You can do this by wiping your canvas with a slightly damp cloth or giving it a light sanding to remove any bits that may be stuck to the surface.
2. Basecoat:
Basecoat your fur texture by giving your model a dark brown undercoat, followed by an even lighter brown highlight for extra depth and shading. The basecoat will also act as our guide when painting each section of fur or hair later on, so it’s important to use a basecoat that’s a few shades lighter than your desired result.
3. Create Fur Shapes:
Start painting the outline of your fur shapes first, as you would any other brush stroke on your canvas. After completing these outlines, start filling in the area with varying tones and shades of your basecoat for extra depth and definition.
4. Fur Highlights:
After filling in these shapes, start highlighting them by painting lighter tones on top of where your darker tones once were. As with most art techniques, it’s always best to work from dark to light when highlighting.
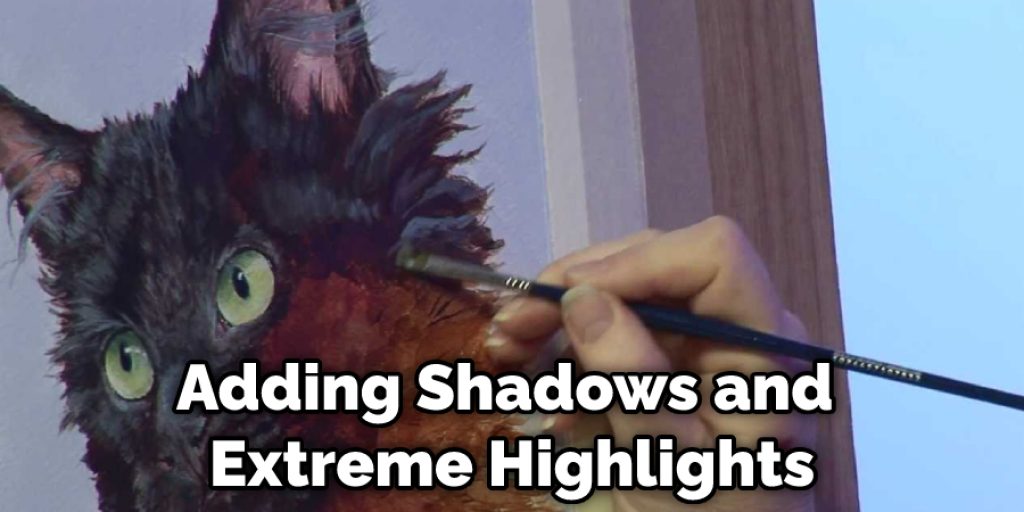
5. Highlights & Shadows:
Now add the finishing touches to your fur texture by adding shadows and extreme highlights to make them pop. Next, add more shade in some areas and use the basecoat to highlight other sections. This will give your painting depth and show that each hair has a different direction and length, making it appear much more realistic than if you only highlighted one strand of hair.
6. Start with Silhouettes:
For a more professional finish, paint the silhouette of each hair shape before you add any tone or shading. This will give you an outline to follow when painting your fur texture, allowing for much smoother results that look great from every angle.
7. Shade Your Texture:
After outlining your shapes and adding highlights and shadows to them, you have the option to shade your painting. This gives the appearance of depth and makes each hair look individual, instead of just a flat texture if you were to use highlights and shadows alone.
8. Soften the Edges:
The edges of your fur texture can be softened by painting them with dark brown or gray paint. This will make the whole texture appear lighter and softer and make any highlights and shadows appear more natural.
9. Using Different Brushes:
Different brushes can create different fur effects; for example, a thin pointed brush will create the look of fine soft hairs, while a thick flat brush can be used to paint longer textured furs such as that seen on an animal’s thighs and torso.
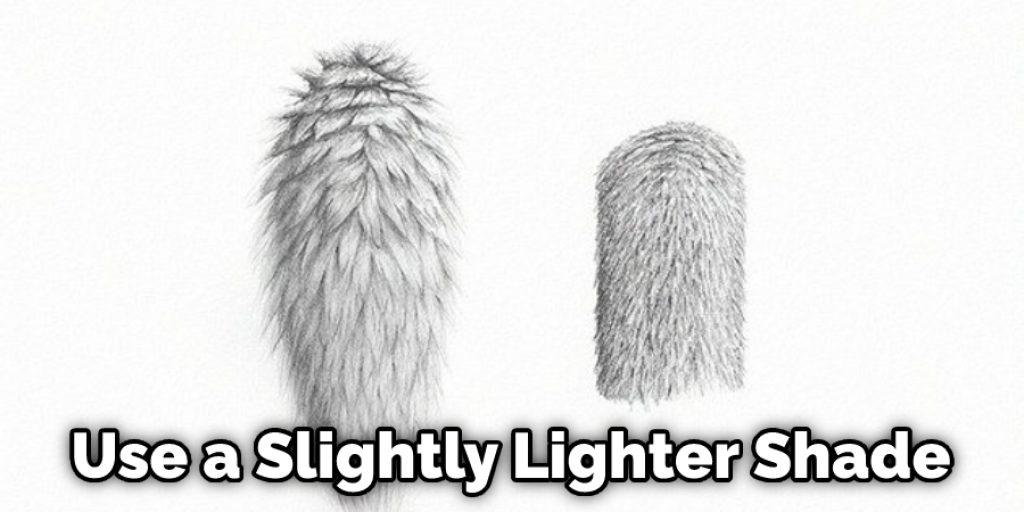
10. Refine the Detail:
To refine the detail of your fur, use a slightly lighter shade than you would for highlights or shadows. This will make it appear as though the fur has been highlighted below, giving it an extra illusion of depth and realism.
Some Tips and Suggestions
1. Your fur brush must have a short bristle length. If the bristles are too long, your fur will look more like hair than fur. Short bristles are just what you need for making furry textures.
2. Start with small circular movements to form the start of your texture.
3. Once you’ve formed the shape of your texture, you can move on to the next step: adding shadows and highlights.
4. You’ll need to adjust your pressure settings depending on how dark or light you would like your texture to look.
5. If you’re looking for a watercolor-esque outcome, you’ll need to adjust your opacity settings accordingly.
6. If you’d like to add highlights, try painting them on the edges between dark and light portions of your texture.
Final Words
Fur texture is a unique and fun painting technique to learn. It can be used in many different ways to create exciting textures in your paintings. With a bit of practice, you will be able to paint realistic fur textures that will add interest and life to your paintings.
We hope this blog post has given you some helpful information on how to paint fur texture. If it’s not the right time for you to take up painting, consider commissioning a professional painter or illustrator! And if you have any questions about anything we’ve discussed here, please feel free to contact us.


