How to Make a Tree Gnome
Tree gnomes embody a delightful blend of whimsy and enchantment, enchanting garden spaces and bringing charm to outdoor areas. These small, whimsical figures often serve as playful guardians of the garden, fostering a connection with nature that many appreciate. Making your own tree gnome can be an enjoyable and fulfilling project, allowing for ample creativity and personalization.

In this guide, you will learn how to make a tree gnome that reflects your unique style while adding a touch of magic to your garden or yard. The process encourages artistic expression and evokes a sense of accomplishment as you watch your creation come to life among the trees.
Materials and Tools Needed
To craft your own tree gnome, you’ll need various materials and tools. Essential materials include clay or polymer clay for the gnome’s body, paint for decoration, brushes for applying the paint, a sealant to protect your work, moss to create natural accents, faux fur for the beard, and any small embellishments to add personality.
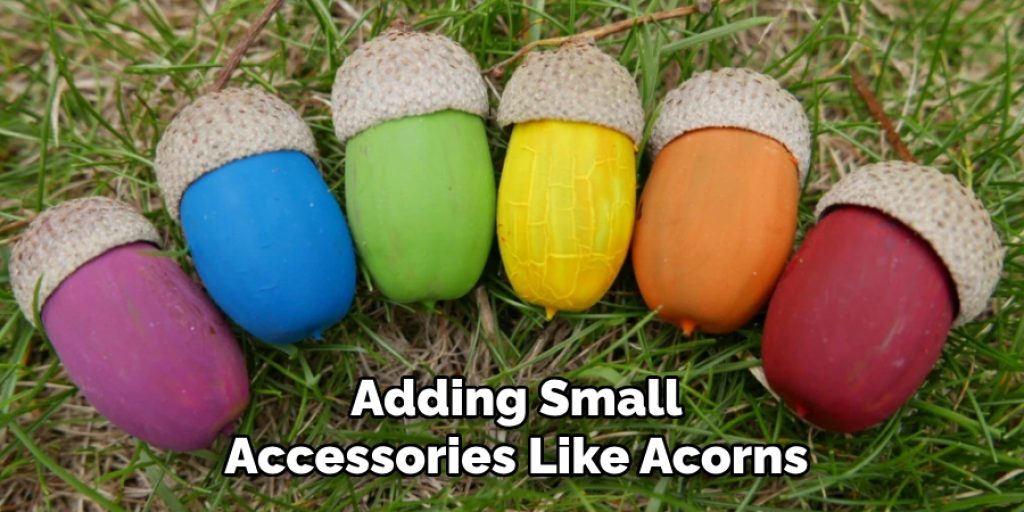
The tools required for this project are sculpting tools to shape the clay, a hot glue gun for assembly, scissors for cutting materials, and wire for armature to provide structure. For optional enhancements, consider using LED lights to create a whimsical glow, and small accessories like acorns or pine cones to embellish your gnome’s design, adding a further touch of nature to your creation.
Designing Your Tree Gnome
When designing your tree gnome, decide on its size and style. Consider how large you want your gnome to be and what kind of character you wish to embody—whether whimsical, traditional or perhaps playful. Sketching a rough design will help visualize these ideas and serve as a reference throughout the crafting process.
Think about various elements, including the shape of the hat, the style of the beard, and the choice of clothing details. Selecting a color scheme is crucial; vibrant hues can evoke a cheerful vibe, while earthy tones may allow your gnome to blend in seamlessly with nature. Additionally, adding unique accessories can enhance its personality and charm.

How to Make a Tree Gnome: Creating the Gnome’s Body
1.Building the Armature
Start by creating a sturdy wire frame supporting your gnome’s body. Use pliable yet durable wire to shape an armature that outlines the gnome’s basic structure, including the torso, arms, and legs. Ensure the wire is thick enough to hold the weight of the clay later on. Forming a solid base will help maintain the gnome’s integrity as you sculpt around it, providing necessary support and allowing for easier detailing as you progress.
2.Sculpting the Body with Clay
Once the armature is complete, apply clay to sculpt the gnome’s body. Start with a base layer that forms the gnome’s torso, ensuring a smooth texture as you work. Gradually build up the shape, defining the body’s contours while leaving room for limbs. Focus on adding distinctive features like the nose and shoes—these details enhance your gnome’s character.
As you sculpt, keep your design sketch nearby for reference, ensuring all elements harmoniously blend together. Lastly, refine the finer details, such as fingers and facial expressions, to create a more lifelike appearance, making your gnome truly personal and unique.
How to Make a Tree Gnome: Crafting the Gnome’s Hat and Beard
1.Making the Hat
To create a charming gnome hat, you can either sculpt or sew it, depending on your material of choice. If using clay, begin by shaping it into a conical form that tapers upward, ensuring it fits proportionally on your gnome’s head. If you prefer a fabric hat, cut a triangular piece and sew the edges together, leaving the bottom open for the gnome’s head to fit through. After achieving the basic shape, it’s time to add personality.

Incorporate embellishments such as colorful patches, playful stitches, or even small bells for a whimsical touch. These details enhance the hat’s appearance and reflect your creativity, allowing you to customize your gnome’s look.
2.Creating the Beard
Once the hat is completed, turn your attention to the beard. Using faux fur, cut a generous piece that resembles the desired length and shape for your gnome’s beard. After cutting, secure the beard to the gnome’s face with a hot glue gun, making sure it adheres firmly. Position it so that it frames the face nicely, capturing that traditional gnome look. Be mindful to create an inviting expression, as the beard is a defining feature that adds character and charm to your whimsical creation.
Attaching the Gnome to a Tree
To secure your tree gnome in place, begin by choosing the right spot on your tree. Look for a location that provides visibility while allowing the gnome to blend harmoniously with its surroundings, such as a sturdy branch or the trunk. Make sure the surface is clean and free of debris for optimal adhesion. Using a hot glue gun, apply a generous amount of glue to the gnome’s base and press it firmly against the tree.
For added security, small nails can also be used to attach the gnome, ensuring it remains in place even during adverse weather conditions. Once attached, take care to ensure your gnome is weatherproof. Use a sealant on both the gnome itself and the glue connections, creating a durable barrier against rain and UV rays, so your creation stands the test of time.
Adding Embellishments and Final Touches
To enhance the magical appearance of your tree gnome, consider decorating the surrounding area with a fresh layer of moss. This creates a natural environment that complements your gnome’s whimsical charm. Adding small accessories like acorns, pebbles, or miniature flowers can further personalize the space.
For an enchanting effect, incorporate LED lights around your gnome or in the nearby foliage, creating a soft glow that highlights the character after sunset. Ensure that all elements are securely attached, checking for stability to withstand the elements while allowing your tree gnome to become a delightful focal point in your garden.
Maintenance and Care Tips
To protect your gnome from weather elements, regularly check for any signs of wear or damage, ensuring that the paint and sealant remain intact. It’s important to perform repairs as needed, applying additional sealant or paint to any affected areas to maintain its charm. During extreme weather conditions, such as heavy storms or snow, storing your gnome in a sheltered location is advisable, preventing potential damage from harsh elements.
5 Common Mistakes When Making a Tree Gnome
- Neglecting the Armature: Skipping the armature construction can lead to a weak gnome structure that may collapse or lose form. Always ensure a sturdy base to support the weight of the materials used in your design.
- Using Insufficient Adhesives: Not applying enough glue when attaching components, such as the hat or beard, can result in pieces coming loose over time. It’s essential to use a generous amount of adhesive and allow sufficient drying time for durability.
- Ignoring Weatherproofing: Failing to seal your gnome against the elements can cause damage from rain and UV rays. Always use an appropriate sealant to protect your creation for long-lasting enjoyment.
- Rushing Through Details: Paying little attention to finer details, such as facial expressions or unique accessories, can make your gnome appear less personalized. Take your time to refine these aspects to enhance character and charm.
- Choosing the Wrong Location: Placing your gnome in a poorly visible or unsuitable location can diminish its impact on your garden. Select a spot that balances visibility with natural integration into the surroundings for the best aesthetic appeal.
Frequently Asked Questions (FAQs) about Making a Tree Gnome
What Materials Do I Need to Create a Tree Gnome?
To create your tree gnome, you’ll need materials such as clay or fabric for the body and hat, faux fur for the beard, a hot glue gun, paints, sealant for weatherproofing, and any decorative embellishments you wish to include like lights or natural materials.
How Do I Ensure My Tree Gnome Stays Secure Outdoors?
To keep your tree gnome securely in place, choose a suitable location on the tree with a clean surface, use a strong adhesive like a hot glue gun, and consider using small nails for added stability. Don’t forget to weatherproof the gnome with a suitable sealant.

Can I Use Natural Materials for My Tree Gnome?
Absolutely! Incorporating natural materials such as twigs, leaves, and stones can enhance your gnome’s whimsical appearance and help it blend seamlessly into your garden environment.
How Can I Personalize My Tree Gnome?
You can personalize your gnome by adding unique features such as custom facial expressions, distinctive clothing patterns, or accessories like flowers, acorns, or even miniature garden tools that reflect your personality and creativity.
What if My Gnome Gets Damaged Over Time?
Regularly check your gnome for signs of wear and tear. If you notice any damage, promptly apply additional sealant or paint to the affected areas. Consider storing your gnome in a sheltered location during extreme weather to prevent further damage.
Conclusion
Creating a tree gnome is an enjoyable and rewarding project that begins with designing its body, hat, and beard, followed by careful placement and embellishment. Through the steps outlined in this guide on how to make a tree gnome, you can easily craft a delightful character for your outdoor space. Don’t hesitate to personalize your creation—experiment with different shapes, colors, and accessories to make it uniquely yours.
The charm and appeal of tree gnomes add whimsy to gardens, inviting smiles and sparking joy for anyone who encounters them. Your gnome will brighten your outdoor space and become a treasured symbol of your creativity and craftsmanship.
Elizabeth Davis
Elizabeth is a creative writer and digital editor based in the United States. She has a passion for the arts and crafts, which she developed from a young age. Elizabeth has always loved experimenting with new mediums and sharing her work with others. When she started blogging, she knew that DIYquickly would be the perfect platform to share her tutorials and tips. She's been writing for the blog from the beginning, and her readers love her helpful advice and easy-to-follow instructions. When she's not writing or editing, Elizabeth enjoys spending time with her family and friends.