
How to Apply Paint Protection Film
Are you looking for a way to keep your car, boat, or motorcycle looking shiny and new? Paint protection film (PPF) might be the answer. PPF provides extra protection from everyday traffic debris, rock chips, and chemical staining that can dull your vehicle’s finish over time.
Whether you’re a DIYer or rely on a professional to apply it, here’s all you need to know. If you plan on doing it yourself, read the instructions carefully and follow all steps for a successful application.
In this blog post, we’ll cover how to apply paint protection film in easy-to-follow steps so you can keep your ride looking its best!
What Will You Need?
Before you start, make sure to have the following supplies on hand:
- PPF (precut pieces or a roll)
- Masking tape
- Squeegee/plastic scraper
- Isopropyl alcohol
- Microfiber towels
- Glass cleaner (optional)
Preparing for the installation is key to success. Make sure you have a clean and dust-free environment, a flat workspace to lay out your PPF, and plenty of light to see what you’re doing.
10 Easy Steps on How to Apply Paint Protection Film
Step 1: Clean the Surface
Your first step should be to clean the surface you plan to apply the PPF thoroughly. Start with a wash using car soap and water, then use Isopropyl alcohol to remove any leftover contaminants. This will help ensure the film adheres properly and won’t bubble up or peel away prematurely.
Step 2: Measure Twice and Cut Once
Take the time to measure twice before cutting the PPF. First, take your measurements and mark them on the film, then double-check before you cut. Make sure to use sharp scissors or a craft knife for precise cuts.
Step 3: Align the Film
Once you’ve made your cuts, it’s time to apply the PPF. Peel away a corner of the backing paper and align one end of the PPF with the edge of your car. Gently lay down the film, using masking tape to secure it.
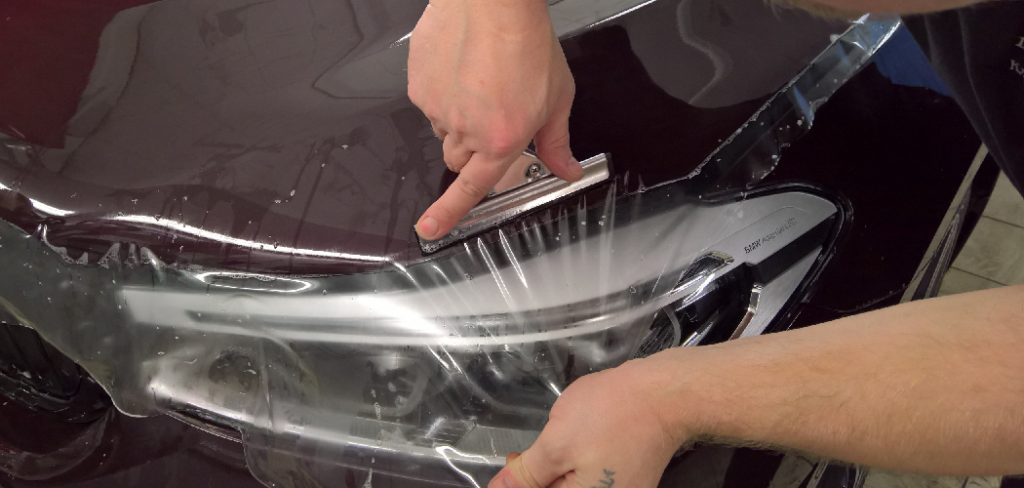
Step 4: Burnish the Film
Take a squeegee or plastic scraper and use light pressure to burnish the film onto the surface. This will help ensure that it’s securely adhered to. Make sure to apply pressure evenly and in straight lines. Don’t forget to burnish the edges of the film for maximum adhesion.
Step 5: Trim Excess Material
Once you’ve finished burnishing, use a craft knife or scissors to trim any excess material. Make sure not to cut too close to the edge of your car, as this could leave the film vulnerable to peeling. If you have any debris or bubbles in the film, use a microfiber towel to remove them.
Step 6: Final Inspection and Care
After the application, scrutinize your work. Look for any bubbles, creases, or imperfections in the film. If you spot any, use the squeegee to work them out to the edge gently. Always keep the surface clean and waxed once the PPF is applied to your satisfaction. Avoid high-pressure washing for a few days after application to allow the film to settle. With proper care, your paint protection film can last for years, keeping your vehicle looking its best.
Step 7: Post-Installation Precautions
After you’ve successfully applied the paint protection film, there are certain precautions you must take to ensure its longevity. Avoid washing your vehicle for a week to allow the adhesive to cure properly. Also, avoid parking under the sun for extended periods, as excessive heat can warp the film. Remember, patience in this phase will ensure your film settles well, providing superior protection and aesthetics for your vehicle for years.
Step 8: Regular Maintenance
Maintaining your paint protection film is essential to preserve its protective quality and appearance. This includes regular washing using mild shampoo and water. Avoid harsh chemicals or rough clothes that may scratch the film. Additionally, consider using a film-friendly wax or sealant every few months to enhance the shine and water-beading effect.
Regular inspection of the film for any signs of wear or damage will help ensure it continues to protect your vehicle effectively. If you notice any damage, get the film replaced at the earliest to prevent any harm to the paint beneath.
Step 9: Dealing with Damage and Repairs
Despite careful maintenance, you may occasionally face some damage to your paint protection film. In such cases, acting promptly is essential to prevent the damage from worsening. Small tears, scratches or peeling edges can often be fixed without replacing the whole film. For minor scratches, a heat gun or hairdryer can self-heal the film. However, more significant damage, like deep scratches or tears, might require a professional touch.
Step 10: Replacement and Removal
After many years of guarding your vehicle’s paint, there may come a time when you need to replace or remove the paint protection film. It’s a straightforward process. Use a heat gun or a hairdryer on a low setting to warm the film, making it easier to peel off. Start at a corner and slowly pull the film away at a 45-degree angle.
If any adhesive residue remains, it can be removed using an adhesive remover. Once the film is removed, clean the surface thoroughly before applying a new layer of paint protection film. Always remember, if the removal process seems too daunting, seek professional help to avoid any potential damage to your vehicle’s paint.
By following the steps outlined above, you can easily protect your vehicle’s paint with a layer of paint protection film. Not only will this keep your car looking like new, but it’ll also add to its value if you decide to sell it. So what are you waiting for? Get out there and start applying paint protection film!
5 Additional Tips and Tricks
- Cover the entire car in one go. If that is not possible, try to avoid overlapping pieces of film as much as possible.
- Always check if the area around the edges of the film is clean and free from dirt or debris before you apply your paint protection film.
- Make sure to thoroughly wet down both the area for application and the film itself. This will ensure that bubbles won’t form as you apply it.
- Use a squeegee to press out any air bubbles or wrinkles from the film’s surface, starting from the middle and working toward the edges.
- To finish up, use a razor blade to trim off any excess film at the edges of the car. Be sure to use a sharp blade and take your time to get a clean finish.
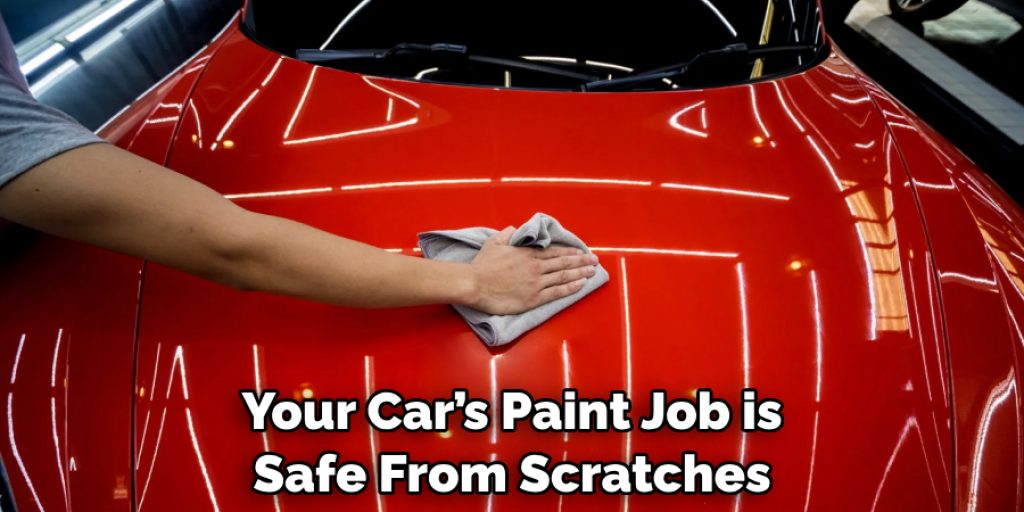
By following these tips, you can be certain that your paint protection film will stay in place and look great for years. And with this added layer of protection, you can rest assured knowing that your car’s paint job is safe from scratches, dirt, and debris. With the right care and maintenance, you’ll be able to keep your car looking showroom-ready for years to come!
Which Paint Protection Film is Best?
When it comes to selecting the best paint protection film for your car, you’ll want to look for a hybridized polyurethane-based film. This type of film offers great optical clarity and is highly durable, making it an ideal choice to protect your car’s paint job. Additionally, when choosing a paint protection film, select one with UV protection to help minimize fading and discoloration over time.
It’s also important to consider your budget when selecting the right paint protection film for you. Some higher-end films can come with a hefty price tag, so looking into more affordable options that still provide excellent quality and protection may be beneficial.
No matter which paint protection film you choose, applying it according to the tips above will ensure your car’s finish looks as good as new. Paint protection films are an effective way to keep your car looking its best and extend the life of its paint job for years!
Does Paint Protection Film Stop Rust?
While paint protection film can help guard against minor scratches, dirt, and debris, it will not stop rust. It’s important to remember that rust prevention starts from the inside out. To protect your car from corrosion and rusting, you’ll need to take appropriate measures like proper maintenance of vital components and regular oil changes. Regularly waxing or sealing your car’s paint job can help protect against rust and corrosion.
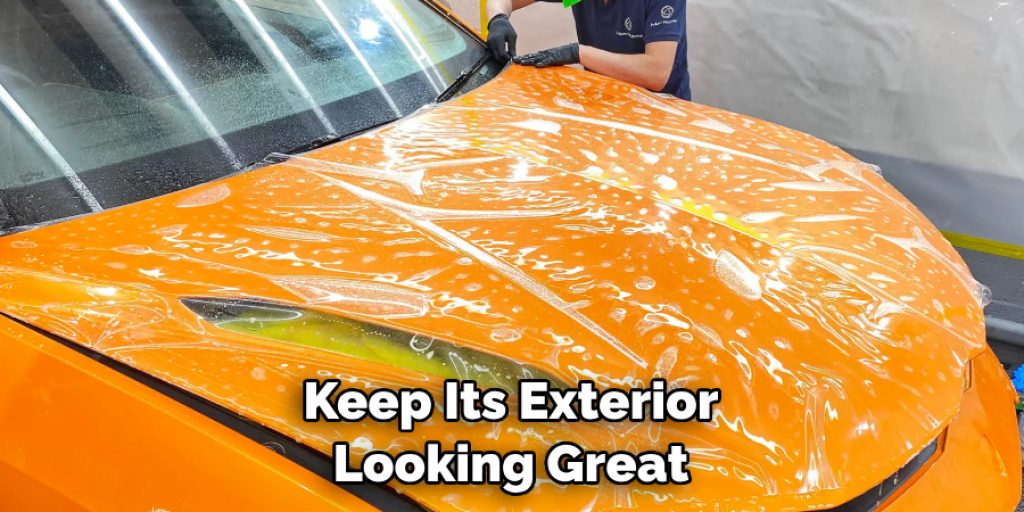
Adding a layer of paint protection film to your car is an excellent way to keep its exterior looking great, but it’s important to remember that this alone will not prevent rust or corrosion. Taking appropriate steps for maintenance and care is still essential for long-term durability and keeping your car in top condition.
Conclusion
In conclusion, how to apply paint protection film provides a reliable option for car owners who don’t want to risk scratching and damaging their vehicle’s exterior. Although there is no definite answer to the question of when to apply paint protection film, it is best to consult a professional for advice, as it could be beneficial before any major trip you plan on taking with your car.
Additionally, paint protection film requires some level of skill and precision for it to be applied properly. Researching installation methods and tips pays off; after all, gaining knowledge about something you are passionate about is a good use of time.
Putting all these things into consideration, applying paint protection film provides peace of mind in knowing that the exterior beauty of your car will remain intact and look its best throughout all its travels.
Louis Wein
Louis has always been fascinated by cars. He loves the way they look, the sound of the engine, and how they make him feel when he's driving. He is always keen to learn more about different mechanics of cars and how the engine contributes to other aspects of the car. As an automotive technician with over 10 years of experience, he knew how they worked and loved taking them apart to see how they went back together. He was especially interested in the mechanics of combustion engines and loved finding ways to make them more efficient. He loves to work on cars and help people keep their vehicles running smoothly. As a senior editor, he enjoys contributing to Diy quickly because it allows him to share his knowledge and expertise with others.


