How to Fix Heat Transfer Vinyl Mistakes
Are you tired of heat transfer vinyl (HTV) mistakes ruining your projects? Don’t worry, we’ve all been there. But the good news is that most HTV mistakes can be fixed with a few simple steps.
Mistakes happen to even the most experienced crafters when working with heat transfer vinyl (HTV). Whether it’s an alignment issue, bubbling, or an incomplete transfer, addressing these errors can save your project and prevent wasted materials. In this guide on how to fix heat transfer vinyl mistakes, we will explore various common mistakes made during the HTV application process and provide step-by-step solutions to rectify them.
With the proper techniques at your disposal, you can ensure that your designs look professional and stand the test of time.
What Will You Need?
Before we begin, here are some essential tools that will come in handy when fixing HTV mistakes:
- Weeding Tool: This sharp tool removes excess vinyl from your design.
- Heat Press: An iron or heat press will be needed to reapply heat to the HTV.
- Teflon Sheet or Parchment Paper: These help protect your design and prevent it from sticking to the heat source.
- Extra HTV: It’s always a good idea to have extra vinyl on hand, especially when working on larger projects.
Now that you have everything you need let’s explore how to fix some of the most common HTV mistakes!
10 Easy Steps on How to Fix Heat Transfer Vinyl Mistakes
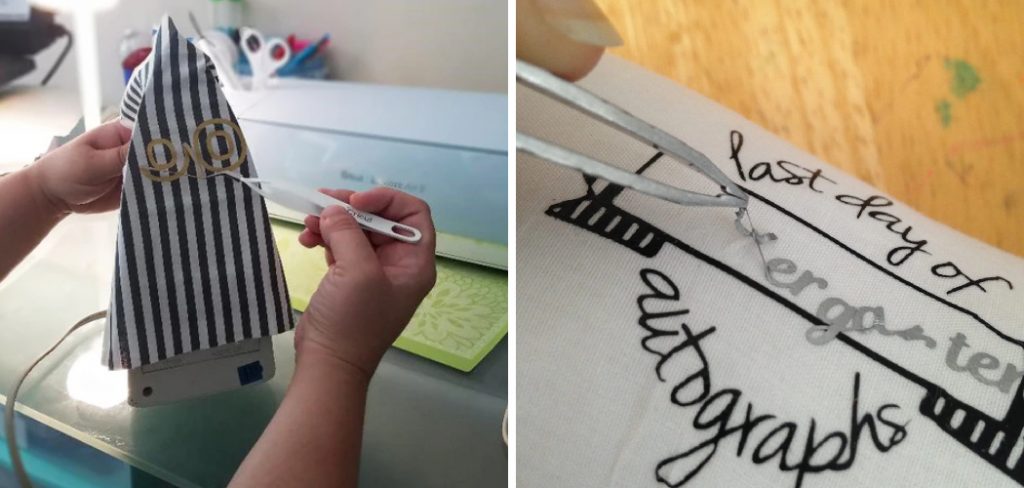
Step 1. Misalignment Issues
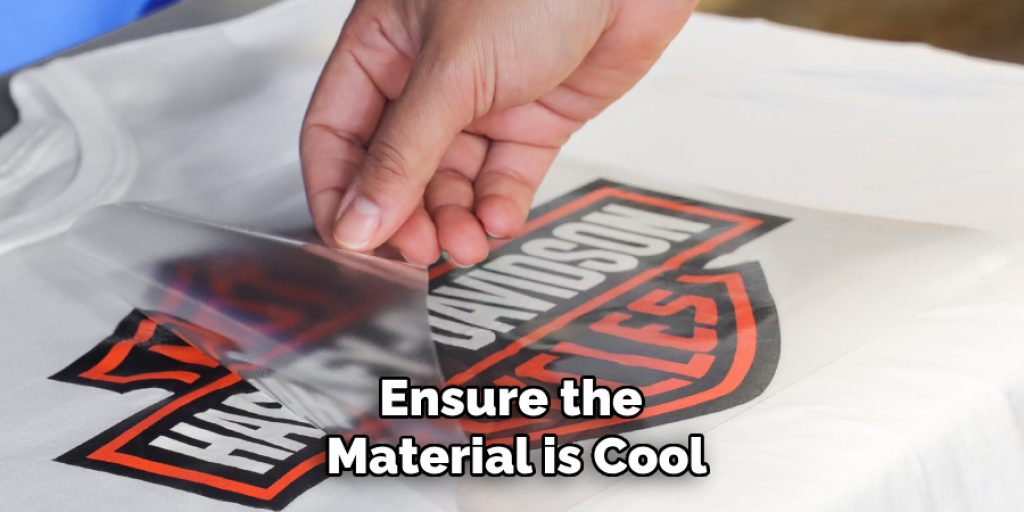
If your HTV design is misaligned, the first step is to peel it away from the fabric gently. Ensure the material is cool to the touch before attempting this. Once removed, carefully reposition the design, taking extra time to check alignment using a ruler or grid mat. If necessary, secure the HTV with heat-resistant tape before applying heat again. This will help maintain accuracy during the final pressing. Reapply heat as needed, following the manufacturer’s instructions for time and temperature, ensuring even pressure across the design.
Step 2. Bubbling Issues
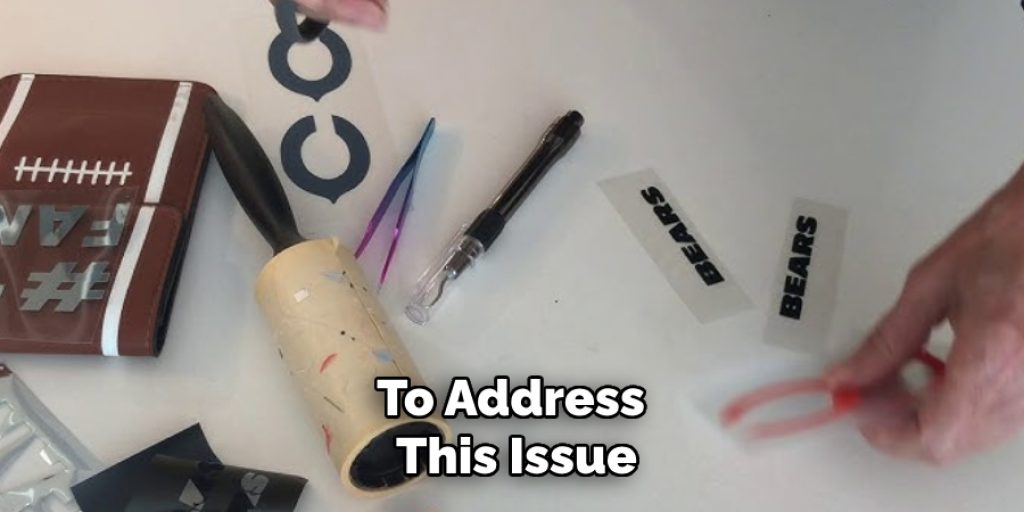
Bubbles can occur when applying heat transfer vinyl, often due to trapped air or excess moisture. To address this issue, start by allowing the design to cool completely. Once cool, use a pin or a weeding tool to puncture the bubble gently. Be cautious not to cut into the vinyl too profoundly. After puncturing, press down on the area with your fingers to release trapped air. If necessary, reapply heat with the heat press or iron, covering the area with a Teflon sheet or parchment paper to protect the design. This will ensure a smooth finish and proper adhesion.
Step 3. Incomplete Transfers
An incomplete transfer can happen when the heat or pressure isn’t sufficient. If you notice that parts of your design haven’t adequately adhered to the fabric, first allow the area to cool. Gently peel back the HTV from the fabric; if it lifts quickly, it indicates an incomplete transfer. To fix this, reposition the design back onto the fabric, aligning it carefully. Then, cover it with a Teflon sheet or parchment paper to protect it. Reapply heat with your heat press or iron, ensuring you use the correct settings for time and temperature. Press down firmly and evenly to ensure complete contact and adhesion. Allow it to cool completely before rechecking the transfer; repeat if necessary until the design is fully adhered to.
Step 4. Adhesion Issues
Adhesion problems can occur if the HTV doesn’t stick properly to the fabric, often due to insufficient heat or pressure during the initial application. To resolve this, start by allowing the vinyl to cool completely. Carefully lift the edge of the HTV to assess how well it has adhered. If it lifts quickly, you may need to reapply heat. Place the design back onto the fabric, ensuring it’s aligned correctly. Use a Teflon sheet or parchment paper to cover the area, then apply heat with your heat press or iron again. Use the recommended time and pressure settings and allow it to cool before checking the adhesion once more. Persistent issues may indicate the need for a different type of HTV or fabric more compatible with heat transfer products.
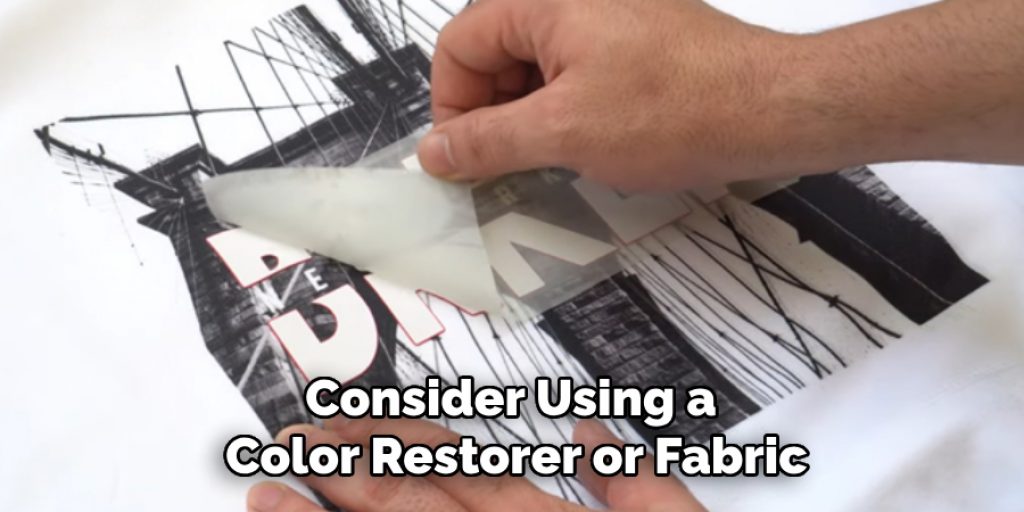
Step 5. Fading Colors
Fading can happen over time due to exposure to sunlight or repeated washing. To address fading, consider using a color restorer or fabric dye compatible with the material. If your HTV is significantly faded, the best solution may be to replace the design entirely. Carefully remove the faded HTV following the steps for misalignment, peeling gently without damaging the fabric. Once removed, apply a new piece of HTV in the same color or shade to refresh the design. This time, ensure that you follow the manufacturer’s guidelines for both applications and care to prolong the vibrancy of the colors in your project.
Step 6. Lifting Edges
Lifting edges are a common issue where the corners or sides of the HTV design start to peel away from the fabric. To fix this, first, allow the design to cool completely if it is still warm. Then, gently lift the lifted edge with a weeding tool or your fingers to assess how well it is adhering underneath. If the vinyl isn’t adhering well, remove the HTV and cover it with a Teflon sheet or parchment paper. Reapply heat using your heat press or iron, ensuring you focus on the lifted sections to generate sufficient heat and pressure. Press down firmly and evenly, allowing it to cool fully before checking if the edges have been secured properly. If the problem persists, you may need to trim the lifted section and reapply it or replace the HTV entirely if the adhesive has been damaged.
Step 7. Cracking or Peeled Vinyl
Cracking or peeling vinyl is often a result of low-quality HTV or improper application techniques. If you notice cracks in your design, check to see if the vinyl is still adhering to the fabric. If it has started to lift, gently peel it back to avoid further damage. To repair this, you may need to reapply the entire design. Start by completely removing the damaged vinyl and following the procedures for misalignment. Once removed, clean the fabric surface to ensure there are no residues. Then, apply a new piece of HTV, ensuring correct alignment and pressing with adequate heat and pressure. Always refer to the manufacturer’s guidelines for the specific type of HTV you are using to achieve optimal results.
Step 8. Production Quality Assurance
Ensuring high-quality results is crucial in heat transfer projects. To maintain the integrity of your designs, conduct a thorough quality check before and after heat application. Inspect the HTV for any defects such as scratches, creases, or uneven cuts that could affect the final product. After application, assess the design for flaws like incomplete adhesion or misalignment. To safeguard against future issues, consider performing a test run on a scrap piece of fabric to fine-tune your methods—this helps establish the right temperature, pressure, and time settings for your equipment. Consistent quality assurance ensures that your projects look professional and withstand wear and tear over time.
Step 9. Maintenance of Heat Transfer Vinyl
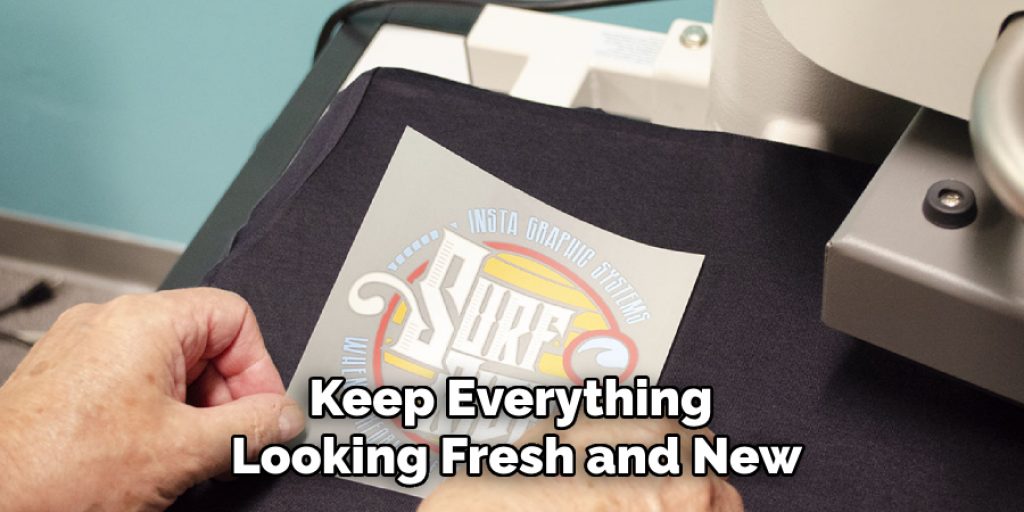
Proper maintenance of your heat transfer vinyl (HTV) projects ensures longevity and vibrancy. After application, wait at least 24 hours before washing the garment to allow the adhesive to cure fully. When it’s time to clean, turn the fabric inside out to minimize friction on the design and use cold water with a gentle cycle. Avoid bleach and fabric softeners, as these can deteriorate the vinyl. Line drying is preferred, but if you must use a dryer, opt for a low-heat setting. Regularly inspect your HTV designs for signs of wear and, if necessary, take preventative actions such as reapplying heat or replacing parts of the design to keep everything looking fresh and new.
Step 10. Troubleshooting Common HTV Problems
When working with heat transfer vinyl, you may encounter various common issues that can be quickly resolved with the right approach. If you find that the vinyl is not adhering well despite following the proper application techniques, ensure that your heat press or iron is functioning correctly and calibrated to the appropriate temperature. Additionally, check that you are using the correct type of HTV for your fabric; some materials may require specific types of vinyl for optimal adhesion. If you experience bubbling in your design, it may indicate too much heat or pressure; try adjusting your settings and reapplying. Keeping a troubleshooting guide handy can streamline the process and help refine your methods for future projects.
Following these tips and techniques, you can quickly troubleshoot common HTV problems and achieve professional-looking results every time.
Conclusion
In summary, how to fix heat transfer vinyl mistakes requires a systematic approach to diagnose and remedy common issues.
By understanding the potential problems—such as misalignment, fading, lifting edges, cracking, or peeling—you can take proactive steps to rectify them. Regular maintenance and quality checks play a significant role in ensuring the longevity and vibrancy of your designs. Always adhere to the manufacturer’s guidelines for application and care, and don’t hesitate to conduct test runs to perfect your technique.
With careful observation and timely interventions, you can achieve flawless results in your heat transfer projects, turning any setbacks into valuable learning experiences.
You can check it out to How to Make Vinyl Stick to Plastic
Elizabeth Davis
Elizabeth is a creative writer and digital editor based in the United States. She has a passion for the arts and crafts, which she developed from a young age. Elizabeth has always loved experimenting with new mediums and sharing her work with others. When she started blogging, she knew that DIYquickly would be the perfect platform to share her tutorials and tips. She's been writing for the blog from the beginning, and her readers love her helpful advice and easy-to-follow instructions. When she's not writing or editing, Elizabeth enjoys spending time with her family and friends.