How to Make a Blanket out Of Old Socks
Repurposing old socks into a blanket is a creative and sustainable way to give new life to items that might otherwise be thrown away. This DIY project not only helps reduce waste but also allows for personal expression through the use of various colors and patterns. Crafting a sock blanket is an enjoyable and cost-effective endeavor that can add warmth and character to your home. Many people accumulate socks over time, whether from mismatched pairs or worn-out footwear, making this project a practical solution to decluttering.
To embark on this journey of creativity, you’ll need a few basic materials, such as old socks, scissors, a sewing machine or needle and thread, and a few optional tools. With simple steps ranging from sorting and cutting to sewing and adding finishing touches, you’ll discover how to make a blanket out of old socks that showcases your unique style and promotes sustainability.
Materials Needed
To create a cozy and unique blanket out of old socks, you will need several key materials:
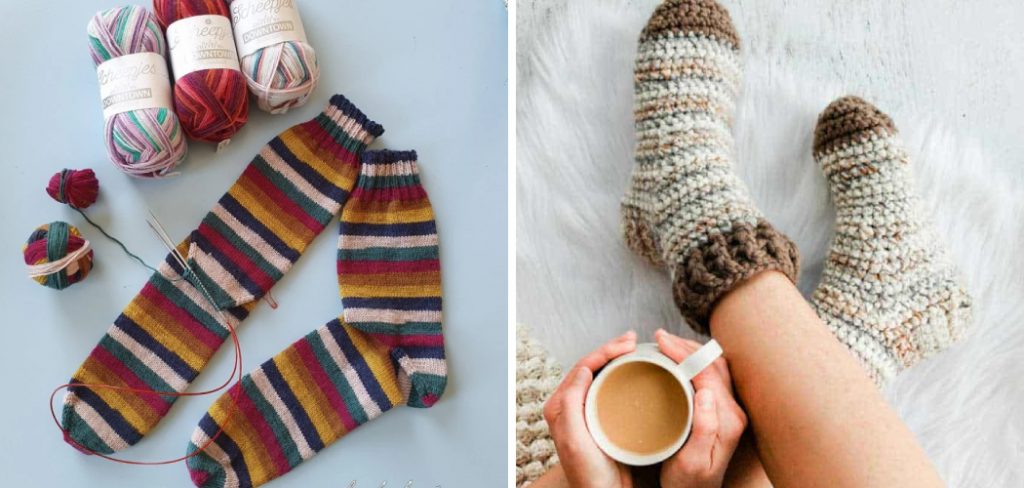
- Old Socks: To add visual interest to your blanket, choose socks that vary in color, pattern, and size. Consider cotton or knit materials for comfort and ease of sewing. Feel free to mix and match vibrant patterns with solid colors or stick to a specific theme to create a cohesive look. Ensure the socks are clean and in suitable condition for use.
- Scissors: A good pair of scissors is essential for cutting the socks into usable pieces. Sharp scissors will help you achieve clean edges, which is important for maintaining the integrity of the fabric.
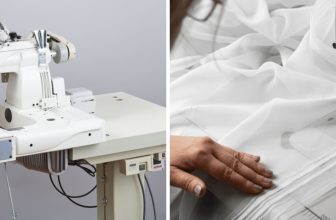
- Sewing Machine or Needle and Thread: You will need either a sewing machine or a needle and thread to assemble the blanket. A sewing machine can save time and provide more durable seams, while hand sewing allows for more control over the details.
- Fabric Adhesive (Optional): For added reinforcement, fabric adhesive can be used to secure edges or to attach pieces before sewing, enhancing the stability of your blanket.
- Measuring Tape or Ruler: Accurate measurements are crucial for cutting sock pieces to uniform sizes. A measuring tape or ruler will help you achieve consistency in your design, making the assembly process smoother.

Preparing the Socks
Sorting and Selecting Socks
When embarking on creating a blanket out of old socks, the first step involves sorting and selecting the right socks for your project. Begin by choosing socks with a similar thickness and material, as this will help ensure that the blanket has a uniform feel and drape. Next, sort the socks by color and pattern; a cohesive design often results in a more visually appealing blanket. You can create sections based on complementary colors or select a specific theme to guide your arrangement. As you sort through your collection, inspect each sock for damage such as holes or worn-out areas. Discard any unusable socks, as they will detract from the quality of your blanket and may complicate the assembly process.
Cutting the Socks
Once you have gathered an appropriate selection of socks, it’s time to start cutting them into manageable pieces. Depending on the design you envision for your blanket, you can cut the socks into strips or squares. Strips tend to work well for a patchwork effect, while squares provide a more structured grid. For best results, ensure that all pieces are consistent in size and shape to achieve a neat finish. Tools like pinking shears can help prevent fraying, ensuring the edges remain intact during assembly. Make careful cuts and consider measuring each piece as you go along, promoting uniformity that will enhance the overall aesthetic of your finished blanket.
Preparing Sock Pieces
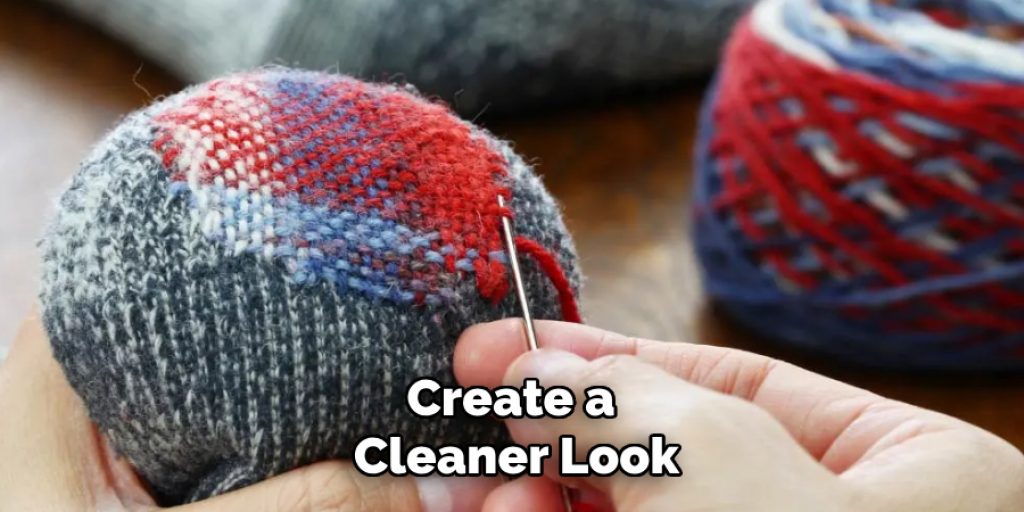
With your sock pieces cut to size, the next stage involves preparing them for sewing. Begin by removing any tags or extra threads that may have been left on the socks; this will help create a cleaner look and reduce the chances of snagging during the sewing process. After ensuring your pieces are clean, you may choose to press or lightly iron them if they appear wrinkled. This will help flatten the sock pieces, making it easier to align them during assembly. Finally, take a moment to arrange your sock pieces in a design layout on a flat surface before you start sewing. This arrangement allows you to visualize how your blanket will look, enabling you to make adjustments as needed to achieve your desired effect.

How to Make a Blanket out Of Old Socks: Assembling the Blanket
Designing the Layout
Once your sock pieces are prepared, it’s time to design the layout for your blanket. Lay out all your sock pieces on a flat surface, taking a moment to experiment with various arrangements. Consider different patterns, such as a checkerboard, where alternating colors create a rhythmic effect or a patchwork design that showcases a variety of patterns and textures. If you’d like something more spontaneous, a random arrangement can yield a fun and eclectic look. As you arrange the sock pieces, ensure they fit together snugly without large gaps, as this will contribute to a more polished final product. Don’t hesitate to adjust as needed; moving pieces around until you find the ideal configuration can be an enjoyable part of the creative process.
Sewing the Pieces Together
With the layout decided, it’s time to sew your sock pieces together. You can choose between various techniques for sewing, but straight stitches are commonly used for a clean, simple finish, while zigzag stitches can provide additional stretch and flexibility, making them ideal for knit fabrics. Regardless of your choice, be attentive to maintaining alignment as you sew; using pins or clip fasteners can help prevent pieces from shifting and ensure they stay in place. If you’re using a sewing machine, carefully guide the fabric through to maintain an even stitch length, while hand sewing allows for more precise control over the edges. Remember to backstitch at the beginning and end of each seam to secure the threads, ensuring your blanket remains intact even after use.
Adding a Border
To enhance the overall appearance of your blanket, consider adding a border, which provides a finished look and can reinforce the edges for durability. You can achieve this by using additional fabric scraps or extra socks, allowing for creativity in the choice of materials. When selecting your border, consider whether you want it to contrast with or complement the main body of the blanket. To attach the border, align it to the blanket’s edges and use sewing techniques such as a straight stitch to secure it.
After sewing, trim any excess fabric while leaving a small seam allowance. For a polished finish, iron the border flat and consider topstitching along the outer edge to ensure it stays in place. This final touch enhances your blanket’s design and showcases the resourcefulness of repurposing materials in your project.
Final Touches and Care
Checking for Loose Threads
Once your blanket is assembled, it’s important to inspect it thoroughly for any loose threads. Gently tug on the edges and seams to identify any stray fibers. Use small scissors to trim these threads carefully, ensuring a neat and tidy finish. Securing any loose threads can prevent unraveling and prolong the life of your blanket.
Cleaning the Blanket
To maintain the durability and appearance of your blanket, wash it using cold water on a delicate cycle. Avoid bleach, as it may damage the colors and fabric. Line dry your blanket to prevent shrinking, or use a low heat setting in the dryer if possible. Always check the care labels on the sock materials, as different fabrics may have specific washing instructions.
Storing the Blanket
When not in use, store your blanket in a cool, dry place. Avoid folding it repeatedly in the same spots, as this can lead to creases. Instead, consider rolling the blanket or placing it in a breathable storage bag to protect it from dust and maintain its condition for future use.
Creative Variations
Different Blanket Sizes and Shapes
One of the most appealing aspects of creating a blanket out of old socks is the flexibility in size and shape. If you have a larger quantity of socks, consider making a generously sized throw that can be used on a couch or bed. Conversely, if you’re working with a limited number of socks, a small lap blanket or even a fun pillow cover can be a perfect project. You can also experiment with shapes such as circular or rectangular designs, allowing for endless possibilities to fit your space and style.
Incorporating Other Materials
To add character and variety to your blanket, consider incorporating other materials like fabric scraps or pieces from old clothing. Mixing different textures and patterns can create a unique and eclectic aesthetic while also contributing to the sustainability of your project. This approach maximizes the use of materials you already have and enhances the overall design.
Design Ideas
Don’t hesitate to let your creativity flow when it comes to design. Experiment with various patterns, color schemes, or themes. For instance, you could organize your sock pieces by color gradient for an ombre effect or create themed sections with a cohesive look. The endless possibilities, so unleash your imagination to craft a one-of-a-kind blanket.
Conclusion
In summary, making a blanket out of old socks is a rewarding project that showcases creativity and resourcefulness. By following the steps outlined—from selecting and preparing sock pieces to sewing and finishing your blanket—you can create a beautiful piece that serves a purpose and tells a story of sustainability. So gather your old socks, explore different design possibilities, and engage in this fulfilling craft. You’ll discover not just how to make a blanket out of old socks, but also how to transform everyday materials into something extraordinary. Give it a try!
Elizabeth Davis
Elizabeth is a creative writer and digital editor based in the United States. She has a passion for the arts and crafts, which she developed from a young age. Elizabeth has always loved experimenting with new mediums and sharing her work with others. When she started blogging, she knew that DIYquickly would be the perfect platform to share her tutorials and tips. She's been writing for the blog from the beginning, and her readers love her helpful advice and easy-to-follow instructions. When she's not writing or editing, Elizabeth enjoys spending time with her family and friends.