How to Make Silver Storage Bags
Silver storage bags are an essential item for anyone who wants to keep their silver items safe and tarnish-free. Whether you have valuable silverware, jewelry or other precious items made of silver, storing them properly is crucial to maintain their shine and value.
Purchasing pre-made silver storage bags can be expensive and not always the most effective solution. Making your own silver storage bags at home is a cost-effective and creative way to protect your silver items while also adding a personal touch.
The main advantage of making silver storage bags at home is the cost savings. You can use materials that you already have on hand or purchase them at a low cost, making it a budget-friendly option. Additionally, by making your own silver storage bags, you have full control over the design and size. You can customize the bags to fit your specific needs and preferences. In this blog post, You will learn in detail how to make silver storage bags.
Step-by-step Instructions for How to Make Silver Storage Bags
Step 1: Inspect the Silver Storage Bags
Before diving into the process of making your own silver storage bags, it’s important to understand what they are and how they work. Silver storage bags are designed to protect metal items from tarnishing and corrosion by preventing air and moisture from reaching the stored items.
These bags are made of a special material that contains activated charcoal, which absorbs any gas or moisture inside the bag, creating a protective environment for your silver items.
Step 2: Gather Materials
To make your own silver storage bags, you will need the following materials:
- Activated charcoal powder or granules
- Non-woven fabric (can be found at craft stores)
- Sewing machine or needle and thread
- Scissors
- Ruler or measuring tape
- Pencil or fabric marker
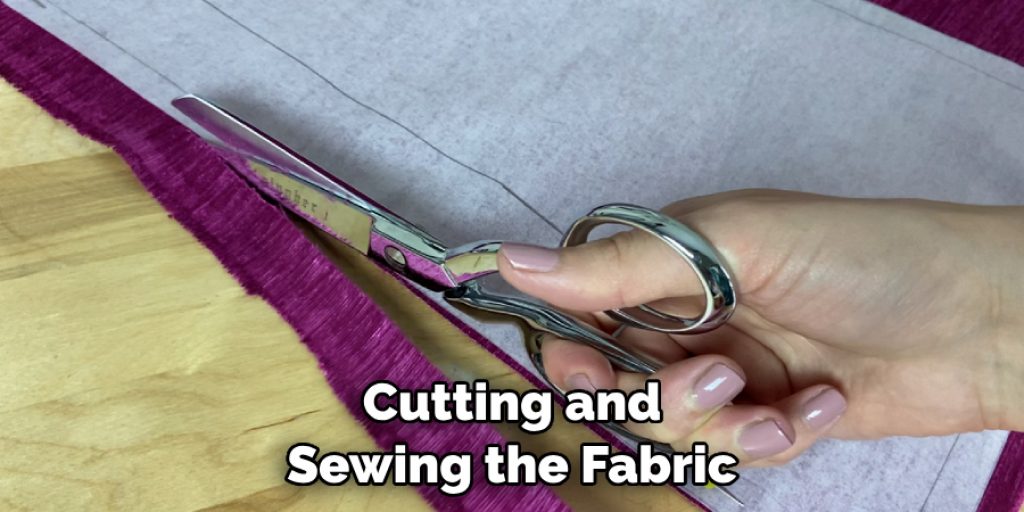
Step 3: Measure and Cut the Fabric
Using your ruler or measuring tape, measure out a rectangular piece of non-woven fabric that is double the size of the bag you want to make. This extra space will allow you to fold over the edges and create a seal for your bag.

Step 4: Mark and Cut the Corners
On each corner of your fabric, mark a square that is 1 inch by 1 inch. Cut out these squares to create flaps on each corner. Fold over each edge of the fabric about half an inch and sew them down using a sewing machine or needle and thread. This will create a clean edge and prevent fraying.
Step 5: Sew the Flaps
Fold each flap inwards and sew them down to create a small pocket. These pockets will hold the activated charcoal in place. Using a funnel, carefully pour the activated charcoal powder or granules into your bag until it is about 2/3 full. Make sure to distribute the charcoal evenly throughout the bag.
Step 6: Sew the Top of the Bag
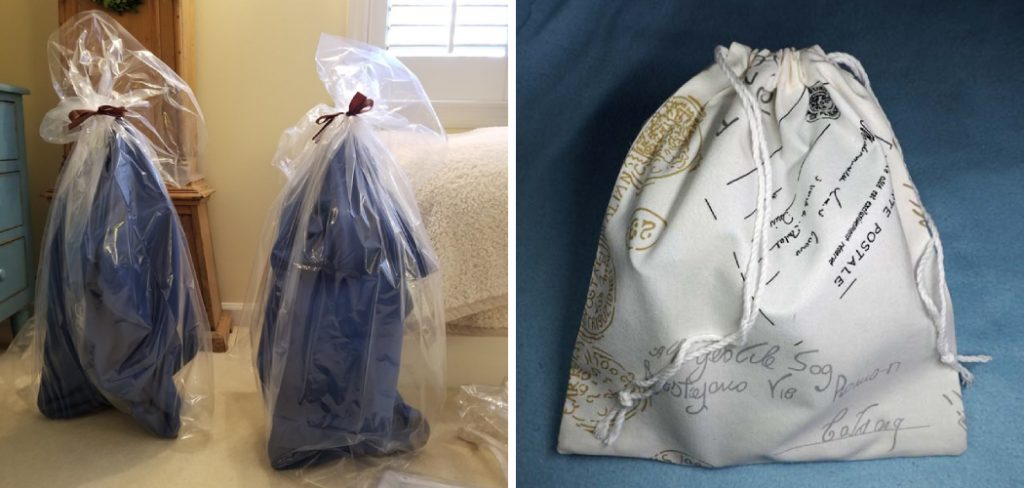
Fold over the remaining fabric at the top of the bag and sew it down, leaving a small opening for inserting your silver items. Carefully place your silver items inside the bag through the small opening. Once they are all inside, sew the opening closed.
To easily identify what is inside each bag, use a fabric marker or label maker to create a label for each bag. Then, store your silver items in a cool, dry place such as a closet or drawer. Your homemade silver storage bags will keep your silver items protected and tarnish-free for years to come.
Precautions for How to Make Silver Storage Bags
- When handling activated charcoal, make sure to wear a mask and gloves to prevent inhalation and skin irritation.
- Store the activated charcoal in a sealed container away from moisture to maintain its effectiveness.
- Avoid using scented or dyed fabric as it may transfer onto your silver items.
- Make sure all edges are securely sewn to prevent any leakage of the activated charcoal.
- Keep the bags away from heat sources to prevent any potential fire hazards.
- Be cautious when storing sharp or abrasive silver items, as they may puncture the bag and compromise its sealing ability.
- Always thoroughly clean and dry your silver items before placing them inside the storage bags. This will prevent any residual dirt, oils, or moisture from reacting with the silver and causing tarnishing.
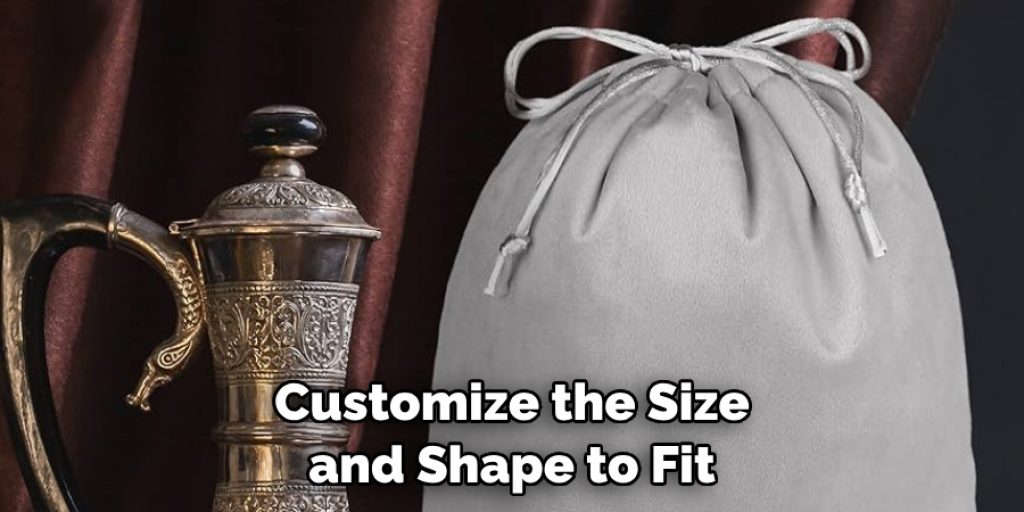
By following these precautions, you can ensure that your homemade silver storage bags are not only effective but also safe to use. Plus, making your own bags allows you to customize the size and shape to fit your specific silver items.
Techniques for Sewing Silver Storage Bags
When it comes to sewing a silver storage bag, there are some techniques that you may find helpful in order to achieve the best results. Here are some tips for you:
- Use a Strong and Durable Thread: Since silver is quite heavy, it’s important to use a sturdy thread that can hold its weight. Nylon or polyester thread are good options for this.
- Use a Smaller Needle Size: A smaller needle will help you achieve more precise stitches and avoid any potential damage to the silver pieces inside the bag. Aim for a size 9 or 10 needle.
- Sew With Caution: When sewing, make sure to hold the fabric tightly to prevent any shifting that can cause uneven stitches. Also, take your time and sew slowly to avoid any mistakes.
- Reinforce the Corners: The corners of the bag are where most of the weight will be concentrated, so it’s important to reinforce them by sewing a few extra stitches or using a zigzag stitch.
By following these techniques, you can ensure that your silver storage bag will be strong and durable enough to hold your precious pieces.
Cleaning and Maintenance Tips for Silver Storage Bags
To keep your silver storage bags in top condition, here are some cleaning and maintenance tips to follow:
1. Use a soft cloth or cotton swab
When cleaning the bag, avoid using any harsh chemicals that can potentially damage the silver. Instead, use a soft cloth or cotton swab with a gentle cleaner specifically designed for silver.
2. Store in a Dry Place
Moisture can cause tarnishing on silver, so it’s important to store your silver storage bags in a dry and well-ventilated area.
3. Avoid Direct Sunlight
Sunlight can also cause tarnishing on silver, so it’s best to keep your bags away from direct sunlight when not in use.
4. Handle With Care
When handling the bags, make sure to be gentle and avoid any rough movements that can potentially damage the delicate silver pieces inside.
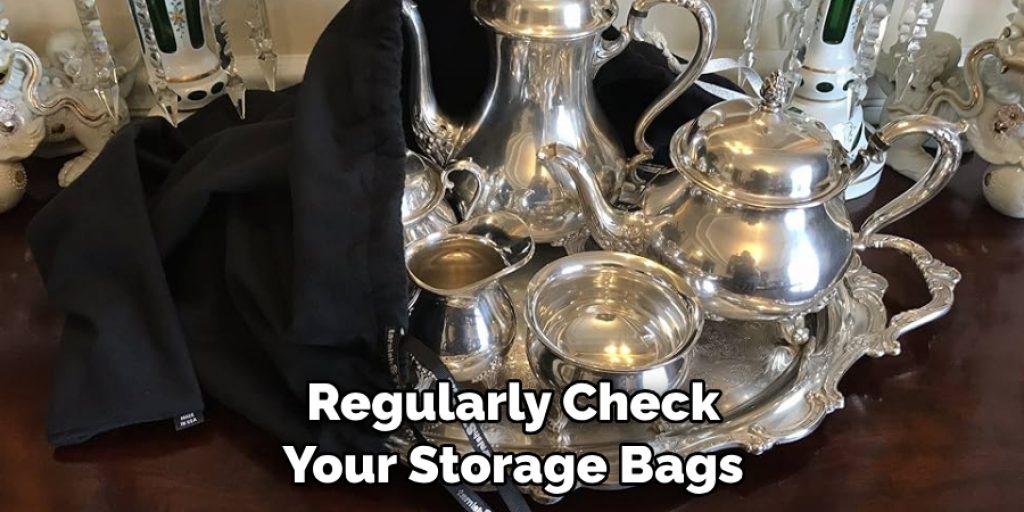
5. Inspect Regularly
It’s important to regularly check your storage bags for any signs of wear and tear. If you notice any holes or tears, make sure to mend them immediately to prevent further damage.
By following these tips, you can ensure that your silver storage bags will last for a long time and keep your precious silver pieces safe and tarnish-free.
Alternative Methods for Making Silver Storage Bags
If you don’t have the time or resources to make your own silver storage bags, there are some alternative methods you can consider:
1. Use a Regular Cloth Bag
A simple cloth bag can also be used to store your silver pieces. Just make sure it’s made of a soft and non-abrasive material to avoid scratching the silver.
2. Purchase Pre-made Silver Storage Bags
There are many options available on the market for pre-made silver storage bags. Look for ones that are specifically designed for storing silver to ensure they have the necessary protective features.
3. Use Airtight Containers
Airtight containers can also be used to store your silver, as they provide a sealed environment to prevent tarnishing. Look for containers specifically designed for silver storage.
By using these alternative methods, you can still effectively store your silver without having to make the bags yourself.
Timeframe for Making Silver Storage Bags
The time it takes to make a silver storage bag may vary depending on your sewing skills and the complexity of the design. However, on average, it can take anywhere from 1-2 hours to complete one bag. This includes cutting and sewing the fabric, as well as any additional embellishments or reinforcements.
Benefits of Using Silver Storage Bags
Using silver storage bags has many benefits compared to other methods of storing silver, such as:
- Protection From Tarnishing: Silver storage bags are specifically designed to protect your silver pieces from tarnishing due to exposure to air and moisture.
- Easy Organization: By keeping all your silver pieces in one place, it makes it easier to stay organized and prevent pieces from getting lost.
- Portability: Silver storage bags are lightweight and portable, making it easy to transport your silver when traveling or moving.
- Versatility: Silver storage bags come in various sizes and designs, allowing you to choose the best option for your specific needs. They can also be used for storing other valuable items such as jewelry or precious stones.
In conclusion, making silver storage bags is a useful skill for anyone who wants to protect their valuable silver pieces. By following the proper techniques and maintenance tips, you can ensure your silver stays in top condition for years to come.
Conclusion
In conclusion, silver storage bags are a great way to store and protect your valuable silver items. Not only do they provide a safe and secure environment for your silver, but they also add an element of elegance to your storage solutions. Moreover, making your own silver storage bags is a cost-effective option compared to purchasing pre-made ones.
You can also use leftover fabric scraps or repurpose old clothing to create unique and personalized bags. I hope this article has been beneficial for learning how to make silver storage bags. Make Sure the precautionary measures are followed chronologically.
Angela Ervin
Angela is the executive editor of DIY quickly. She began her career as an interior designer before applying her strategic and creative passion to lifestyle and home. She has close to 15 years of experience in creative writing and online content strategy for housekeeping, home decorations as well as other niche efforts. She loves her job and has the privilege of working with an extraordinary team. She lives with her husband, two sons, and daughter in Petersburg. When she's not busy working she spent time with her family.