How to Make a Chair Cushion with Foam
Custom chair cushions enhance the aesthetic appeal of your furniture and provide unparalleled comfort and support. By learning how to make a chair cushion with foam, you can create tailored solutions that perfectly fit your chairs while allowing for personalization in fabric and style. This guide will walk you through the entire process, from selecting the right materials to the final touches, ensuring that your DIY project is both enjoyable and rewarding. Whether you aim to refresh an old chair or add comfort to a new one, this article will serve as a comprehensive resource for crafting beautiful, bespoke cushions that elevate the look and feel of your living space. By the end, you will have the skills and knowledge to create stunning cushions that fit your needs and reflect your unique taste and style.

Materials and Tools Needed
To create your custom chair cushion, you will need the following materials and tools:
Materials
- Foam: Select a high-density foam suitable for padding; the thickness can vary based on your preference for comfort.
- Fabric: Choose durable upholstery fabric that complements your décor; consider patterns and textures that appeal to you.
- Batting: Use batting to wrap around the foam, adding an extra layer of comfort and softness.
- Zipper: An appropriate length zipper for one side of the cushion allows easy removal and cleaning.
- Thread: Quality thread in a color that matches your fabric for sewing durability.
Tools
- Scissors: Sharp fabric scissors to ensure clean cuts.
- Measuring Tape: This is used to measure the dimensions of your chair seat and foam accurately.
- Sewing Machine: Essential for stitching fabric pieces together efficiently.
- Pins: To hold fabric pieces in place while sewing.
Optional Materials
- Piping: Adds a decorative edge along the seams for a more polished look.
- Buttons: These are useful for creating tufted patterns on the cushion for added visual interest and texture.

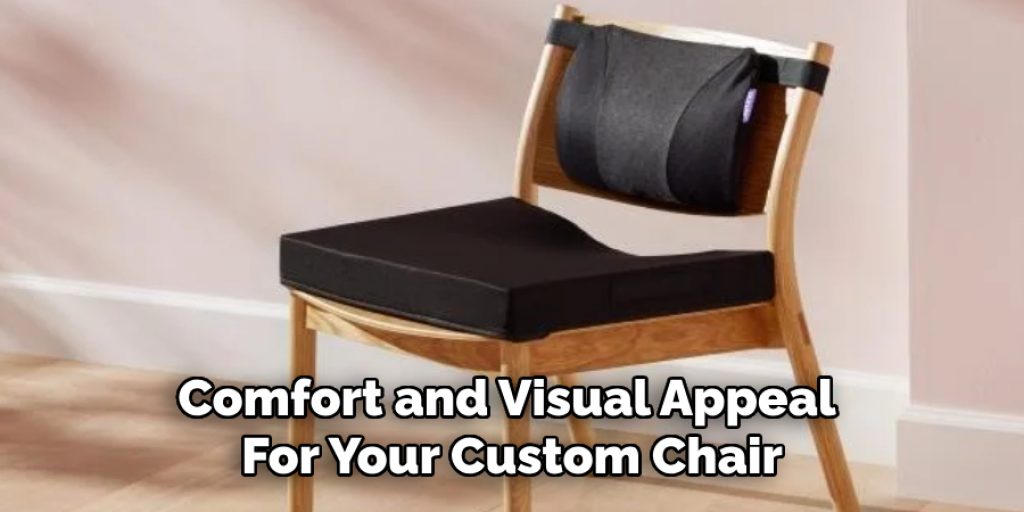
Choosing the Right Foam and Fabric
Selecting the appropriate foam and fabric ensures comfort and visual appeal for your custom chair cushions. When it comes to foam, consider the density and thickness; higher-density foams provide better support and durability, while softer, lower-density options may feel plush but can wear out more quickly. Thickness can vary based on your comfort preferences; typically, a thickness of 2 to 4 inches is ideal for most applications. Test the foam’s comfort level by sitting on it to determine if it meets your expectations.
For fabric, choose durable upholstery materials that can withstand daily use, such as canvas, denim, or synthetic blends designed for furniture. Aesthetically, select fabrics that not only match your personal style but also complement the room’s overall décor. Pay attention to patterns, colors, and textures; vibrant prints can make bold statements, while neutral tones create a timeless look. Coordinating the foam and fabric with your chair style and surrounding décor can elevate the entire space, making your cushions functional and visually stunning.
Measuring and Cutting the Foam
Accurate measurement is essential when creating a custom chair cushion, ensuring a perfect fit for your chair seat. Begin by using a measuring tape to determine the length and width of the chair seat, taking care to measure the widest part. If the seat has a unique shape, make note of any curves or dips, as these will affect the foam’s dimensions. Recording your measurements for easy reference during the cutting process is helpful.
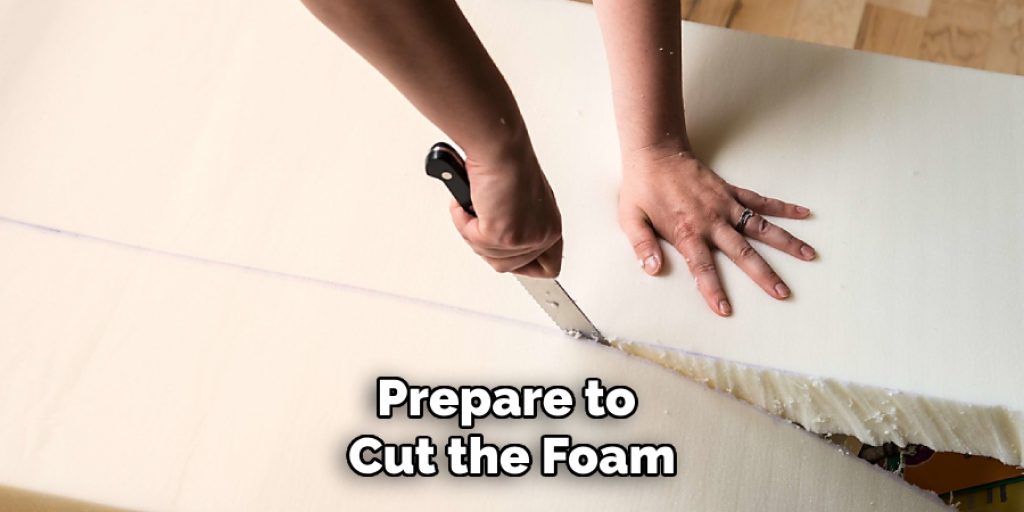
Once you have your measurements, transfer these dimensions onto the foam. Use a straightedge or ruler to draw guidelines on the foam’s surface, indicating where you will cut. After marking the desired size and shape, prepare to cut the foam. For precise and clean edges, opt for a serrated knife or an electric carving knife, as these tools can slice through the foam without compressing it, ensuring a smooth finish.
When cutting, follow your marked lines closely, taking your time to achieve accuracy. Making gradual cuts is advisable rather than attempting to slice through the foam in one go, as this reduces the risk of uneven edges. After cutting, check the foam against your chair seat for a snug fit. If needed, make adjustments by trimming any areas that may be too large. A well-measured and cut piece of foam will greatly enhance the comfort and appearance of your custom cushion.
Preparing the Fabric
Once you’ve accurately measured and cut your foam, the next step involves preparing your fabric. Begin by washing and ironing your chosen upholstery fabric, ensuring that any shrinkage occurs before you cut it to size. This is particularly important for natural fibers, which can change dimensions when washed. After ironing, lay your fabric flat on a clean, dry surface.
To get the correct dimensions for your fabric pieces, add a seam allowance to the measurements of your foam. Typically, a seam allowance of 1 inch on each side works well, providing enough fabric to sew securely while allowing for any adjustments. Measure out the necessary lengths for a cushion with a top, bottom, and sides. You’ll need one piece for the top, one for the bottom, and a continuous strip for the sides that wraps around the foam.
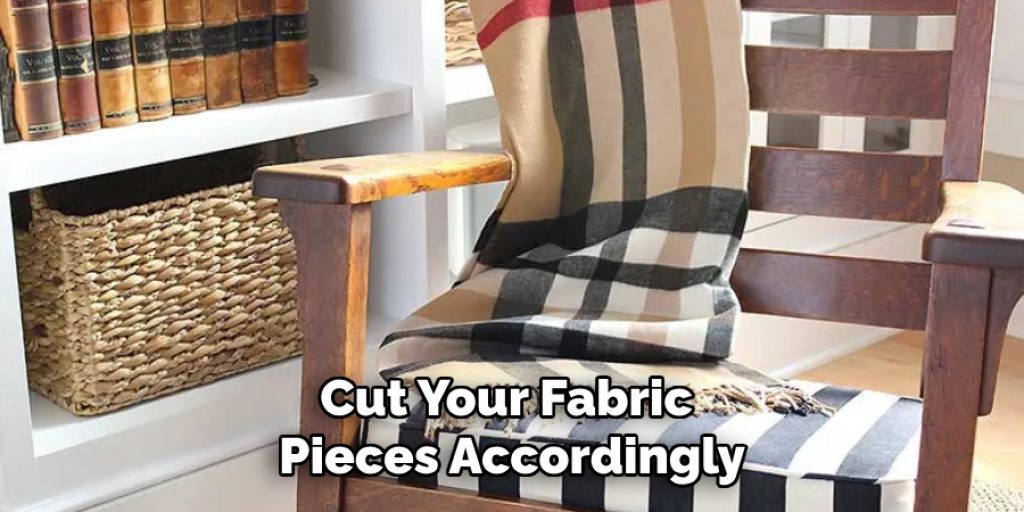
Next, cut your fabric pieces accordingly. The top and bottom pieces should match the dimensions of the foam, including the seam allowance. For fabric that will create the side panels, measure the height of your cushion and the total perimeter (length + width on both sides) of the foam, adding the seam allowance. Once cut, you should have one piece for the top, one for the bottom, and one continuous strip for the sides, as well as additional batting cut to match the top piece, ensuring a plush feel surrounding the foam.
How to Make a Chair Cushion with Foam: Sewing the Fabric Pieces
With all your fabric pieces cut, it’s time to sew them together. Start by sewing the side panels into a continuous strip. To do this, align the short edges of your side fabric and sew them together using a straight stitch, ensuring backstitch at the beginning and end for durability.
Next, take the side panel and attach it to the top piece. Position the right sides of the fabric facing each other, then pin the side panel along the edges of the top piece. Sew along the pinned edge, ensuring you maintain the seam allowance you accounted for during cutting. Once complete, you will have a three-dimensional structure taking shape.
Repeat this process with the bottom piece, attaching it to the other edge of the side panel. While sewing, leave an opening on one side of the bottom piece; this gap will allow for easy foam insertion later on. Once all pieces are securely sewn together, you will have the main body of your cushion ready for the final step.
Adding the Zipper
To complete your custom chair cushion, adding a zipper is essential for easy access to the foam insert and for maintaining the cushion’s clean lines. Start by selecting an appropriate zipper length; typically, a zipper that matches the width of the cushion’s opening, minus a few inches to allow for seam allowance, works best. A 16 to 20-inch zipper is generally suitable for most cushions, but adjust this according to the dimensions of your specific project.
Once you have your zipper, line it up along the opening you left in the bottom fabric piece. With the right sides of the fabric facing each other, pin the zipper in place, ensuring that it is aligned neatly with the edges. Use a zipper foot on your sewing machine, which allows you to sew close to the zipper teeth without interfering with the slider. Carefully stitch along both sides of the zipper, reinforcing the seams at the ends for added durability.
For a neat finish, trim any excess fabric near the zipper and ensure all threads are secured. After sewing, test the zipper’s operation to ensure it opens and closes smoothly. A well-installed zipper not only enhances functionality but also ensures that your cushion retains a polished look, complementing the overall aesthetic of your chair.
Assembling the Cushion
Now that you have completed the fabric cover with the zipper, it’s time to assemble the cushion. Begin by wrapping the foam with batting, which enhances the cushion’s comfort and adds a professional quality to the finished product. Lay the foam flat on your work surface and unfold the batting over it, ensuring that the edges of the batting extend beyond the foam by at least an inch all the way around. This extra batting will create a soft, cushioned edge that complements the firmness of the foam.

Once the foam is wrapped, gently place it inside the fabric cover, ensuring the wrapped foam fits snugly within the structure. Take care to smooth any wrinkles in the fabric as you insert the foam, pushing it down gently to ensure it reaches the corners of the cover. Adjust the batting as necessary, making sure the cushioning is evenly distributed around the foam, creating a harmonious shape for the cushion.
Closing the Cushion
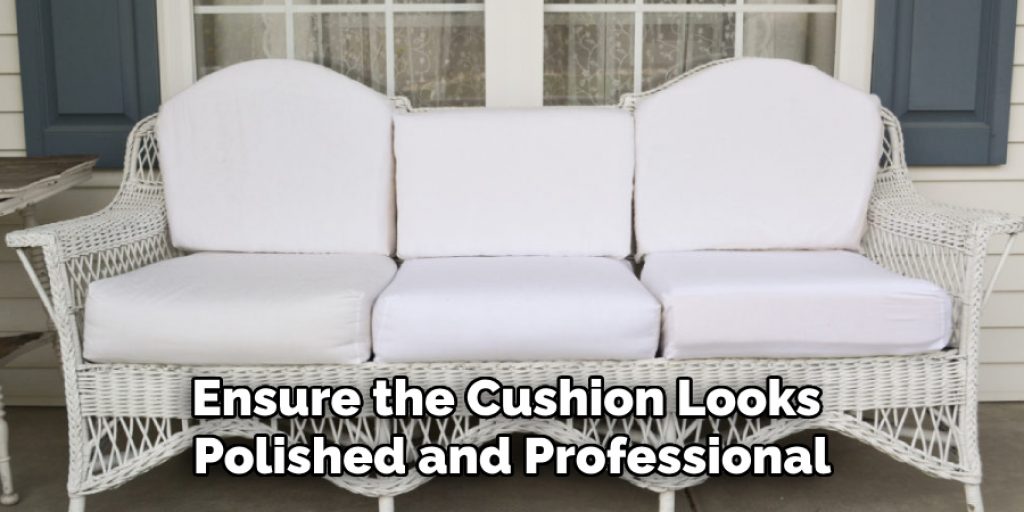
After ensuring a snug fit, it’s time to zip up the cushion cover. Carefully close the zipper, adjusting both the fabric and the foam as needed to achieve an even appearance. Tackling any fabric misalignments will ensure the cushion looks polished and professional. Finally, check for any loose threads or unfinished edges around the zipper, trimming any excess that may detract from the overall aesthetic of your newly created chair cushion. A well-finished cushion will not only provide comfort but also elevate the style of your home décor.
Adding Decorative Elements
Enhancing your custom chair cushion with decorative elements can elevate its overall appeal. One popular option is to incorporate piping along the seams, which adds a polished, tailored look. To attach piping, select a color that complements your fabric. When sewing, insert the piping between the fabric pieces, ensuring that it aligns with the edges. This technique enhances the cushion’s aesthetic and reinforces its structure.
Another stylish embellishment is tufting, which introduces texture and depth. To create tufted cushions, you’ll need buttons and strong thread. Begin by marking evenly spaced points where your buttons will go on the top cushion piece. Pull the thread taut after sewing through to the back of the cushion and securing the buttons to create a dimpled effect on the top surface. This method enhances the cushion’s design and provides additional support and comfort, making it a chic and functional addition to your space.
Final Touches and Adjustments
Before declaring your custom chair cushion complete, it’s essential to inspect it for any imperfections. Carefully examine the seams, zipper, and fabric for loose threads or uneven edges that may detract from the cushion’s overall appearance. If you notice any discrepancies, make the necessary adjustments to ensure a perfect fit.
Next, consider pressing the fabric to achieve a crisp, finished look. Using a steam iron on a low setting, gently press the cushion, being cautious around the zipper and any decorative elements to avoid damage. This step not only smooths out any wrinkles but also enhances the professional look of your cushion.
Finally, once everything is in place and the fabric is pressed, give your cushion a final fluff and shape to ensure it’s comfortable and visually appealing. Your hard work will result in a stunning addition to your home décor, blending style with functionality seamlessly.
Maintenance and Care Tips
To keep your custom chair cushion looking fresh and prolong its life, regular maintenance is key. Always check the fabric care label; most can be spot-cleaned with a mild detergent. For deeper cleaning, remove the foam insert and wash the fabric according to the manufacturer’s instructions, allowing it to air dry completely before reassembling. Periodically fluff the cushion and adjust the foam to retain its shape and comfort. Address any wear promptly to maintain its appearance and functionality.
Conclusion
Creating a custom-made cushion is a rewarding DIY project and a fantastic way to enhance your home décor. By learning how to make a chair cushion with foam, you can experiment with different fabrics, patterns, and designs, tailoring each cushion to suit your personal style and comfort needs. Whether you choose to accentuate a room with vibrant colors or keep it subtle with neutral tones, your handmade cushions will reflect your unique taste. Embrace the opportunity to elevate both comfort and aesthetic appeal in your living space through creative DIY projects.
Angela Ervin
Angela is the executive editor of DIY quickly. She began her career as an interior designer before applying her strategic and creative passion to lifestyle and home. She has close to 15 years of experience in creative writing and online content strategy for housekeeping, home decorations as well as other niche efforts. She loves her job and has the privilege of working with an extraordinary team. She lives with her husband, two sons, and daughter in Petersburg. When she's not busy working she spent time with her family.