How to Sew Together Quilt Squares
Are you a beginner to quilting or just looking for an easy way to sew together quilt squares? Look no further! Sewing together quilt squares is an essential skill that every quilter should know. In this guide, we will go through the step-by-step process of sewing quilt squares together and give you some helpful tips to make your quilting experience more enjoyable.
Sewing together quilt squares is a rewarding craft that combines creativity, precision, and skill. Whether you’re a beginner looking to start your very first quilt project or an experienced quilter aiming to refine your technique, this guide will walk you through the essential steps on how to sew together quilt squares accurately and efficiently.
From selecting the right fabric and tools to mastering the art of piecing, you’ll be on your way to creating a beautiful, handcrafted quilt that can be cherished for years to come.
What are the Benefits of Learning to Sew Together Quilt Squares?
Sewing together quilt squares is a fun and creative activity and offers many benefits.
- Personalization: By sewing your own quilt, you have complete control over the design, color scheme, and overall aesthetic of your creation. This allows you to make a unique quilt tailored to your personal style.
- Sense of Accomplishment: Quilting involves patience, attention to detail, and perseverance. When you successfully sew together quilt squares, the feeling of accomplishment is satisfying and motivating.
- Hobby or Potential Profession: Some quilters turn their passion for sewing into a side hustle or even a career. By learning how to sew it, you can explore new opportunities and turn your hobby into a potential source of income.
- Relaxation: Many quilters find the process of sewing together quilt squares to be calming and therapeutic. The repetitive nature of quilting can help reduce stress and anxiety, making it an enjoyable and relaxing activity.
- Community: Quilting is not just a solitary activity; it’s also a communal one. There are many quilting groups, classes, and events where you can meet like-minded individuals and share your love for the craft.
What Will You Need?
Before we dive into sewing together quilt squares, let’s ensure you have all the necessary tools and materials. Here is a list of essential items you’ll need for your quilting project:
- Fabric: Choose high-quality quilting fabric in the colors and patterns of your choice. Cotton is a popular choice because it’s easy to work with and durable.
- Rotary Cutter and Cutting Mat: A rotary cutter makes cutting fabric quick and precise, and a cutting mat protects your surfaces and helps extend the life of your rotary cutter blade.
- Quilting Ruler: A clear acrylic ruler will help you measure and cut your fabric accurately.
- Sewing Machine: A basic sewing machine that can make a straight stitch is essential for sewing together quilt squares.
- Cotton Thread: Use cotton thread in a color that matches or complements your fabric. Cotton thread is strong and less likely to break when quilting.
- Pins or Fabric Clips: Pins or fabric clips are necessary to hold your quilt squares in place as you sew them together.
- Iron and Ironing Board: Pressing your fabric before cutting and sewing is crucial for accurate piecing. An iron and ironing board will help you achieve crisp seams and edges.
- Seam Ripper: Mistakes happen to everyone. A seam ripper allows you to undo stitches quickly and easily.
With these tools and materials at your disposal, you’ll be well-equipped to start your quilting project and sew together beautiful quilt squares.
10 Easy Steps on How to Sew Together Quilt Squares
Step 1. Prepare Your Fabric:
Begin by washing, drying, and ironing your fabric. This will pre-shrink the material and remove any wrinkles or folds, ensuring your quilt squares are accurate in size and shape. Additionally, ironing your fabric will make sewing and pressing easier.
Step 2. Cut Your Quilt Squares:
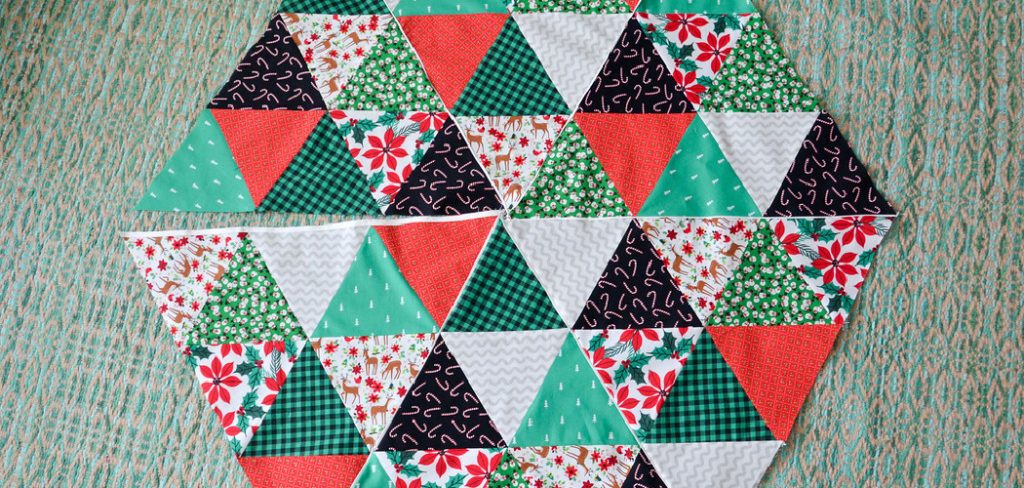
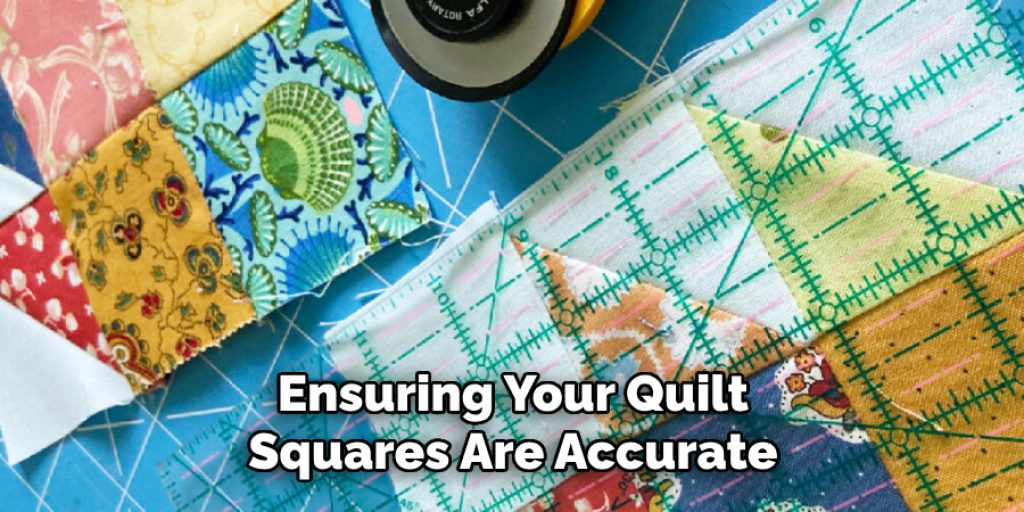
After preparing your fabric, use your rotary cutter, quilting ruler, and cutting mat to cut the fabric into squares. The size of the squares will depend on the pattern you’re following or the design you’re creating. To ensure accuracy and uniformity, carefully measure and mark your fabric before cutting. It’s often helpful to cut a template from cardboard to use as a guide for each square. This step is crucial for ensuring that all your quilt squares are the same size, making piecing them together much smoother.
Step 3. Arrange Your Quilt Squares:
Once all your squares are cut, the next step is to lay them out in the pattern or design you plan to use for your quilt. This is your opportunity to play with colors and patterns until you’re satisfied with the overall look. Arrange the squares on a large, flat surface, such as a floor or a big table. This step is crucial for visualizing the final quilt and ensuring that the colors and patterns flow well together. Take your time with this process, and feel free to take a photo of your layout for reference as you begin sewing the squares together.
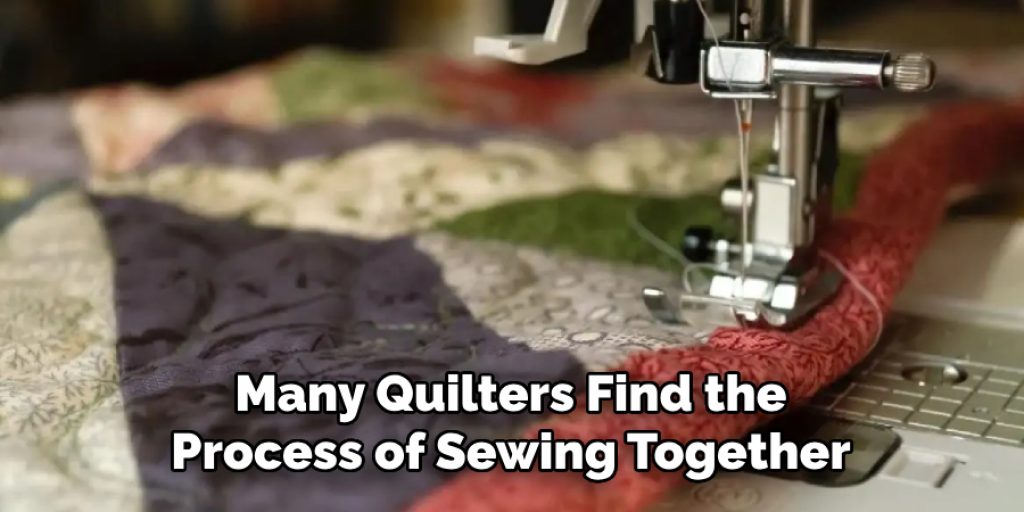
Step 4. Sew the Squares Together:
Now that you’ve arranged your quilt squares in your desired pattern, it’s time to begin sewing them together. Start by selecting two squares that will be sewn together first. Place them right sides together, ensuring their edges line up precisely. Use pins or fabric clips to secure the squares together if necessary.

With your sewing machine set to a straight stitch, sew a ¼ inch seam along the edge of the squares. Once you’ve sewn the first pair of squares, continue sewing pairs together until you have completed the first row. Press the seams open or to one side with your iron to make them flat and neat. Repeat this process for each row of your quilt, creating a beautiful piece of art square by square.
Step 5. Join the Rows Together:
After sewing all the rows of quilt squares, the next step is to join these rows to form the quilt top. Take two rows and place them right sides together, aligning the seams carefully. This step is crucial as matching the seams ensures your quilt will look neatly pieced together. Pin or clip the rows together to keep them in place, focusing especially on aligning the seams perfectly.
Sew the rows together with an ¼ inch seam allowance, just as you did with the squares. Remember to remove the pins or clips as you sew to avoid damaging your sewing machine. After joining the rows, press the seams flat with your iron, either open or to one side, depending on your preference. Continue this process until all rows are sewn together and the main body of your quilt is assembled.
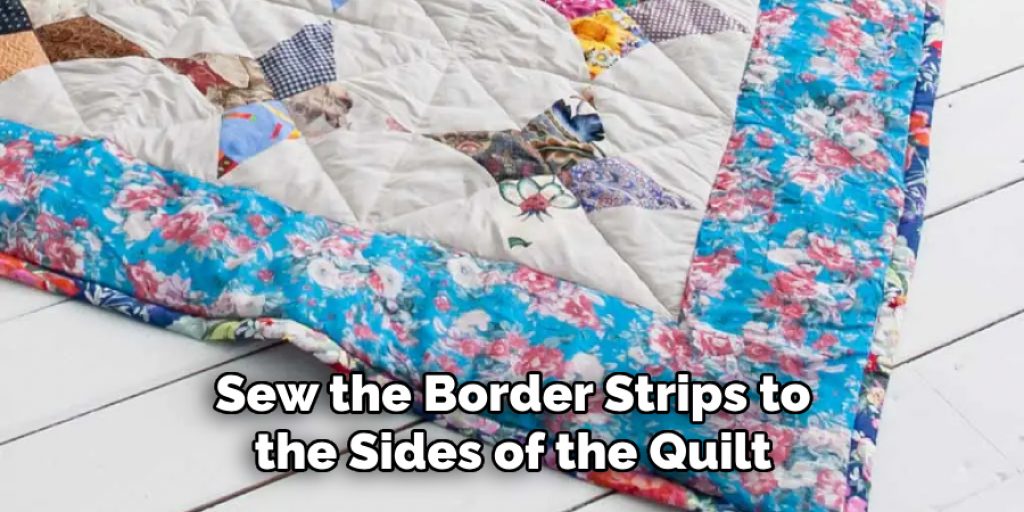
Step 6. Adding the Border:
Now that your quilt top is assembled, it’s time to add a border to frame your work and give it a finished look. First, measure the sides of your quilt top to determine the length of fabric you’ll need for your borders. Cut strips of fabric to your desired width plus a half-inch for seam allowances.
Sew the border strips to the sides of the quilt first, pressing the seams towards the border. Then, measure and cut strips for the top and bottom borders, attaching them in the same manner. This step not only enhances the appearance of your quilt but also stabilizes the edges, preparing it for quilting and binding.
Step 7. Quilting Your Project:
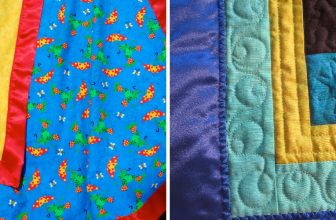
With the top of your quilt pieced together and bordered, the next step is to quilt it. Quilting involves sewing together the quilt top, the batting (a layer of insulation usually made of cotton, wool, or synthetic fibers), and the backing fabric to create a cohesive piece. Begin by laying out your backing fabric on a large, flat surface, then place the batting on top, followed by your quilt top, right side up.
Ensure all layers are smooth and free of wrinkles. You can pin the layers together using safety pins spread across the entire quilt or use temporary fabric adhesive to hold them in place. Choose a quilting pattern that complements your design — this could be as simple as stitching in the ditch (sewing along the seams of the squares) or something more elaborate.
Use a walking foot on your sewing machine to help manage the thickness of the quilt as you sew. Remember, quilting adds aesthetic appeal and secures the layers together for durability.
Step 8. Trimming & Squaring Up Your Quilt:
After quilting, your project may have some excess batting and backing fabric that must be trimmed to give your quilt a neat, finished look. Place your quilt on a large, flat surface and use a long quilting ruler and rotary cutter to trim the edges to be even and square. This step is crucial for ensuring your quilt looks professional and is prepared properly for binding. Make sure to check the corners with a square ruler to ensure they are 90 degrees. Trimming and square up your quilt will make the binding step easier and more precise.
Step 9. Binding Your Quilt:
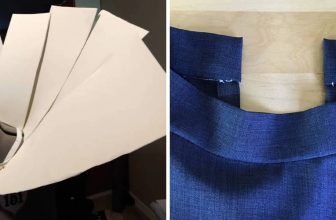
The final step in completing your quilting project is to add the binding, which encases the raw edges of your quilt to give it a polished look. Start by cutting strips of fabric 2½ inches wide to create the binding tape. Join these strips end-to-end to create a continuous length that will go around the entire perimeter of your quilt, plus a few extra inches for overlap. Fold the strip in half lengthwise, wrong sides together, and press.

Beginning in the middle of one side of your quilt, align the raw edges of the binding with the raw edge of the quilt, leaving a tail of about 6 inches unattached at the start. Sew the binding to the quilt with an ¼ inch seam allowance, mitering the corners for a neat finish. When you reach the starting point, overlap the ends of the binding, trim them to fit, and join them neatly before finishing the sewing.
Finally, fold the binding over to the back of the quilt and hand-stitch it in place for a seamless finish. This wraps up your quilting project, leaving you with a beautiful, handmade quilt to cherish or gift.
Step 10. Caring for Your Finished Quilt:
Now that you have a beautifully completed quilt, it’s essential to know how to care for it properly to ensure it lasts for generations. Quilts should be washed sparingly and with great care. When necessary, gently wash your quilt either by hand in a large basin with a mild detergent or in a washing machine on a gentle cycle with cold water.
Avoid using bleach or harsh chemicals that can damage the fabric and colors. After washing, lay the quilt flat to dry, out of direct sunlight, to prevent fading. Occasionally, you can air your quilt outdoors to keep it fresh. Store your quilt in a cool, dry place, and if folding, refold it periodically to avoid permanent creases.
By following these steps and caring for your quilt, you can create a treasured heirloom piece that will bring warmth and beauty to your home.
5 Additional Tips and Tricks
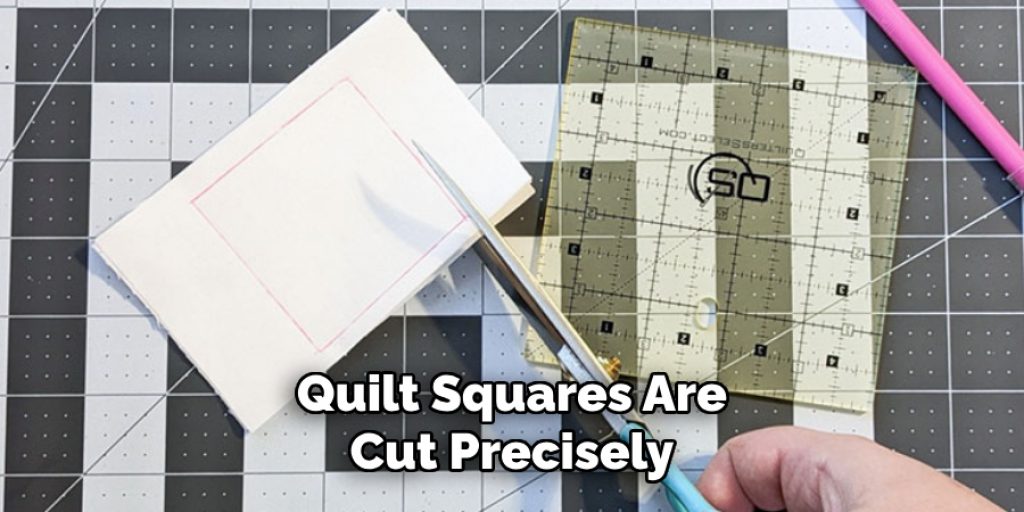
- Precision Cutting: Ensure all your quilt squares are cut precisely to the same size. This makes piecing them together much smoother, and your quilt top will lay flat. Consider using a rotary cutter and a quilting ruler for accuracy.
- Chain Piecing Technique: Save time by sewing your squares together with the chain piecing method. This technique involves continuously feeding pieces under your sewing machine needle without lifting the presser foot or cutting threads between each piece.
- Pressing Seams: Properly pressing your seams can significantly impact the overall appearance of your quilt. Press seams to one side to reduce bulk and help align squares when sewing them together. A hot iron and a pressing mat are essential tools for this task.
- Use of Pins or Clips: Securing your squares together with pins or clips before sewing can prevent them from shifting and ensure your seams match up perfectly. This is especially helpful when sewing squares with patterns that need to align.
- Squaring Up Blocks: After sewing squares into blocks, use a square quilting ruler to trim each block to the needed size. This process, known as “squaring up,” ensures that all your blocks are uniform and will fit together beautifully when assembling the quilt top.
With these additional tips and tricks, you can take your quilting skills to the next level. Remember to always take the time to properly prepare and lay out your materials before starting a project, as this will save you time and frustration in the long run.
5 Things You Should Avoid
- Neglecting to Measure Fabric: Always measure twice before cutting. Avoid jumping straight into cutting without measuring, as inaccuracies can lead to a quilt that doesn’t piece together correctly.
- Rushing the Cutting Process: Rushing through the cutting process can result in uneven squares that are difficult to align. Take your time to ensure each piece is cut accurately.
- Using Dull Cutting Tools: Dull blades on rotary cutters or scissors can cause frayed edges and uneven cuts. Keep your tools sharp to achieve clean, precise lines.
- Skipping the Pressing of Fabric: Avoid skipping the pressing of your fabric before cutting. Ironing out wrinkles and folds ensures a smooth, flat surface for accurate cutting and piecing.
- Ignoring Fabric Grain: Pay attention to the fabric’s grain when cutting squares. Cutting against the grain can lead to stretching and distorted squares that won’t piece together neatly.

By avoiding these common mistakes, you can ensure that your quilt squares come together seamlessly.
How Do You Sew Different Size Quilt Blocks Together?
Sewing different-sized quilt blocks together can be a bit tricky, but with the right techniques, it can result in a beautiful and unique quilt. Here are some steps to follow when sewing different size quilt blocks together:
- Lay Out Your Blocks: Before sewing, lay out all your blocks on a flat surface. This will help you visualize how the final quilt will look and allow you to rearrange blocks if needed.
- Group Similar Sizes Together: Group the blocks with similar sizes together. This will make it easier to sew them into rows later on.
- Add Sashing: To create a cohesive look, add sashing in between each row of blocks. Sashing can be made from a different fabric or use the same fabric as the borders.
- Measure and Trim: Measure the width of each row and trim blocks if necessary to make them all the same size.
- Sew Rows Together: Once all your blocks are trimmed, sew the rows together using a 1/4 inch seam allowance—press seams in one direction for smoother piecing.
- Add Borders: Add borders to the sides of your quilt using the same fabric as the sashing. This will give a clean and finished look to your quilt.
- Sew Top, Batting, and Backing Together: Layer the backing, batting, and quilt top and baste them together before quilting.
- Quilt as Desired: Quilt the layers together using your preferred methods, such as hand quilting or machine quilting.
- Bind the Quilt: Finally, bind the edges of your quilt to give it a polished and professional finish.
With these steps, you can successfully sew together different-sized quilt blocks and create a beautiful and unique quilt.
Conclusion
how to sew together quilt squares is a rewarding process that transforms individual pieces of fabric into a unified, beautiful work of art. From the precision of cutting to the final stitches binding the quilt, each step requires attention to detail and patience.
By following the outlined tips and tricks, adopting best practices, and avoiding common pitfalls, quilters at any level can enhance their skills, achieving quilts that are both aesthetically pleasing and structurally sound.
Remember, quilting is not just about sewing pieces together; it’s about piecing memories, creativity, and love into a tangible form that can be cherished for generations. Happy quilting!
Nancy Behan
Nancy is an embroidery artist, fashion blogger and a full time editor at DIY quickly. Nancy edits the fashion section on DIY quickly, focusing on the embroidery and cross stitch articles, alongside with fabric and other costume design elements. She graduated from the University of Michigan with a Bachelor of Arts in Art History. She loves to work on her own projects, read books and watch romantic movies in her spare time.