How to Sew Satin Blanket Binding by Hand
Sewing satin blanket binding by hand is a delightful technique that adds a polished finish to your handmade quilts and blankets. Understanding how to properly attach satin binding not only enhances the aesthetic appeal of your projects but also increases their durability. This guide will walk you through the essential steps and tips for how to sew satin blanket binding by hand, making your sewing experience enjoyable and rewarding. Whether you’re a seasoned crafter or just starting out, mastering this skill will elevate your textile creations.

Importance of Proper Binding for a Professional Finish
Proper binding is crucial for achieving a professional finish in any quilting or sewing project. It not only secures the fabric layers together but also provides a clean, polished edge that showcases your craftsmanship. Well-executed binding prevents fraying and wear, ensuring that your quilts and blankets withstand the test of time. Additionally, it enhances the visual appeal, particularly when using contrasting or coordinating fabrics that complement the overall design. By investing time and attention into mastering the binding technique, you can significantly elevate the quality of your work, making your creations look polished and professionally made.
What is Satin Binding and Its Purpose
Satin binding is a type of trim made from satin fabric, often used to finish the edges of quilts, blankets, and various sewing projects. Its smooth, shiny surface adds an elegant touch and enhances the overall aesthetic of the item. The purpose of satin binding extends beyond mere decoration; it also provides protection to the raw edges of fabric, preventing fraying and wear over time. By securely encasing the edges, satin binding helps maintain the integrity of the quilt or blanket, ensuring it remains durable and visually appealing. Additionally, it allows for creative expression, as satin comes in a variety of colours and patterns, enabling crafters to coordinate or contrast with their project’s design.
10 Methods How to Sew Satin Blanket Binding by Hand
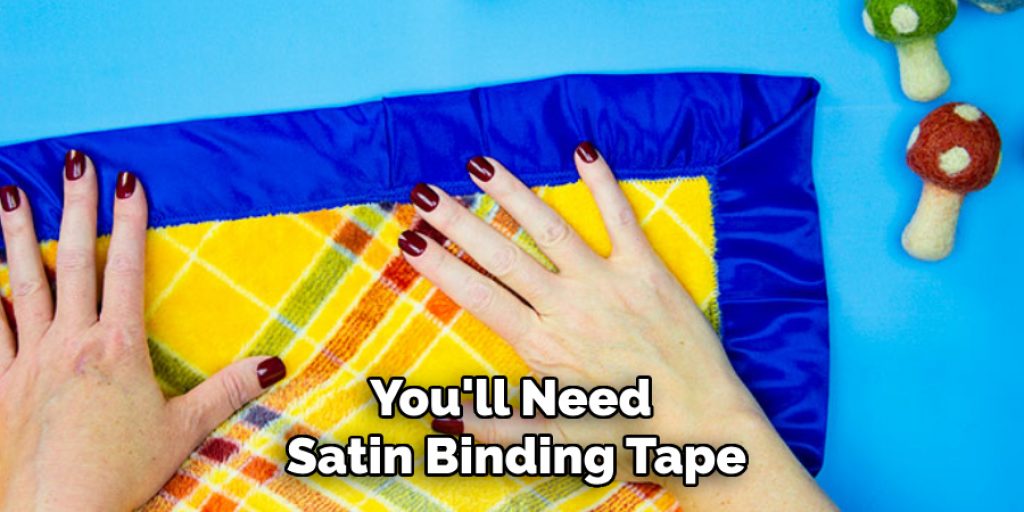
1. Preparing Your Materials
Before beginning the binding process, gather all necessary materials and tools. You’ll need satin binding tape, fabric scissors, a needle, matching thread, pins or fabric clips, and an iron. Satin binding tape is available in various widths, so select one that suits your project. Ensure that your fabric is pre-washed and pressed to avoid any shrinkage or wrinkles that could affect the binding process. Having your materials organized and prepared will streamline the sewing process and contribute to a smoother execution of your project.
2. Measuring and Cutting the Binding
Accurate measurement and cutting are crucial for a neat and even finish. Measure the perimeter of your blanket to determine the length of satin binding tape needed. Add a few extra inches to allow for overlapping and joining the ends. Using fabric scissors, cut the satin binding tape to the required length, ensuring that the edges are straight and clean. If your blanket has mitered corners, measure and cut the binding with extra length to accommodate the angles. Properly measured and cut binding will ensure a seamless application around the entire blanket.
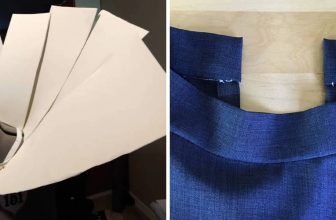
3. Attaching the Binding to the Blanket
Begin by attaching the satin binding tape to the edge of your blanket. Start at a corner or mid-point of one side and align the raw edge of the binding tape with the edge of the blanket. Pin or clip the binding tape in place, ensuring that it is evenly distributed around the blanket. Leave a small overhang at the beginning of the binding tape to allow for joining the ends later. Gently press the binding tape with an iron on a low setting to help it adhere to the fabric and make the hand-sewing process easier. This step is essential for achieving a uniform and smooth finish.
4. Hand-Sewing the Binding with a Slip Stitch
The slip stitch is a discreet and effective method for sewing satin binding by hand. Begin by threading your needle with a length of matching thread and tying a knot at the end. Starting at the beginning of the binding tape, insert the needle through the edge of the binding tape, catching a small amount of the blanket fabric. Pull the thread through, and then slip the needle under the folded edge of the binding tape, making a small stitch. Continue this process, working along the edge of the binding tape, and making sure each stitch is hidden under the fold. The slip stitch creates an invisible seam, giving the binding a clean and professional appearance.
5. Securing the Corners with Mitered Folds
Mitering the corners of the binding is crucial for achieving sharp, professional-looking corners. When you reach a corner, fold the binding tape at a 45-degree angle, creating a mitered corner. Pin or clip the fold in place and continue sewing along the edge of the binding tape. Ensure that the mitered corner is neat and aligned with the adjacent edges of the blanket. This technique provides a crisp and polished finish to the corners, enhancing the overall appearance of your blanket.

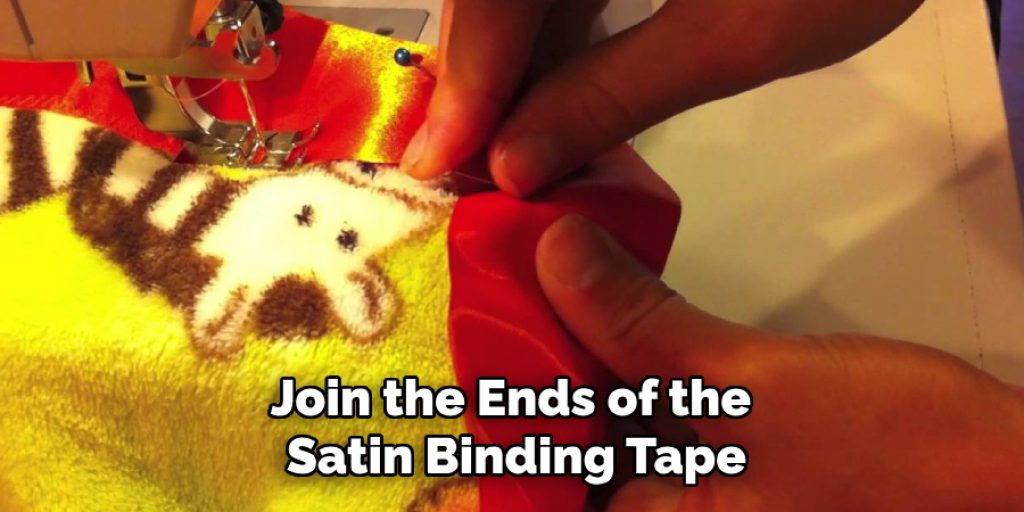
6. Joining the Binding Ends
To complete the binding process, join the ends of the satin binding tape. When you reach the starting point of the binding, overlap the end of the tape with the beginning by about 1 to 2 inches. Trim any excess tape if necessary and fold under the raw edges to create a clean finish. Pin or clip the overlapping ends in place and continue sewing with a slip stitch to secure them. The joined ends should be smooth and seamlessly integrated into the binding, ensuring a continuous and uninterrupted finish around the entire blanket.
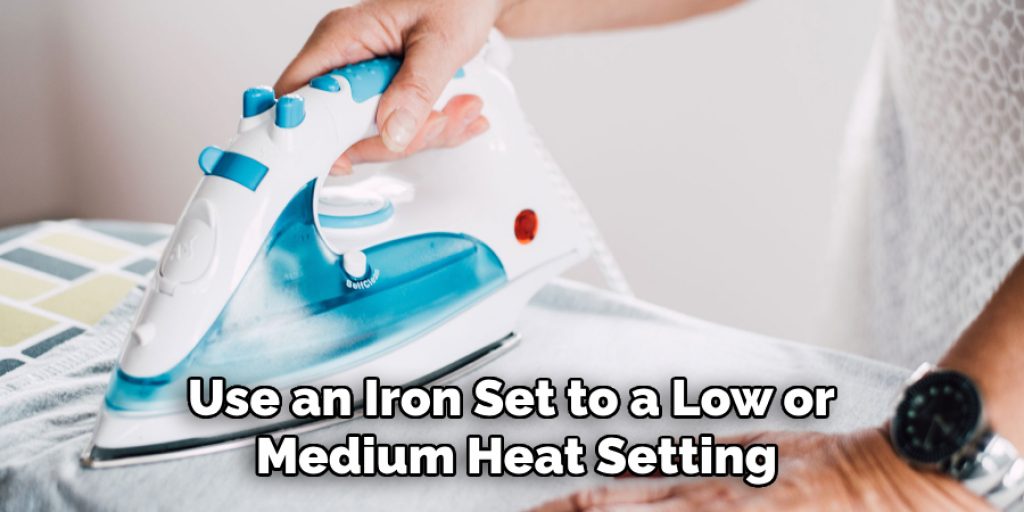
7. Pressing the Finished Binding
Pressing the finished binding is an important step to set the stitches and create a crisp, polished edge. Use an iron set to a low or medium heat setting, and gently press the binding along its length. Avoid using too much heat, as this can damage the satin fabric. Press the binding flat and ensure that the corners and edges are sharp and well-defined. Pressing not only helps to set the stitches but also gives the binding a professional appearance, enhancing the overall look of your blanket.
8. Inspecting and Correcting Imperfections
After completing the binding, carefully inspect your work for any imperfections or missed stitches. Check the entire length of the binding for any areas where the stitches may be loose or visible. If necessary, make any corrections by hand-sewing additional stitches or reinforcing weak spots. Addressing imperfections promptly ensures a high-quality finish and prevents any potential issues from affecting the appearance or durability of the binding.
9. Adding Decorative Elements
For an added touch of elegance, consider incorporating decorative elements into the binding. You can sew on decorative buttons, lace, or embroidery along the edge of the binding to enhance its appearance. Ensure that any decorative elements are securely attached and do not interfere with the functionality of the binding. Adding these personal touches allows you to customize the binding to match your design preferences and adds a unique flair to your finished blanket.
10. Maintaining and Caring for the Binding
Proper care and maintenance of the satin binding are essential to keep it looking its best. Follow the care instructions for your blanket and avoid using harsh detergents or high heat when washing. Gently hand wash or machine wash on a delicate cycle, and air dry or use a low heat setting if necessary. Regular maintenance will help preserve the appearance of the binding and ensure that it remains in good condition over time.
Troubleshooting Common Issues
When working with satin binding, you may encounter a few common issues that can be easily addressed. One frequent problem is puckering along the edges of the binding. To prevent this, ensure that the binding tape is evenly stretched as you sew and avoid pulling too tightly on the thread. If you notice wrinkles or folds after pressing, gently steam the area while using your fingers to smooth it out. Another common issue is visible stitches on the front side of the binding. This can be resolved by adjusting your stitching technique; make sure each stitch is properly slipped under the binding’s folded edge for a more discreet finish. If the corners don’t lie flat, re-evaluate your mitering and make sure to fold the binding precisely at a 45-degree angle before securing it. By carefully assessing each issue and making necessary adjustments, you can maintain the integrity and appearance of your satin binding.
Conclusion
Sewing satin blanket binding by hand involves a series of meticulous steps to achieve a professional and polished finish. From preparing your materials and measuring the binding to hand-sewing and pressing the finished product, each method contributes to the overall quality of your project. By following these detailed methods, you can master the art of sewing satin binding and create beautifully finished blankets that are both functional and visually appealing. Thanks for reading, and we hope this has given you some inspiration on how to sew satin blanket binding by hand!
Elizabeth Davis
Elizabeth is a creative writer and digital editor based in the United States. She has a passion for the arts and crafts, which she developed from a young age. Elizabeth has always loved experimenting with new mediums and sharing her work with others. When she started blogging, she knew that DIYquickly would be the perfect platform to share her tutorials and tips. She's been writing for the blog from the beginning, and her readers love her helpful advice and easy-to-follow instructions. When she's not writing or editing, Elizabeth enjoys spending time with her family and friends.