
DIY Cement Brick Mold
Introduction:
Cement brick mold is a type of large-sized molding, mainly used to produce cement bricks and facing tiles. It is made of steel plate and frame with high strength bolts fixing. The depth is 2 to 3 meters, and the length can be divided into two common sizes, which are 2000mm×2000mm×800mm and 2400mm×2400mm×1200mm.
The weight of this kind of cement brick mold is about 4000-7000kg. Cement brick mold can also be produced by ourselves according to our needs. If you need it, please feel free to contact us. This article will discuss DIY cement brick mold. So let us begin.
What is The Application Scope of DIY Cement Brick Molds?
The molds are designed for making cement bricks at home. In addition, they are used in making brick-shaped blocks from concrete, clay, or other building materials. And the final products can be shaped like real bricks with a hardness of more than 2500 kg/cm2 and a compressive strength above: 130Mpa.
What’s more, This kind of mold is usually made of thick metal steel sheets, which have good toughness, wear-resistance, anti-Rust properties, and a long life span; it Will not deform or rust due to high temperature during the burning process. They also can withstand sudden changes in temperature between day and night without deformation.
How Does DIY Cement Brick Mold Work?
The mold consists of a top and bottom cast iron plate, central core, hydraulic system, and ram. The ram moves the concrete from the inside molding machine into a customized full round cube mold cavity with filling material or prepared sand.
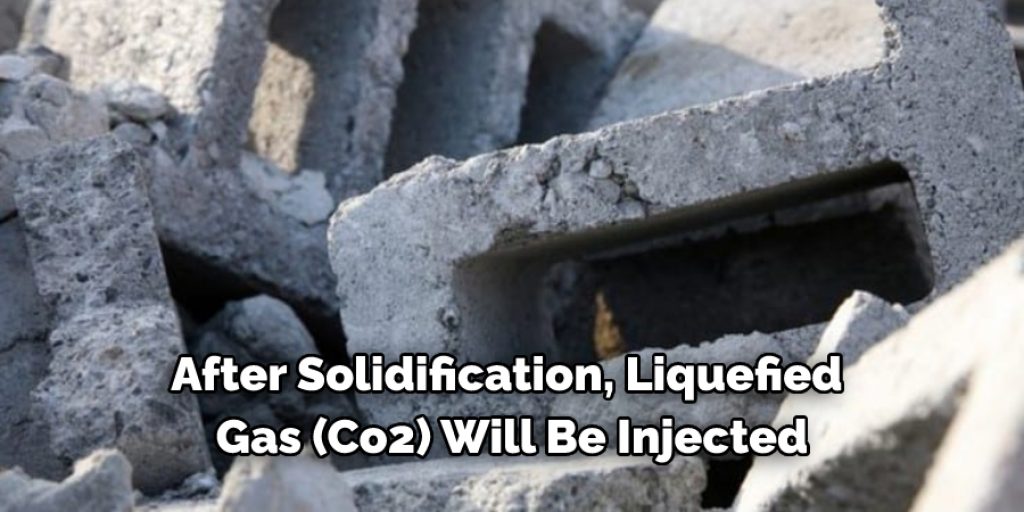
After solidification, liquefied gas (CO2) will be injected then pushed out by compressed air. When the cement blocks come out from mold cavity, they will be carried out for finishing and drying.
Step-wise Guide on How to Make a DIY Cement Brick Mold:
Step 1 :
The first step is to make a mold by using the interlocking blocks. The bricks are made of two-inch-thick concrete, hardened for several days, and removed from the molds. Suppose you wish to build more than one brick wall, then these interlock well together.
You will have a basic understanding of how your finished project should look, so it is better to decide on your project before knowing how many bricks are needed for this particular construction work.
Step 2 :
To create a mold for your bricks, start by interlocking the blocks. The bricks are made of concrete that is two inches thick and allowed to harden for several days. Once removed from the mold, they will fit together perfectly if you need to build more than one brick wall.
Step 3 :
After verifying that your full mold is completely sturdy, pour in a layer of concrete. In this way, you’ll be able to get a good idea of how many bricks should be added per row and subsequently for your finished project.
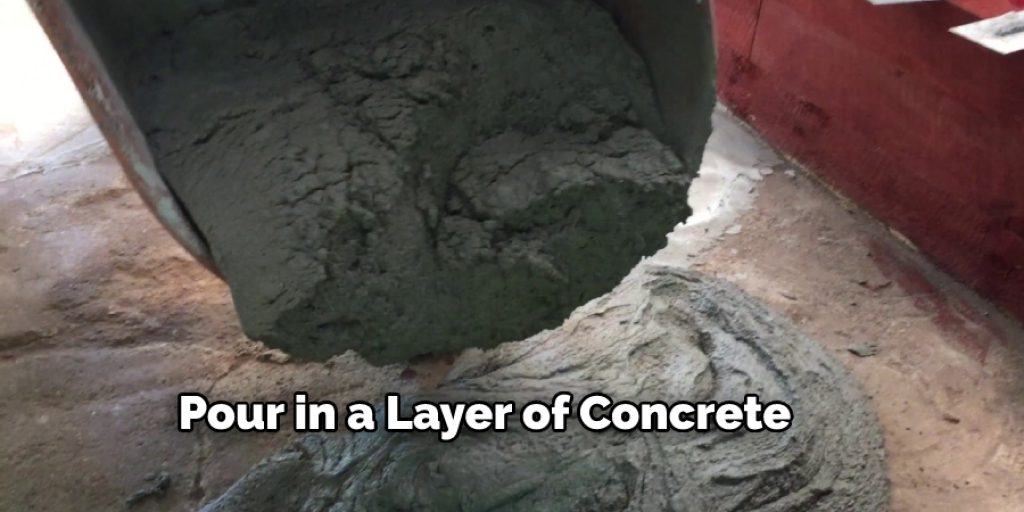
After you have poured all concrete into the mold, put a few pieces of wood along and over to hold down concrete blocks so they form firmly together with no gaps between them.
Step 4 :
To create a mold for your bricks, start by interlocking the blocks. The bricks are made of concrete that is two inches thick and allowed to harden for several days. Once removed from the mold, they will fit together perfectly if you need to build more than one brick wall.
Let everything dry out for at least 2 weeks before removing mold, and then enjoy your own hand-made cement block!
Safety Precautions:
1. Make sure to wear a dust mask, safety glasses, and rubber gloves when working with cement.
2. Try not to breathe in the cement powder while mixing it with water as that can cause serious respiratory problems. A pile of dry cement stirred up into the air is very similar to breathing in volcanic ash. You will cough and gasp for breath if you don’t use any protection!
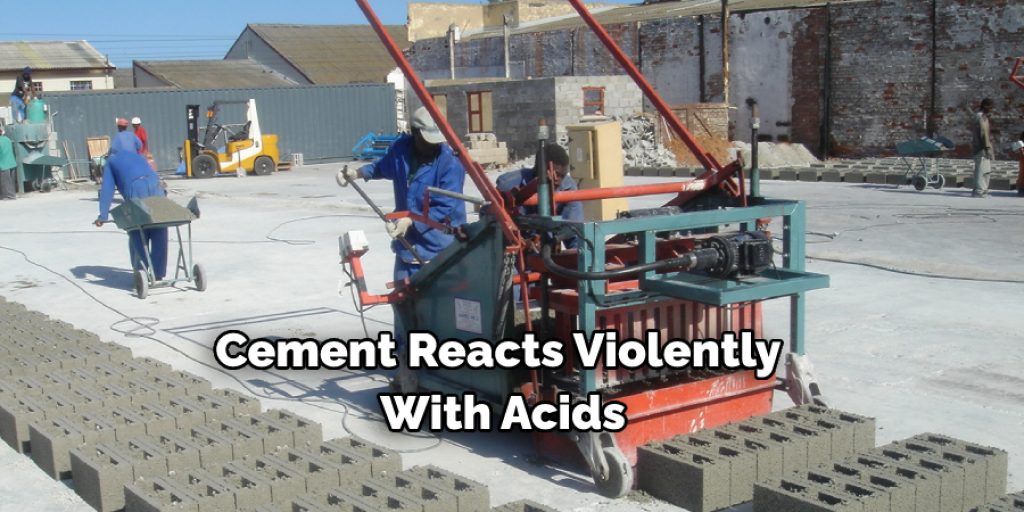
3. Cement reacts violently with acids (like vinegar) and bases (like baking soda). So keep your cement area free of sprinklers or leaking pipes, etc.!
3a: I learned after making several factory molds that if the mold surface becomes somewhat tacky, wet it thoroughly and then sprinkle some baking soda on it. Wait 15 minutes, and then wash off the powder with a garden hose. This will help keep your mold from sticking to itself or whatever surface you’re using.
4: Do not just throw unused cement into a pile in the corner of a dusty garage or basement, as it can settle out and harden as a brick-like solid over time. Instead, put it in a sealed plastic trash can with some lime to keep it from hardening.
Lime is just a fancy word for calcium oxide (CaO). You can find it at any pet or aquarium store as “calcium carbonate” used in making water hoses flexible.
5: Do not allow anyone to walk or drive over your molds if they are still wet! It does not harm squish them flat when they’re dry but wet cement can be very dangerous after only 24 hours.
Frequently Asked Question
Is It Cheaper to Make Your Own Bricks?
It depends on a variety of factors, including the type of bricks you are looking to make and the cost of materials. However, if you are looking to make your own bricks from scratch, it may be cheaper to purchase the materials online or at a brickyard rather than making them yourself.
What Is the Cost of Making Bricks?
The cost of making bricks can vary depending on the type of brick you are looking to make. The most common types of bricks are made from clay, which requires water, sand, and lime to be mixed together and then baked in an oven. The cost of making a brick typically ranges from $0.50 to $1.00 per pound.
Are Concrete Bricks Strong?
Yes, concrete bricks are incredibly strong and versatile. They can be used for flooring, walls, and ceilings – providing a sturdy and stylish foundation for any home.
One of the main advantages of using concrete bricks is their durability. They can withstand a lot of abuse and still remain in good condition. Additionally, they are easy to install and require minimal maintenance.
Another advantage of using concrete bricks is that they are affordable. You won’t have to spend a lot of money on materials or hiring professionals to install them.
Conclusion:
I hope this article has helped prepare DIY cement brick mold. Ensure all the safety precautions while performing the process. Thank you and have a nice day!


