How Do You Mix Ceramic Glazed Powder
Blending a glaze slurry enables fast and easy application of the coating to bisque apparel. This is a convenient feature. The key measures have included: weighing water, combining the glaze powder with water, grinding, changing viscosity or thickness, and enabling the glaze to settle for quite a while before application. There are other variants, and certain people perform such measures in another sequence.
The setup process assumes you have a powder form glaze, and it’s well blended and ready to be mixed with the liquid. When you’re not buying a whole lot of mixtures, dusting it ensures it is properly blended until it is mixed with a liquid to absorb half of the product. If you are using a liquid glaze, mix with the suggested amount of water listed on the bottle. If it doesn’t list how much water, experiment with the amount to make sure the glaze is at a smooth consistency and there aren’t any clumps.
Many of the glaze components throughout transportation can drop down to the bottom of the jar. There’s even plenty of reasons to maintain the glaze preserved in water or enhance brush ability. They contain Flocs, bentonite, Epsom salt, cleaning intermediate, CMC. Firstly, when you’re using a mixtures Powder, read the directions which did come with glaze.
You’ll Require
- Precise in grams measured to scale.
- A clear container or bowl where the glaze ingredients might well be weighed (your measure can arrive with a box). This is also a jar for calculation. Steel salad containers arrive in different ratios and make fantastic pots for weighing.
- A dry container where weighted glaze products may be blended.
- This blending pot needs to be big sufficient to accommodate the whole process.
- Adequate powder protection (with authorization from the govt).
- Water (to keep the glaze suspended).
The Method of Creating Ceramic Glaze
- It is placed on the powder mask.
- Retrieve any item in your mix, and be sure you’ve got sufficient.
- Tidy the scale and ensure it is adjusted correctly already when you start work.
- Put the measuring jar into the scale to measure the products. For no items in the bag, the mass displayed must be fixed at zero levels. If not, change the scale’s tare value until it appears 0.
- Measure the content for the first time.
- Please put it in the tub you’ll be using to blend and prepare the glaze.
- Measure through content in sequence and position it in a blending pot.
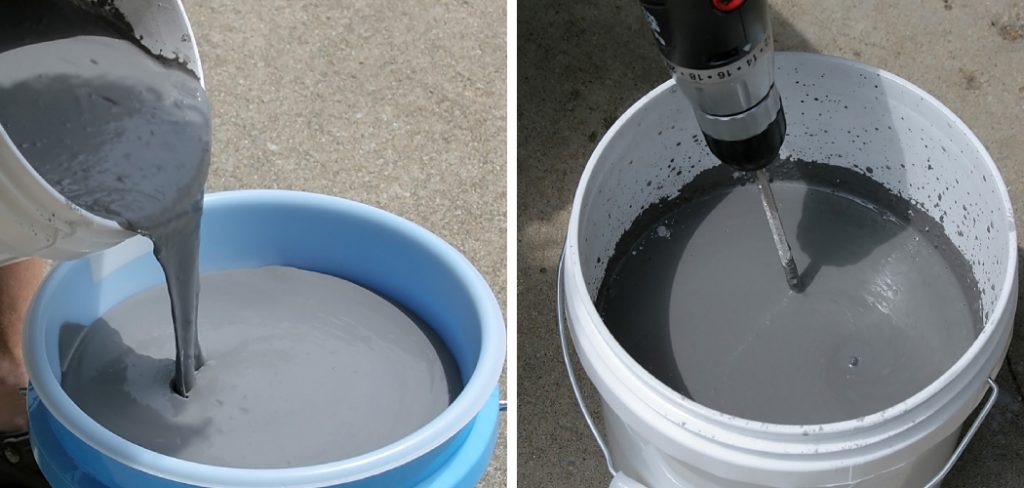
- Apply ample water to create a paste cream dense.
- If you have a blender with a turbine, utilize this at this moment. If not, blend the glaze with a mixing tool or brush in a tube. When the glaze has been correctly dissolved in water, the coating might well be excluded.
- Position a sieve in front of yet another mixture jar assisted by 2 points.
- Carry the glaze blend via the sieve (forcing the glaze via the sieve, you could use a rigid cleaner). It centralizes the combination and does away with some granules. When you have produced up a significant volume of glaze (upwards of 2 kilos), the method of moving the combination via a coarse sieve is significantly speeded up until utilizing the finer sieve.
- Transfer the sieve to the first blending bowl and spray the glaze over the sieve again. Dual sieve analysis makes for a seamless blend.
- Render the glaze waterproof mark and put it into the jar.
Secure Blending Glaze
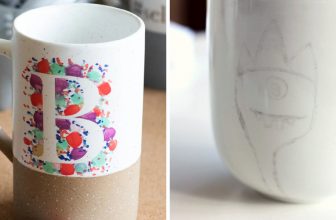
Glazes in dust shape are particularly harmful as they can produce particles that could be quite quickly breathed. Many glazes do include detrimental compounds. Often use a NIOSH approved breathing apparatus or shield and blend the fine particles in the well-vented environment indoors or outdoors. One could use a little, low-cost brush to apply the glaze. If you’re painting a piece that’s already glazed and you need to re-glaze it, then make sure to remove the current glaze before applying the new one.
Most people still consider utilizing protection constructed from latex or cotton when dealing with a glaze. Should not bring your fingertips next to your face, nose, or mouth when dealing with the glaze. It would help if you even used protective glasses to ensure the glaze is not going into the eyes. As well: don’t consume the powdered glaze! You should certainly use a respirator to make sure you do not inhale the glaze as well. The best way to clean up is with just soap and water, but that does require removing the glaze from your mouth and eyes first.
Checking the Ceramic Glaze
Glazes will be set, as opposed to painting. Besides, glazes are reshaped by the fire until being fired and may not have identical exterior or coloring since after. The burning of kilns affects the glaze’s properties most deeply. The most excellent way to identify such transitions is to burn glazes on a sample tile initially. Once the glaze is set, we must clean up the tile before it has completely cooled and hardened. If the tile is too hot, the glaze will be removed from the tile entirely. If the tile is too cold, cleaning up the tile will leave scratches.
This would let you see what the ground, shades, and texture of a glaze would be after trying to fire. The sample tile must be very growing and must have a close structure to your usual job. Mainly using the same mud and burning as you usually use in your function is necessary. These all have a significant effect on glaze behavior. The other things to have in mind are the specific temperature of the kiln and the time it takes to perform. You need to make sure that you have a good control of the kiln temperature.
The checking of Ceramic Glaze
- Start preparing a tile for evaluation.
- Narrow the glaze with liquid of equal strength. That could be the consistency of heavy cream for specific shade use. The gloss (or varnishes) will be small and creamy when you intend to use glaze in a multi-layer glazing technique.
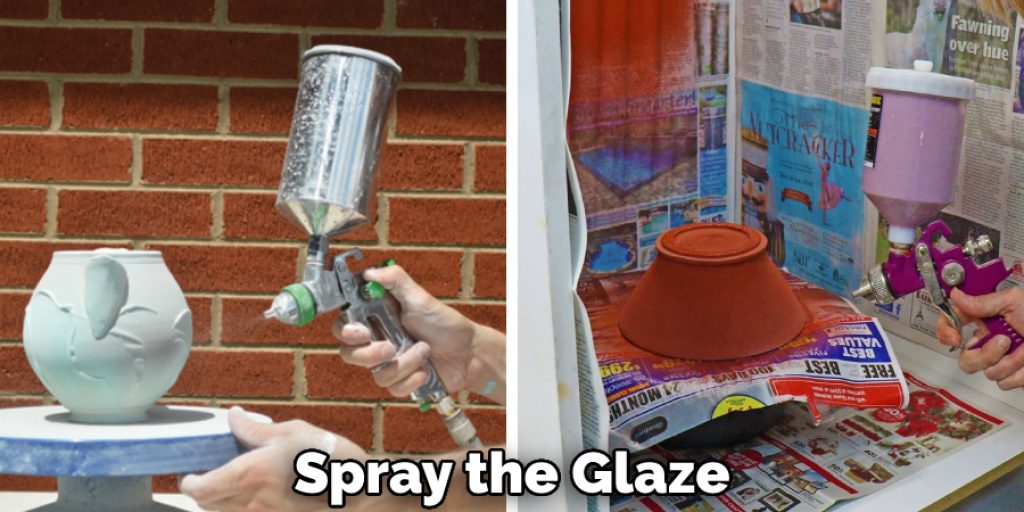
- Soak, spill, or mist the glaze onto the tile.
- Fire the surface in a manner that matches the usual techniques of burning.